| SCALLYWAG PROJECTS |
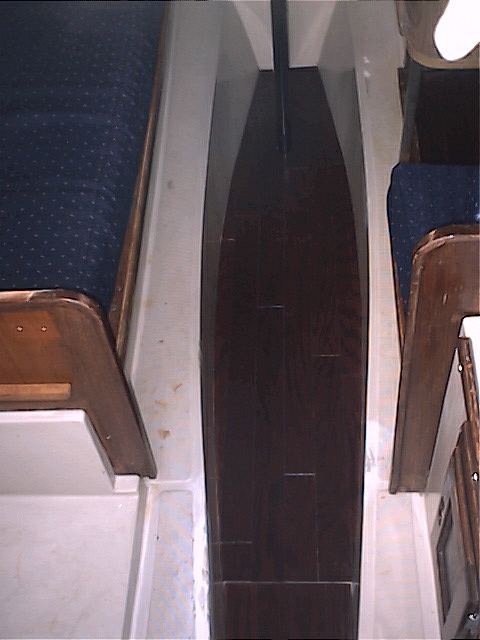
| Project: Replacing the Hardwood Sole |
| A previous owner damaged the keel and repaired it with beer cans and epoxy. In order to fix it, the sole of my Lancer had been torn out. After the repair, there was nothing left inside the boat but an uneven area of filler. Luckily, a friend of mine donated the hardwood. This project only cost about $20 and a little time. First, I cut a cardboard template. Using the template, I cut the plywood to level out the space and to use as a base for the hardwood slats. I had to route out a groove on the underside for the masthead wires and VHF antenna. Starting at the compression post, since those pieces needed to also have the center cut, I began making pieces for the floor. The hardest part was cutting pieces to fit along the edges. Then, they had to be sanded to until they joined one another perfectly. It was just time consuming work, like building your own puzzle.. |
| Back to my Lancer Home page: |
| Links to other projects: |
| Page 1 Page 2 Page 3 Page 5 Page 6 |
| (Page Four) |
 |
| Material List Tools One Sheet of 1/2" Plywood Scroll Saw One Box Hardwood pieces Orbital Sander Two tubes of adhesive Caulking Gun |
| Project: Running Halyards Aft to the Cockpit |
| Material List 2 Lead Blocks - Ronstan 2 Cheek Blocks - Ronstan 2 Medium Cam cleats with Fairleads 4 SS 10 x 24 x 1 1/2 inch bolts 2 SS 10 x 24 x 2 inch bolts 1/8 inch aluminum backing plate |
 |
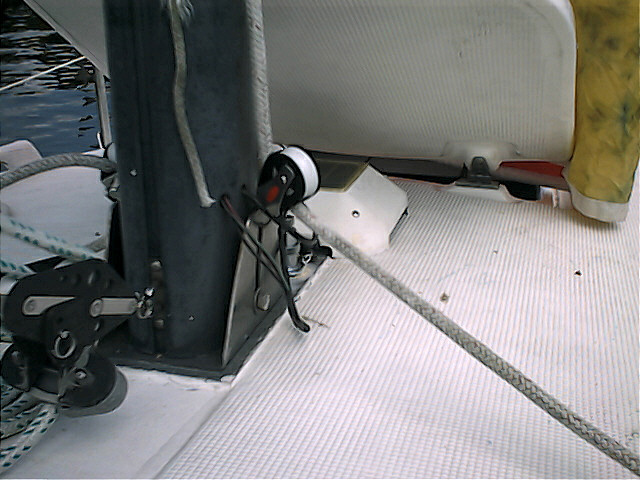 |
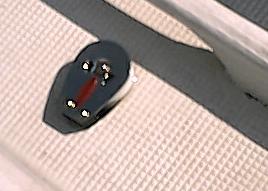
| Step One: (Picture on right) Working from the mast back! The blocks at the base of the mast were easy. I bought blocks that had a swivel base and shackle and put the shackle through the slot used for stepping the mast. |
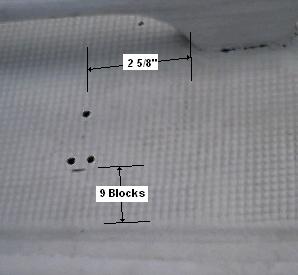
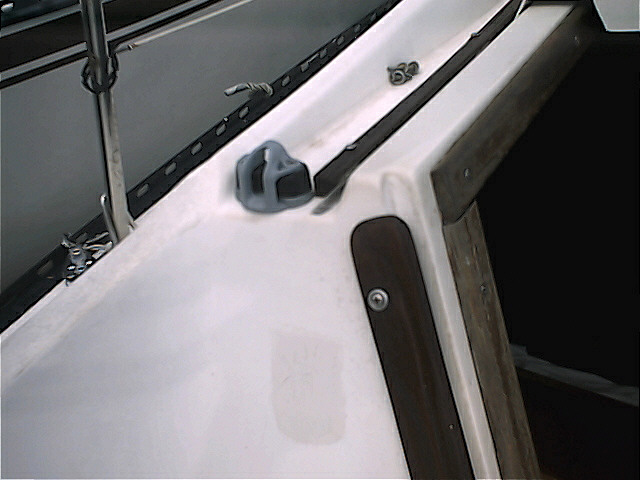
| Step Two: (Picture on left and below). Carefully place the cheek blocks so that the halyard would pass under the hand-rails, yet not be obstructed. It was 2 5/8" in front of the second base on the rail and 9 grooves of the non-skid up. Do a test fit. |
 |
 |
 |
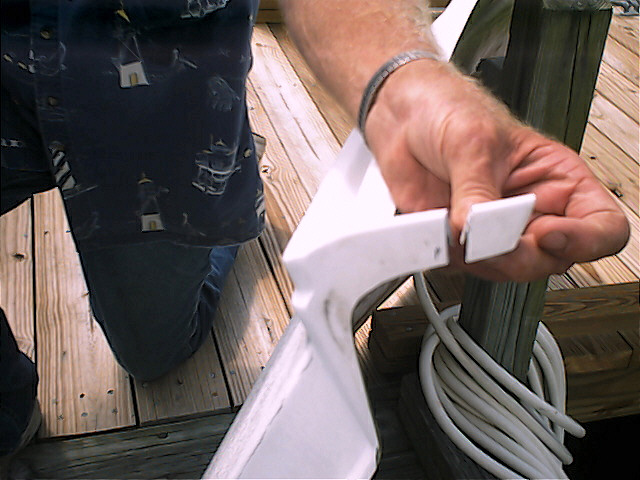 |
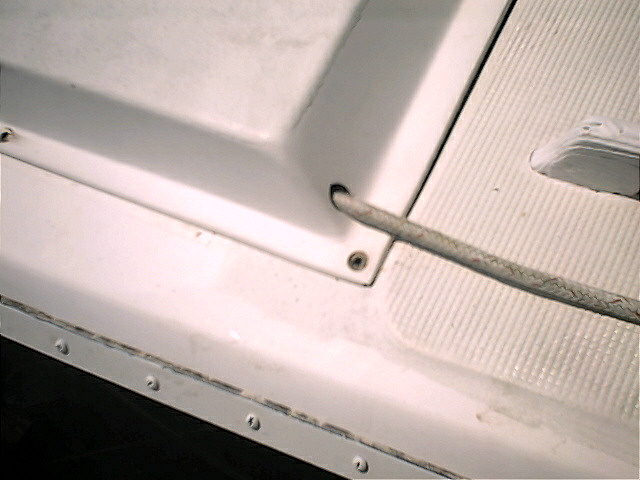
| Step Three: (two pics to left) Preparation of cabin top cover. I drilled two 5/8" holes in the front of the cover to allow the lines to run through. Also had to cut an inch off the back for smooth running lines. Step Four: (picture on right) Mount locking cleats next to the cabin top rail and run halyards aft |
 |
| My halyards are 7/16". I would not recommend this project with larger line. Also, I will not run lines through this hardware if I'm going topside in my bosun's chair; straight to a real cleat for safety!. |
| Using 5 washers underneath the block on the upper screw helps make the angle better for the halyard coming off the mast. Put 4200 down to seal the holes and tightened the bolts down.. |
 |