| SCALLYWAG PROJECTS |
| Project: ALL new electrical system |
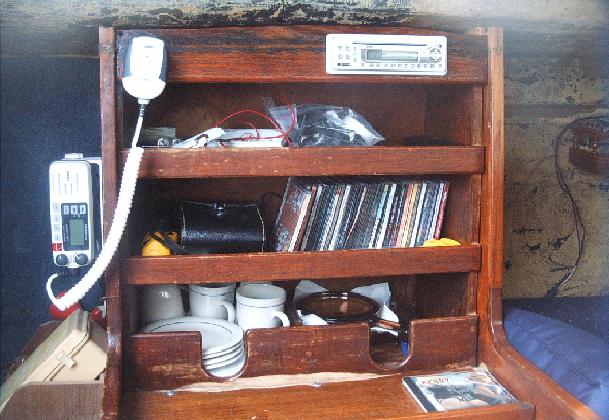
| Installing VHF and AM/FM/CD/MP3 Radios |
| The NEW VHF and AM/FM/CD radios were installed in January 2008. The most difficult part of installing the VHF was the new antenna topside. The old antenna wire had been cut inside the mast. So, I had to step the mast and install new wire. I bought a new antenna and mounted it as well. Inside the cabin, the wire runs down the compression post, under the sole to the radio. The VHF is wired directly to the battery; so it works in the event of an emergency with no switches to flip. |
| Back to my Lancer Home page: |
| On to more projects: |
| Page 1 Page 3 Page 4 Page 5 Page 6 |
| Immediately after I could get in/out of the cabin without killing myself, I set to work on the electrical system. After all, lights are a Coast Guard requirement. I broke it down into two basic systems, the shore power and the 12 volt system for underway. And, because I had a bad experience before, I kept the two systems entirely separate from one another. First, I saw the need for power tools on additional projects; so, I did the shore power. It was VERY simple. |
| (Page Two) |
 |
 |
| Shore power Materials List 50 feet x 10-12 guage 30amp wire two standard grounding outlets one GFCI (Ground Fault Interrupt) The first thing to do when replacing the shore power was to remove all of the old cracked/suspect wire. Easy to do, just losen the connections at the outlets and pull. Then, I checked the power input plug to insure is was still serviceable. Luckily, it was. From then it was as simple as white to white, black to black, and green to green. I ran the wire from the input straight to the GFCI, which is the outlet near the galley (starboard). It is VERY important that the interrupt be the first outlet in the series. From that outlet, the wire ran under the companionway. On the 28, there's a space that connects the two sides which is perfect for laying wire. The second outlet was under the port side settee. From there, the wire runs through the bulkhead to the port side of the head. Easy! Only three outlets; It only took an afternoon. Finally, I plugged it into the dock and did a test of the interrupt switch. Worked like a champ! |
 |
| 12 Volt System: Sadly, the old wiring had been cut, spliced, and corroded. But, in a way, it made the job easier! All I had to do was yank out all the old suspect wiring and replace. I used the colors above. They are not manufacturer colors, but worked for me. The most difficult part was the masthead with steaming and anchor lights. I had to step the mast. Thanks to four young Marines who helped raise the mast back into position. Hint: when buying new light fixtures, buy an extra package of bulbs. You don't want to be out on the water and blow a light at the wrong time. |
 |
| For the AM/FM/CD/MP3 player, I first installed two 6" speakers, one on either side of the cockpit. There is an antenna which is powered by the radio for GREAT reception. Installation was VERY easy and Jimmy Buffett sounds awesome while gliding across the waves!!! |