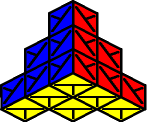
Take the Triamid completely apart by breaking it down to its individual components (10 pieces and 4 black connectors). Randomly reassemble the individual components back together into a Triamid again.
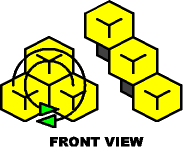
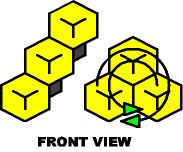
Pop off a mini-triamid, rotate it in any configuration, and snap it back onto the base.
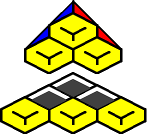
There are 12 different ways to attach the mini-triamid onto the base, and this is what makes tha puzzle so tricky; a side that was once buried can now become completely exposed, and a side that was exposed can now become completely buried.
~Notation~ |
||
 |
T+ |
Rotate the top mini-triamid clockwise (along the vertice). | T- |
Rotate the top mini-triamid counter-clockwise (along the vertice). |
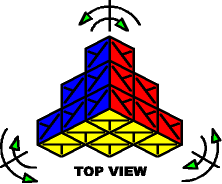 |
B+ |
Rotate the back mini-triamid clockwise (along the vertice). |
B- |
Rotate the back mini-triamid counter-clockwise (along the vertice). | |
L+ |
Rotate the left mini-triamid clockwise (along the vertice). | |
L- |
Rotate the left mini-triamid counter-clockwise (along the vertice). | |
R+ |
Rotate the right mini-triamid clockwise (along the vertice). | |
R- |
Rotate the right mini-triamid counter-clockwise (along the vertice). | |
|
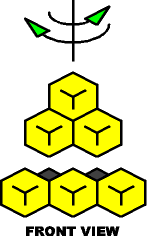
The first eight moves are somewhat like the Pyraminx puzzle; after popping off a mini-triamid, you must rotate it along the vertice before snapping it back onto the base. Notice how the buried side of the mini-triamid remains buried afterwards. The next four moves disobey the laws of the Pyraminx; after popping off a mini-triamid, you must rotate it about the face before snapping it back onto the base. | ||
 |
Lf+ | Rotate the left mini-triamid clockwise (about the face). |
Lf- | Rotate the left mini-triamid counter-clockwise (about the face). | |
 |
Rf+ | Rotate the right mini-triamid clockwise (about the face). |
Rf- | Rotate the right mini-triamid counter-clockwise (about the face). | |
NEXT: Solve the Corners