Before picture
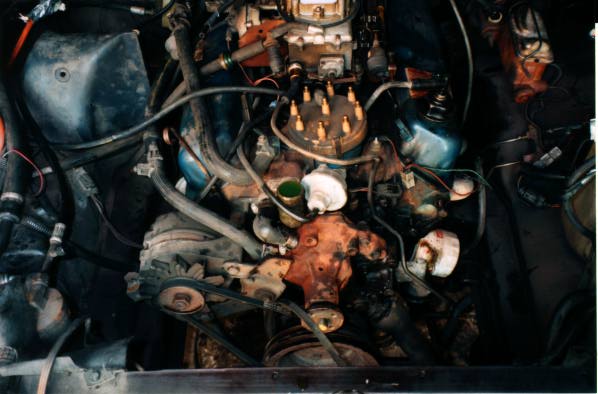
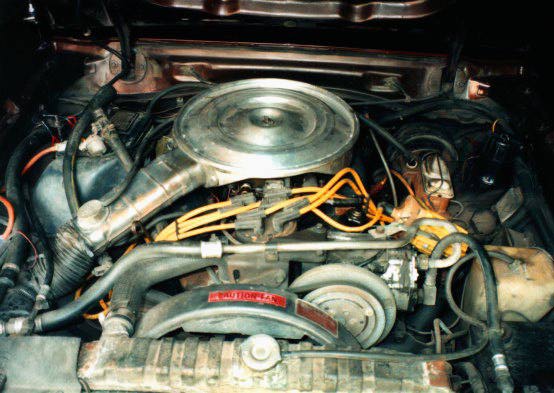
The first step was to remove the hood to make more room to maneuver. Followed by (safety-first) removing the battery. The next step was to remove the air cleaner and air intake for it. Then the spark plug wires came off. I left the plugs in for awhile to keep dirt out. Again, to make more room, I drained and removed the radiator, the fan and fan shroud at the same time. I decided to remove the air conditioning from my car. Partly because of overheating problems and also because it had lost its charge and most places around here wouldn't service it for environmental reasons. It's incredible to think how much weight was lost from this step. The photo shows the engine up to this point.
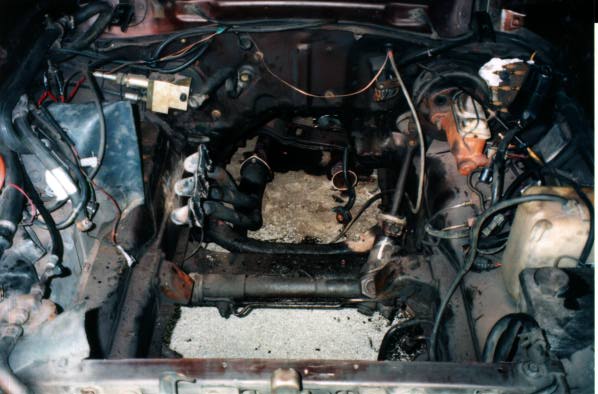
After that, I pulled off the water pump and the altenator and the heater core hoses. I drained the oil and transmission fluid, disconnected the shift lever, the spedo and tach cables. I unbolted the headers. The drivers side had to be removed to allow the engine enough room to be removed. The header on one side comes out the top and the other side has to go out the bottom. Next, I hook up the cherry picker and unbolted the engine mounts. Then I put a small jack under the tranmission and unbolted the transmission supports. After a little fun of rocking the engine back and forth and spewing out all kinds of transmission fluid, I finally got it out.
With the engine out, there was nothing but a real mess of wires, hoses and 20 years of oil and dirt left behind.
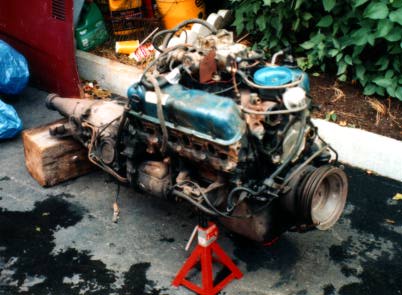
After the engine was out of the car, it was time strip it down to the block. I removed the intake and the carburetor as one piece since I had no intention of reusing either piece. I removed the valve covers, the starter, the fuel pump, and the distributor to find several teeth missing from the distributor gear.
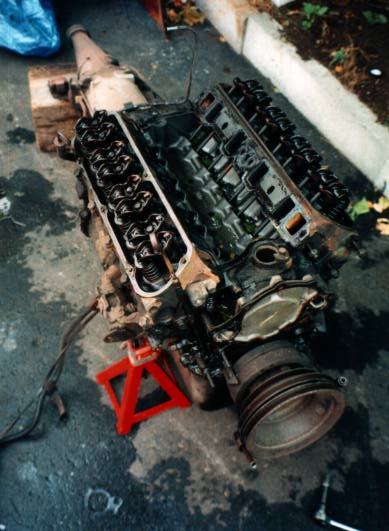
After this photo, I separated the engine from the transmission and removed
the lower front cover plate. The next step was to remove the torque
converter from the flex plate. I left the flexplate on for the machine
shop to deal with. I took the transmission into my basement and got
the block ready for the machine shop.
Phase II: The Build Up
Phase III: Engine In
Phase IV: Road to Completion
Phase V: Summary of the Changes
Part VI: Links