11) And Finally...
All you have to do now is.. Calibration, error correction and use.
Calibration and Error Correction
Calibration and error correction is not something I will go into in great detail, as there are plenty of publications that go into this, not least of which is the 'Instruments for Celestial Navigation' chapter [No. 16] of Bowditch 'The American Practical Navigator'. There are two types of error, Non adjustable Errors and Adjustable Errors. These are discussed below:-
Non-Adjustable Errors
These errors are almost entirely down to the accuracy of your manufacturing, so can be virtually eliminated with careful manufacturing procedure.
1) Graduation Error
This is down to inaccurate cutting of graduations, most particularly on the the drum. However, it is also contributed to by innacurate tooth cutting on the frame. Both can be virtually eliminated by indexing the table rotary table the same way and taking up backlash the same way each time you cut a tooth or graduation.
2) Centering Error
This is where the graduations, teeth and the pivot don't have the same centreline. Again, the level of accuracy is up to you - but the error can be totally eliminated if you drill and ream the frame's pivot hole, then put this over a peg through the centre of the rotary table, and do not remove until the frame is complete.
3) Prismatic Errors
This is the one where you have least control. The flatness of the mirror surface is up to you, but other prismatic errors come from the shades. Where the two surfaces of the shades are not parallel there will be a prismatic error which should be calculated and documented for all possible combinations of index and horizon shades.
Adjustable Errors
These errors are comparitively easy to sort out as they may all be adjusted out using the features already designed and built into the sextant.
1) Perpendicularity Error
This is where the mirrors are not perpendicular to the frame and index arm. The top adjustment screw on each mirror is used to adjust the perpendicularity.
2) Collimation Error
This is due to the centreline of the telescope not being exactly 25mm from the frame. The error increases the apparent altitude of the sun. As I haven't gone into any detail about the telescope support, I feel that this is your problem!
3) Index error
This is when the index arm does not register zero when the angle is zero. There are two ways of tackling this. The first method is to set the index arm to zero and adjust the bottom mirror screws until the index error is compensated out by an equal and opposite turn on each bottom screw. This is the less risky option, but if the top screw is not exactly central, you'll have to adjust the perpendicularity again.
The second option is to align the view, then loosen Item 47 (Micrometer Long Lock Screw) and turn the vernier until it registers zero. This is the more difficult method, but should be the one adopted at first assembly of the sextant.
Use
I can't give you any advice other than 'Get out and use it!'.
That's about it. I really can't think of a lot more to say about making a sextant. I hope this has been an informative and worthwhile project.
I have to put in the legal stuff, but it amounts to three statements:-
'Use and/or modify, but don't try to sell, this design.', 'If you make a sextant to this design, of course you can sell it to get a return on your work.', 'If you can't navigate with it, that's your problem.'
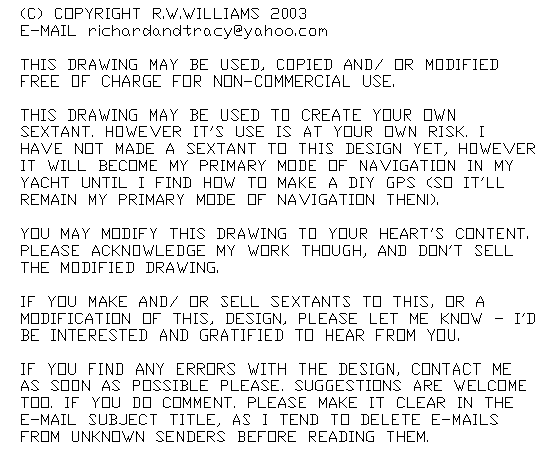
Just for info.. I've deliberately left the e-mail address as a graphic to help stymie spammers. We get enough unsolicited e-mails from spammers not to want to help them by giving a plain text address to be scanned automatically.
Regards
Richard Williams, B.Eng(Hons)(Mechanical)
Kent, England, Mar 2004.
<-Previous....Next->
<-Introduction
