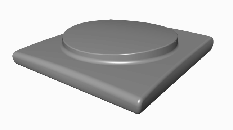
This lesson shows you how to use the Round feature. Round is a surfacing tool that creates 3D fillets in a more sophisticated manner than the Fillet tool. In this lesson, you use variable radius fillets to smooth the edges of a CD player.
| Note: This feature is available in Alias AutoStudio, and is a purchasable PowerModeling, Designer, and Studio option. |
Start by clearing the screen of any existing work and windows.
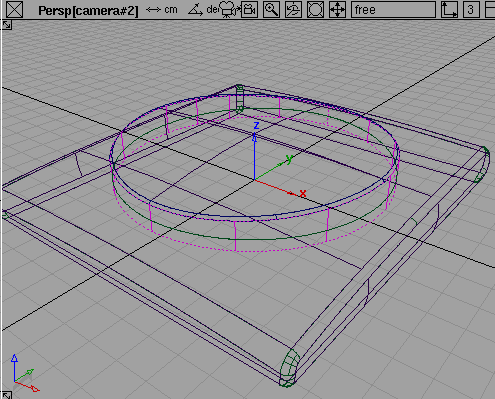
L09_CDPlayer from the CourseWare project, and click on Open. The file appears in a full Perspective window.
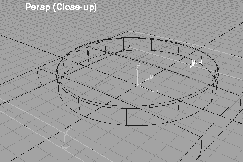
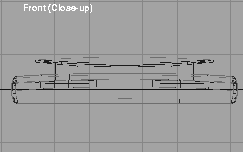
Notice that the surface of the model is curved in all directions, but still has some sharp edges that need to be smoothed. Notice also that the side surface of the top circular piece tapers from front to back.
You can use the Round function on a corner condition. By setting the radii at all the edges of several surfaces, you can round not only the edges, but also the corner where the edges meet.
 Select Surfaces
  Fillet surfaces Round. Alias prompts you to
 select a pair of surface edges.
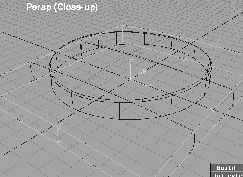
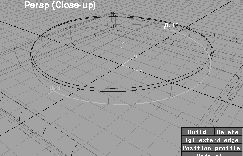
A fillet locator with a default radius value appears, overlapping both surfaces with a green surface edge line. Several buttons, including Build and Delete, also appear in the active modeling window.
Note: The default radius value used for the fillet comes from the option box of the Surfaces Fillet surfaces Fillet tool.
Select a pair of surface edges OR move profile OR enter profile radius. This means that while Round is active, you can also click on a new surface edge to create a new fillet. (You will do this in a couple of steps.)
0.5 to change the size of the fillet. While the locator is active, you can input a new radii to alter the fillet size. You can resize it by typing in keyboard values, or by dragging with the left mouse button pressed. Pressing the middle mouse button lets you move the fillet locator along the surface edge.
0.5 setting from above.
0.4 for a new fillet.
0.4.
0.25.
0.25.
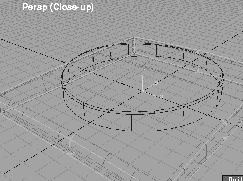
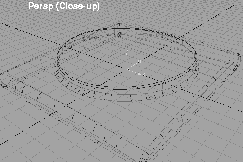
Build button. This may take a little while, since computations for each surface and fillet edge have to be worked out. In addition, the system creates curves on surface where intersections occur.
The rounded edges have been built by automatically creating curves on surface, and then trimming.
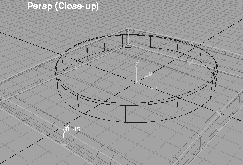
0.45 to reduce the radius a little. Click on Build to edit the rounding at this edge.
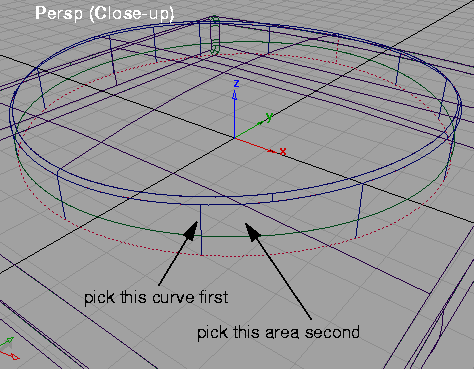
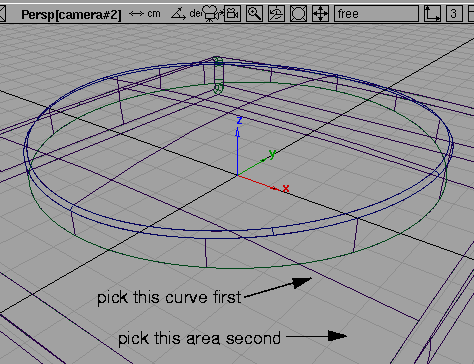
When using Round, the surface edges involved must share a common boundary edge. For the circular disc cover and the top surface of the CD player, you must intersect and trim to create this common edge.
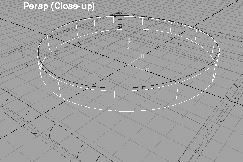
All (Studio). Notice how the sides of the disc cover intersect with the top of the body. This means that these two pieces do not share a common edge.
The vertical surface of the disc cover was built with two surfaces.
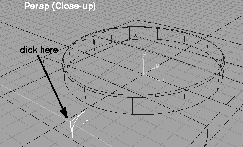
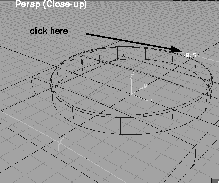
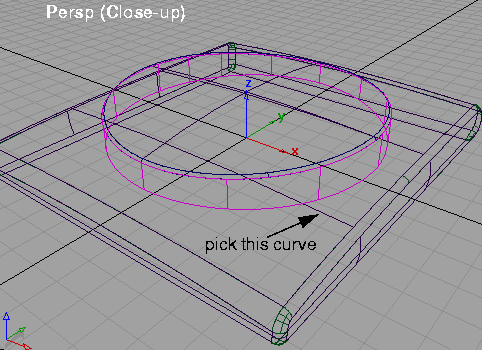
 With Nothing picked, select Pick Object and click on the vertical edge of the disc cover.
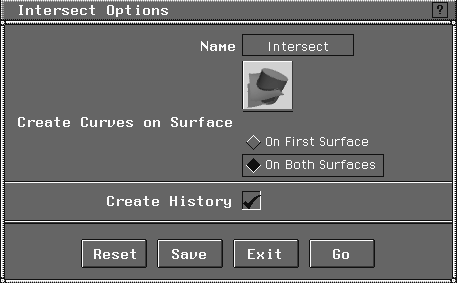
 Select Surface Edit Create CurvesOnSurface Intersect-
 . In the option box, set
 Create Curves on Surface to On Both Surfaces to make sure that curves on surface are created on all intersecting surfaces. Click Create History to turn it on.
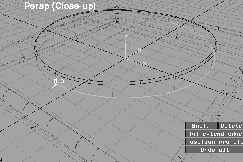
A red dashed line appears below the vertical edge of the CD cover, as shown:
 Select Surface Edit Trim Trim. Click on a curve on the vertical edge of the disc cover. Click again on the vertical surface of the disc cover , to keep this part. Click Go.
OK to continue.
 Select Surfaces Fillet surfaces Round. Click on the common edge between the disc cover and the top panel.
0.3.
0.15.
Build button to create the fillet.
The Round function is an extremely useful filleting tool that lets you create variable-width fillets along common surface edges. In this lesson, you set all the fillet locators first, before selecting Build. You can also create one fillet at a time, and select Build each time as you proceed.
Remember that surfaces must share common edges before using Round. Unless there is a true meeting of surface edges, the Round function does not work properly. In areas where surfaces intersect, you should trim the surfaces back, to create one common edge, before using Round.