In the last lesson, you focused on the various elements of the user interface that help you pick and use tools and menu items. You learned about viewing models and how to organize them using the SBD window and grouping.
In this lesson, you will look at other ways of organizing your work that will help you deal with projects as they become more complex. Using techniques such as Stages, layers and construction planes, you can use alternative methods for working in a 3D world.
Using a pre-existing scene, these concepts can be explored as you reorganize the various pieces to reorganize the scene. In this lesson you will not be creating anything. You will focus on how to display and organize your models.
When you first open a file you have actually created something called a stage. A stage is a place in the Alias environment where your wire file resides as you work. It is actually possible to open multiple stages and work on multiple wire files at the same time. Stages enable you to coordinate these different files in a intuitive and useful manner.
To start, you open a new file to be used as the first stage of your work.
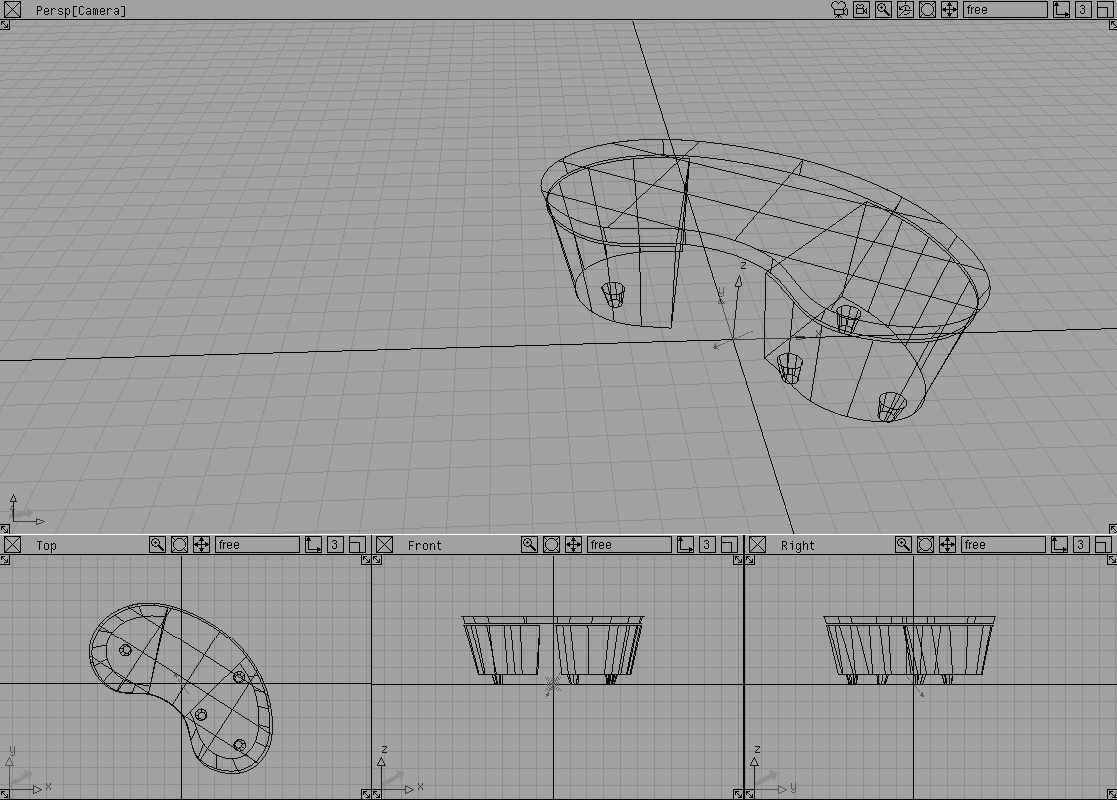
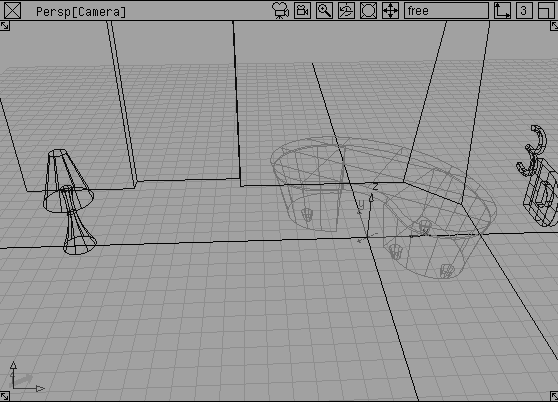
. In the File lister select the file named L02_Table and click Open. The scene opens with a table sitting in the workspace.
This is the same as the open function used in the last lesson. You could now work on this file, then save it as a single file. The other option is to begin working with other stages.
. In the File lister select the file named L02_Lamp and click Open.
Click No when the prompt window asks if you wish to DELETE all objects, shaders views and actions before Opening this File?
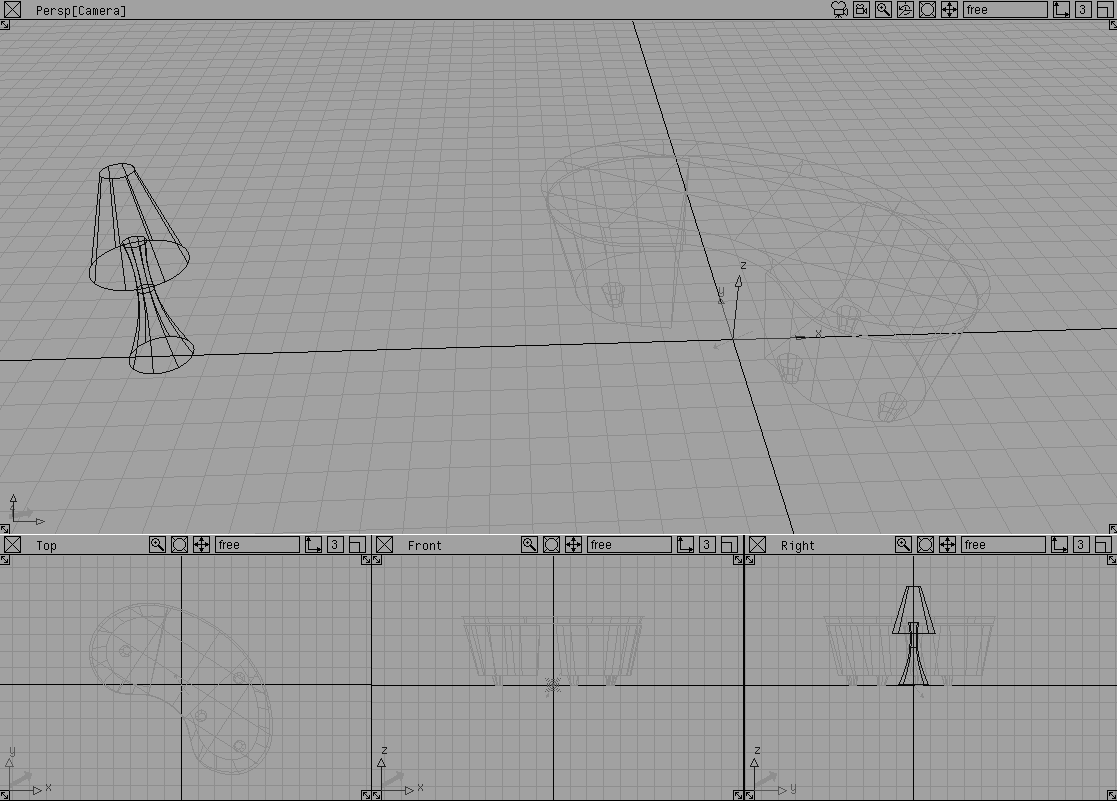
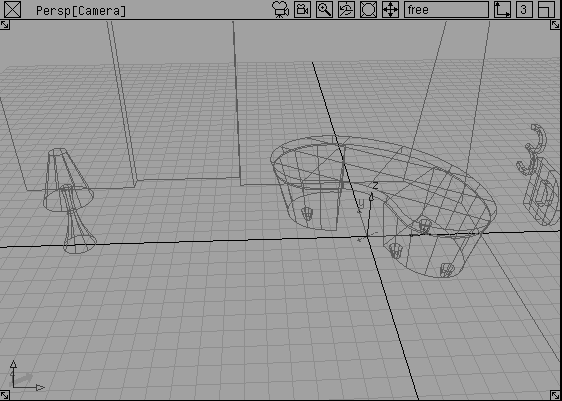
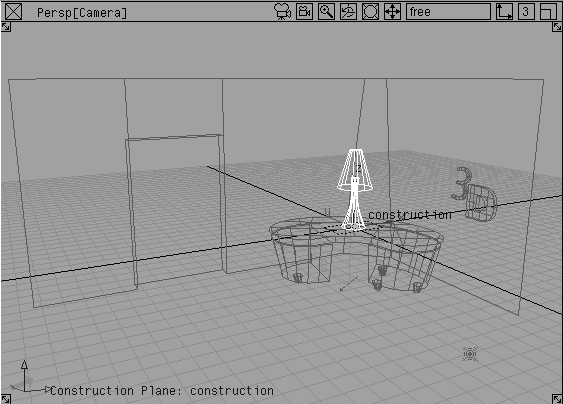
Now you see a lamp sitting next to the table, which is displayed as very faint wire lines. The lamp file is on the active stage and can be worked on.
Note: By clicking No, you have asked the system to keep the table file as the first stage. If you had clicked Yes then the table file would have been removed and the lamp would sit alone. |
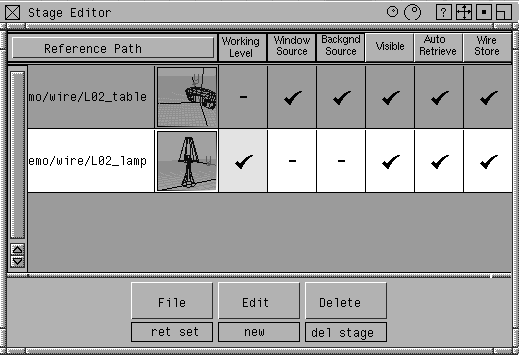
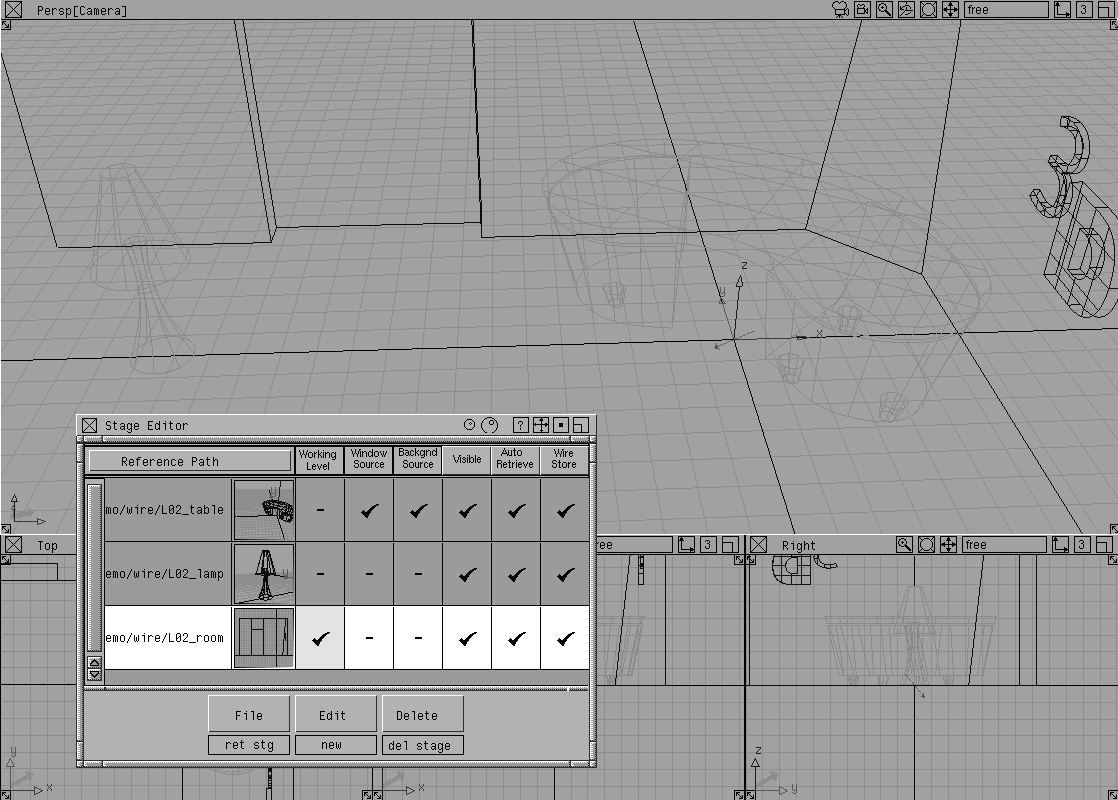
At this point, the table and the lamp are separate files that exist in two distinct stages. They are referencing each other but remain as separate files. To work with multiple stages, you need the stage editor where the stages can be set properly.
 Stages... This opens an editor window that shows you the two stages.
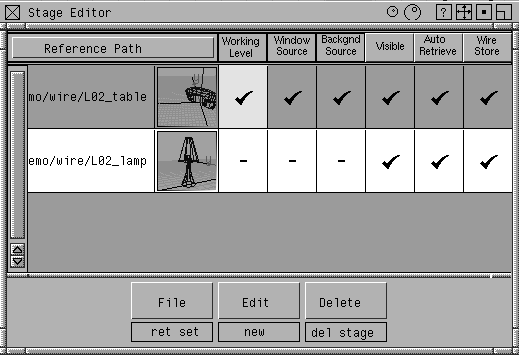
working level field next to the table stage. Now you can work on this file and the Lamp stage is put aside.
|
Note: The stage editor is disabled when many tools are active. This prevents the working level from changing during construction or modification.You can enable the stage editor by selecting any pick tool, for example Pick Object. |
| Note: The lamp and the table have not been merged into a single file. They can be modified and saved as separate files. By opening them as stages you are simply allowing multiple files to be opened and worked on at the same time. |
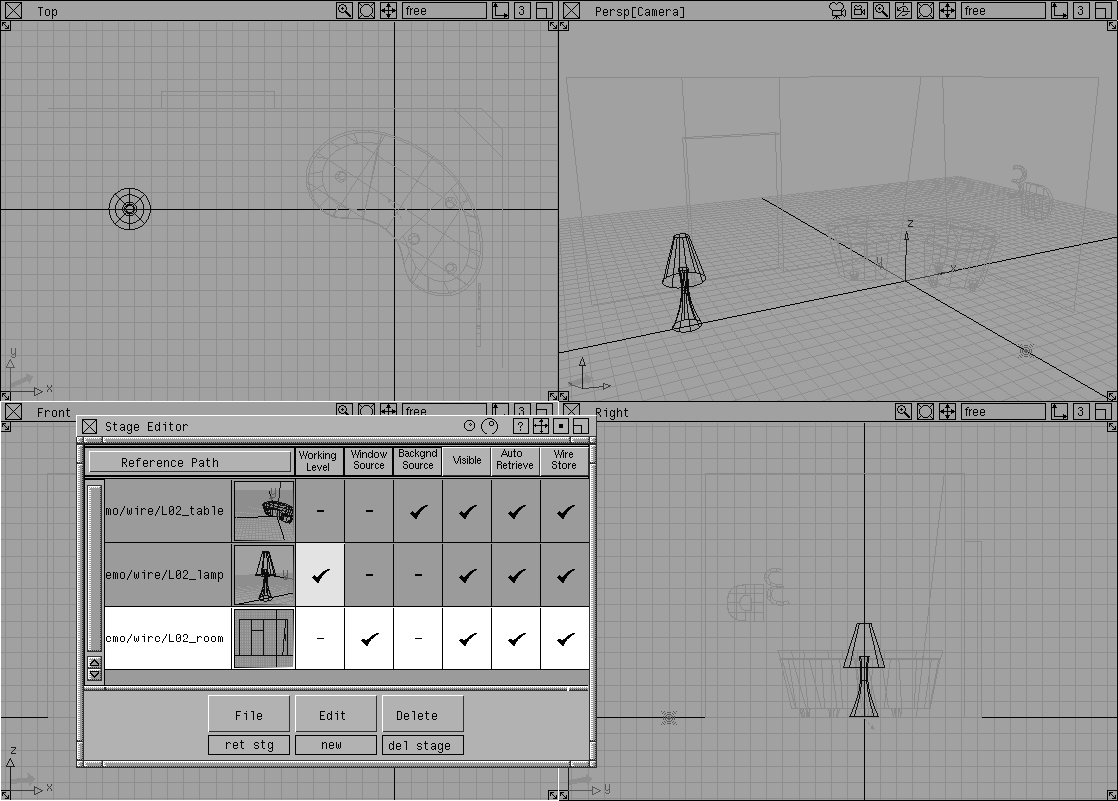
Retrieve New Stage. Another stage is opened while the Table stage is put aside.
Windows Source field next to Room. Notice how the window setup changes to four view windows.
By default the table stage's window setup was being used. Now the Room stage's windows are being used. This allows you to use the window set-up belonging to any of the available stages.
| Note: The room's window setup is still being used. |
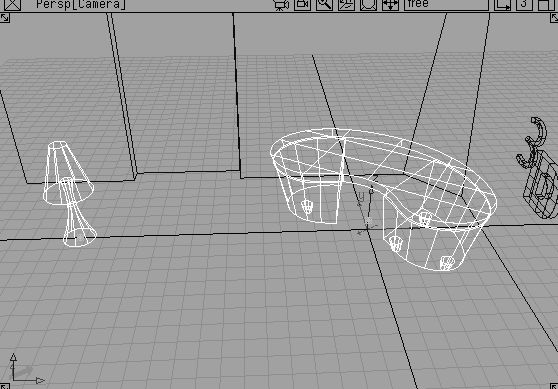
visible field next to Table. Now this stage is invisible and you can no longer see its dimmed wire lines.
menu, select Save Stage Set. In the File lister, enter the name whole_scene and click Save Stage Set.
By saving the stage set, you can later bring back these stages into a similar staging environment. This allows you to manage multiple files while keeping them separate from each other. The use of stages is a good idea when you are in a multiple user environment where several people need to refer to the work of colleagues, or if you want to work on a second file without disturbing your current file.
| Note: The stage set is saved to the project's stage set directory. This helps distinguish stage sets from wire files. |
visible field next to table to make this stage visible again.
window source field next to the lamp stage.
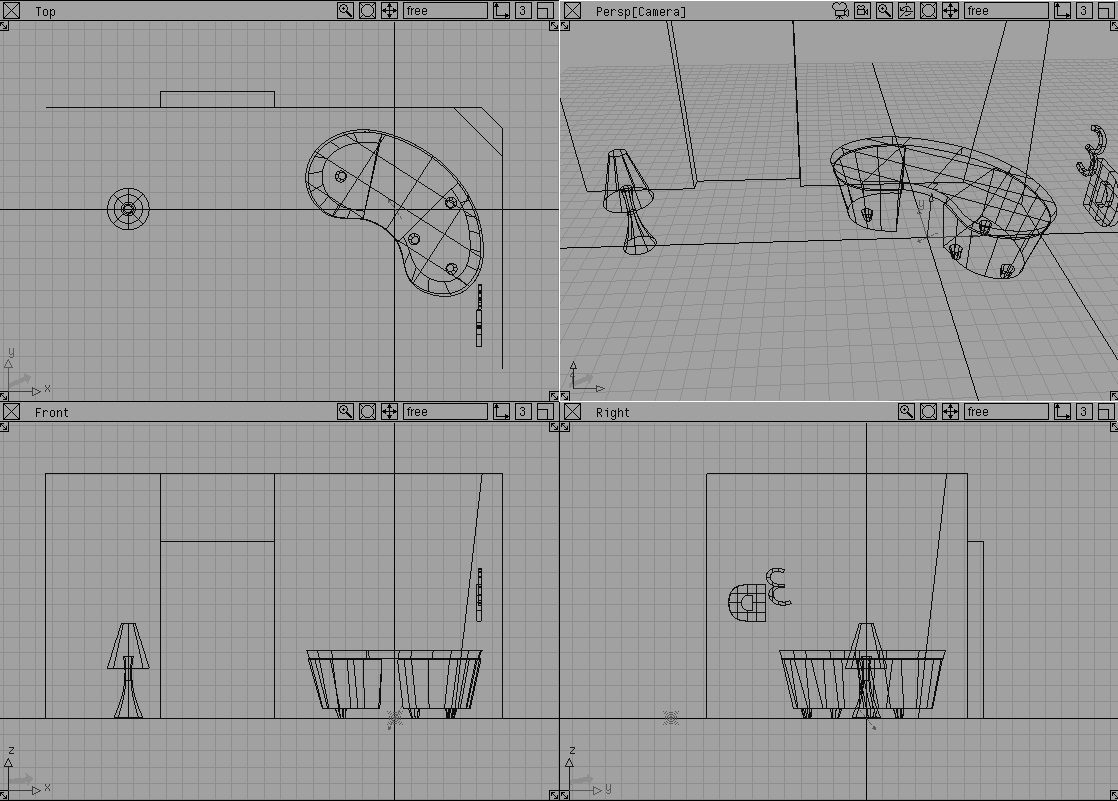
menu, select All windows All (Studio). This gives you a good working setup.
| Note: You can now choose different layouts and cameras to find the various parts of the model. |
Now that you are working on a single stage, you need other methods for organizing your work. If you want to work with models in a single file, you can edit the visibility of an object or template it.
The first display technique is Template. This display option allows you to make an object unpickable by standard pick tools in a manner similar to the hidden stages.
 Select Pick Object and click on the table.
menu, select Template. Now the table is displayed using grey wire lines.
 With Pick Object still picked, try to click on the table and pick it. When templated, these objects cannot be picked using standard pick tools.
 Select Pick Template. In the perspective window, click drag a pick box around the parts of the table. This special pick tool is needed to pick a template.
| Note: Even though your pick box touched different parts of the model, only the templated table was picked. |
menu, select Template. The table is returned to its untemplated state.
Templating objects is a good way of getting them out of the way of your pick tools but keeping them visible so that you are still aware of their position. Templated objects do not render when in this state.
Another way of managing your files is to edit their visibility. You can make any object visible or invisible to help unclutter your scene.
 Select Pick Object and click drag a pick box over parts of the table and the lamp to select the two objects.
SBD, then select ObjectDisplay Visible-
Select Pick Object and click drag a pick box over parts of the table and the lamp to select the two objects.
SBD, then select ObjectDisplay Visible- and set the
 Scope to Pick in the option box. To make an object visible click on its dashed box in the SBD.
Templating and visibility offer a quick means of working with objects. For a more flexible organization of your work, layers can be used.
Before you create your own layers, all objects are placed on the default layer. To break down your files, new layers are needed.
Table.
At this point you have three new layers but the objects are still on the default layer. You need to assign objects to the layers.
 Select
 Pick Object and with the middle mouse button, click on the table geometry to make it active. Using the middle mouse button ensures that only the object clicked on will be selected.
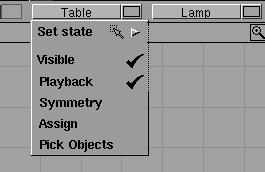
Table layer bar to show its pop up menu and select Assign from the menu.
Table layer bar and select Set State Inactive from the pop up menu. Now the table is displayed in a manner similar to templated geometry.
 Select Pick Object and with the middle mouse button, click on the lamp geometry to make it active.
Lamp layer bar and select Assign from its menu.
Lamp layer bar and select Visible. This toggles the visibility to off for all objects on this layer.
Note: The Lamp layer bar is displayed with a dashed line to indicate that the geometry on the layer is invisible. |
 Select Pick Object and with the middle mouse button, click-drag over the room geometry and the "3D sign" to make them active.
Room layer bar and select Assign from its menu.
You now have three new layers set to various states. One is in an inactive state, one is invisible, and one is pickable. The Default Layer is highlighted in yellow to indicate that it is the construction layer. Any new objects are placed on the construction layer.
Table layer bar. It turns yellow to indicate that it is now the construction layer. The geometry is also activated and available for editing.
Lamp layer bar. It turns yellow. The lamp layer is activated and no longer invisible. The table layer returns to its unpickable state.
| Tip: The ability to activate a layer by making it the construction layer makes it easy to jump from one layer to another while preserving the layer states as you move on. |
Shift key and click on the three new layers so that their bars are pressed down and highlighted with a white border.
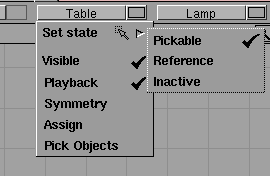
Reference. Now all the layers can be referenced for snapping but not picked.
Visible. Now all the layers are visible. The Default Layer is highlighted in yellow and will act as the construction layer.
Tip: The Shift key and the Layers menu allow you to set the state of several layers at once. |
In the first lesson, you learned about placing objects in XYZ coordinate space. While this gives you a consistent frame of reference for placing objects, there may be cases where you need to align to a more specific context where the orientation, position and angle do not correspond to the default world coordinates.
Construction planes let you set up and work with an alternative coordinate system that creates a new frame of reference. These planes let you draw in a different context from the world space axes.
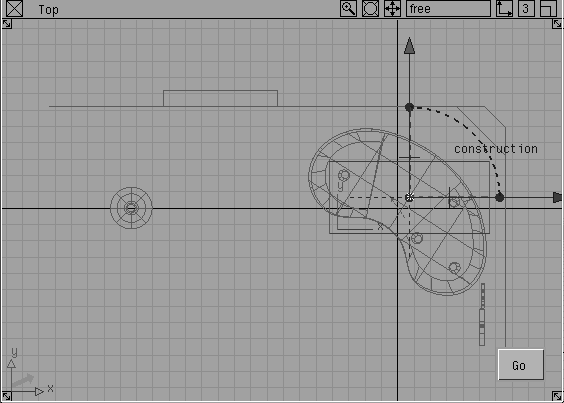
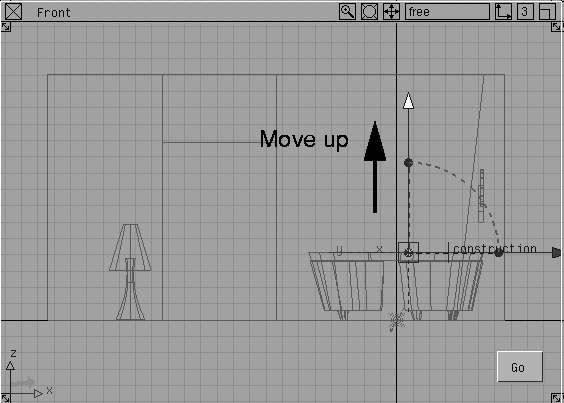
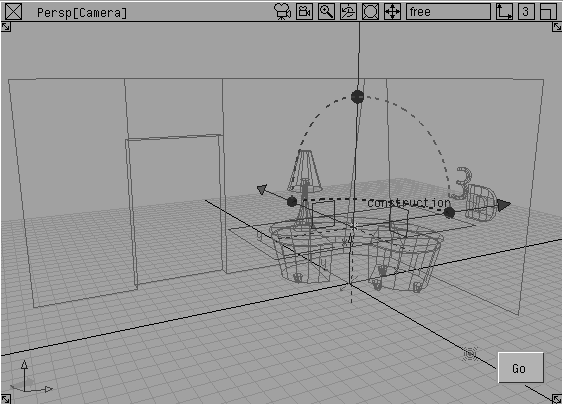
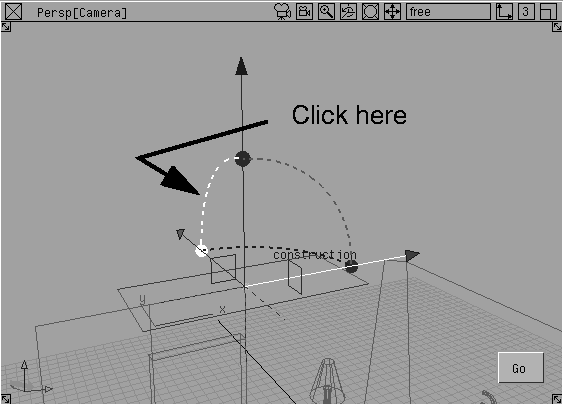
 Select Grids Free Plane. In the top window, click to place the plane roughly in the same position as the table. A construction plane manipulator is placed into the scene. You are placing it on the default layer.
The manipulator lets you orient and place the construction plane before setting it.
| Tip: There are several types of handles on the construction plane manipulator. You can move, rotate, and scale the construction plane before committing to its position. |
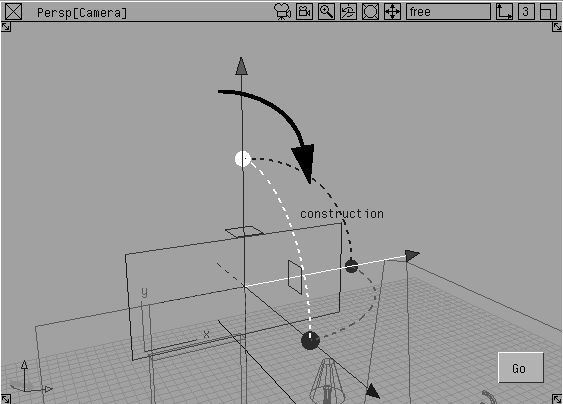
Construction planes create a new coordinate system with its origin at the center of the construction plane. In the orthographic views the axis indicators change from X, Y and Z to cpx, cpy and cpz. When construction planes are active, the orthographic views align themselves with the axes of the plane and coordinate input is accomplished using these new values.
 Select Grids Tgl const plane. This turns the active plane off and returns you to the default world space.
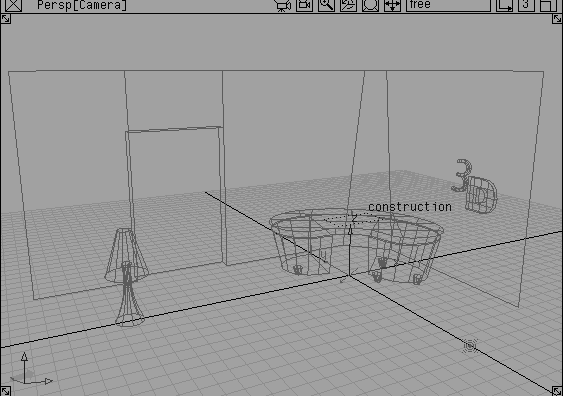
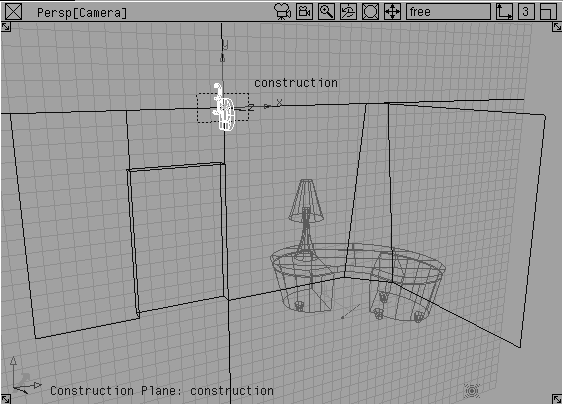
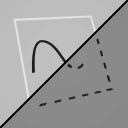
The construction plane is left in the scene, as indicated by a dotted outline and a text label, but is no longer active.
 Select Grids Set const plane. Click on the dotted line of the construction plane. It is again active.
Lamp layer to make it the construction layer. This layer is now available to be worked on.
 Select Pick Object. Click on the lamp.
 Select
 Xform Move. In the prompt line, enter 0. The lamp moves to the origin of the new construction plane.
Because the construction plane is active, coordinates are entered based on the new system. Therefore entering 0 goes to the center of the plane, which is the new origin.
Nothing to unpick the Lamp.
| Tip: One advantage of working with a construction plane is that you can interact in the perspective window, directly on the grid. You can move objects along the grid or create objects without requiring snapping. In Lesson 3 you will see how moving in the perspective window without a construction plane works differently. |
Grids Tgl const plane.
To reposition the construction plane, you can re-activate the handles and move it into place.
Default Layer to make it the construction layer. The lamp goes back to its referenced state.
 Select Pick Object. Click on the dotted line of the construction plane.
 Select Grids Free Plane. The plane manipulators are re-activated.
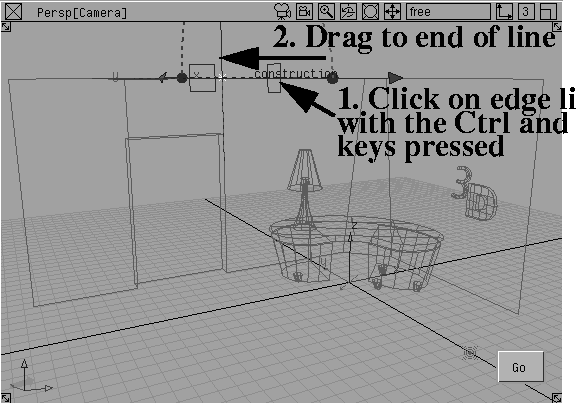
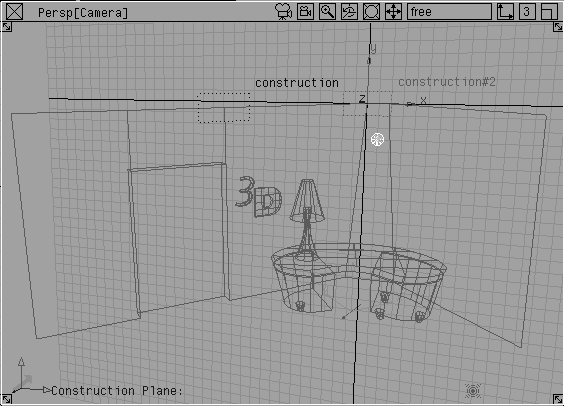
Ctrl and Alt keys together to temporarily turn on curve snapping and click on the top line of the wall to the upper right of the door. Drag to the end of the line, near the door, and release the mouse button. This allows you to lock the plane onto this top surface.
Room layer to make it the construction layer.
 Select Pick
 Object. Click on the "3D" text on the wall to the right.
 Select
 Xform Move. On the prompt line, enter 0, 0, 0. This places the text at the center of the plane.
 Select Xform
 Rotate. On the prompt line, enter 0, 0, 0. This rotates the text so that it is in the same plane as the wall.
 Select Xform Move. Click-drag in the perspective window to place the text next to the door.
 Select Grids Tgl Const plane.
The first construction plane has been used to place objects using a coordinate space that is different than the world space but uses a similar orientation. Construction planes can also be used for other orientations that would be difficult to work with using the default XYZ coordinate system. By snapping a construction plane to an existing surface, you can use the orientation of the surface to set up the plane.
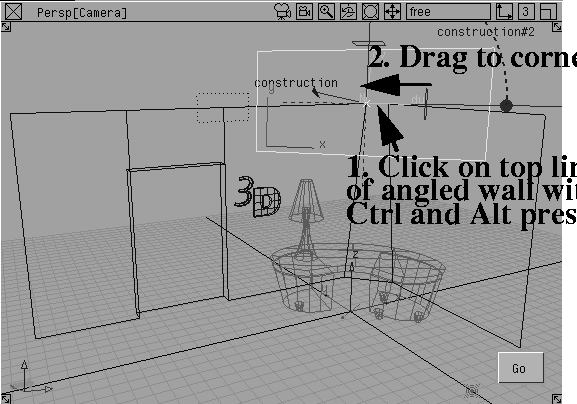
 Select Grids Surface Plane.
Ctrl and Alt keys and click- drag to the corner of the top line of the little angled wall at the corner of the room. Release the mouse button when you hit the end of this line. The plane is oriented with the surface of the wall. This tool works on both curved and flat surfaces.
| Note: If you were to click-drag on the side wall instead of the angled wall, the plane would be aligned differently, as it orients based on the direction of the surface geometry that it is snapped to. Make sure your first click is on the angled wall. |
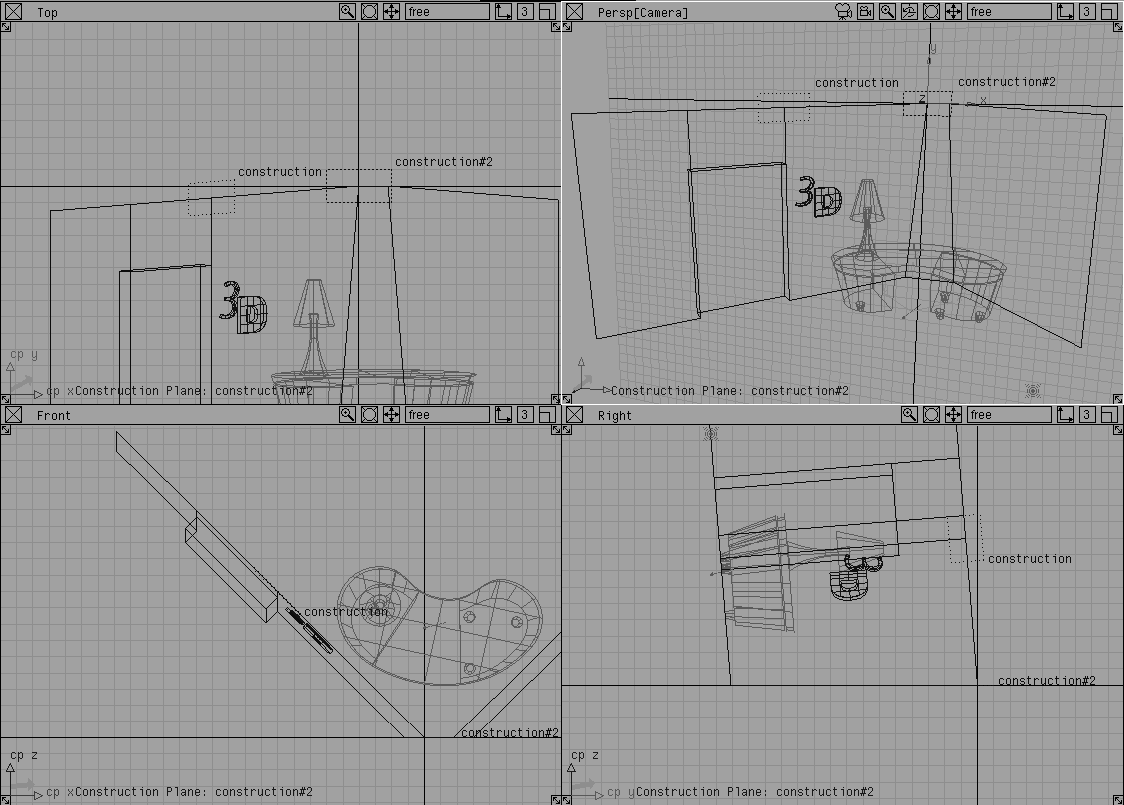
The orthographic views change dramatically with this action. The Top view is looking down at the wall, since it is aligned with the active plane. The new construction plane is drawn at the angle of the wall and the orthographic views are changed to match. The coordinate world now uses this angle surface as its base reference.
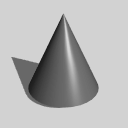 Select Objects Primitives Cone. In the perspective window, click on the construction plane near the center of the wall segment.
 Select Grids
 Tgl Const plane. The default ground grid is now active and the cones are sitting directly on the angled wall segment.
As you can see, construction planes let you draw using a frame of reference that suits the needs of the model. If you later want to return and add a different element to the angled wall the construction planes create a frame of reference for you to work. They are very powerful for working in a complex 3D environment.
In this lesson, you have learned about stages, layers and construction planes. Each of these tools gives you a way to organize your models and streamline your workflow. Be sure to refer to the reference manuals to learn more about the various options available in these tools.