All pictures should be taken with the same exposure time and aperture. Use the exposure lock or panorama mode of your camera. If your camera doesn't have this feature, don't worry, you can correct any mismatches in exposure later.
Now the task is to pan the camera horizontally (or, rarely, vertically). For cylindrical panoramas, I orient the camera vertically and zoom all the way out, unless the region of interest is very narrow. A tripod is helpful to minimize wasting image area, but with careful aiming, panoramas can be taken without a tripod. Anticipate some image loss when the panorama is cropped.
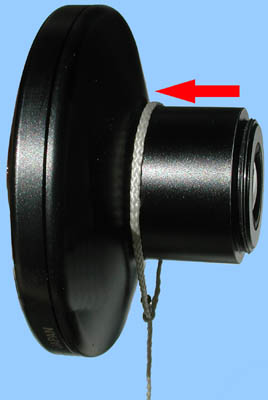
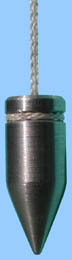
For spherical panoramas, I use a variation of Philo's virtual tripod. It consists of a string with a weight tied around the barrel of the fisheye lens and a bubble level. The weight marks the point on the ground around which the camera is rotated. The string should be moved as close as possible to the lens side of the barrel, because that is the location of the nodal point.
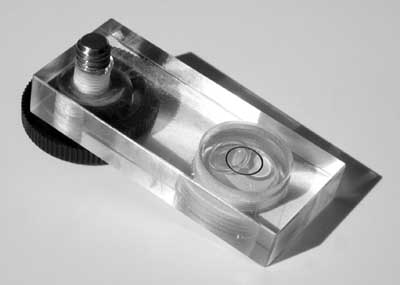
I mounted a bubble level in a piece of Lucite and attach it with a 1/4 inch screw to the camera. It indicates when the camera is exactly horizontal. Errors along the roll axis are of little consequence, but errors in the pitch axis can lead to holes in the coverage either at the zenith or at the nadir. Holding the camera horizontally and the weight over the rotation point at the same time becomes easier with practice.
This "tripod" has two advantages over a regular tripod: It is much easier to transport and it doesn't disturb the panorama. The weight and its shadow is the only thing that will appear in the finished image. It can easily be removed with a few strokes of a clone stamp in a graphics program. The same tool removes hot spots from lens flares.