I then added grommets to the edges of the wings, one every 3cm, and laced the thin, brown cord I'd bought through the grommets.
That was my vest finished.
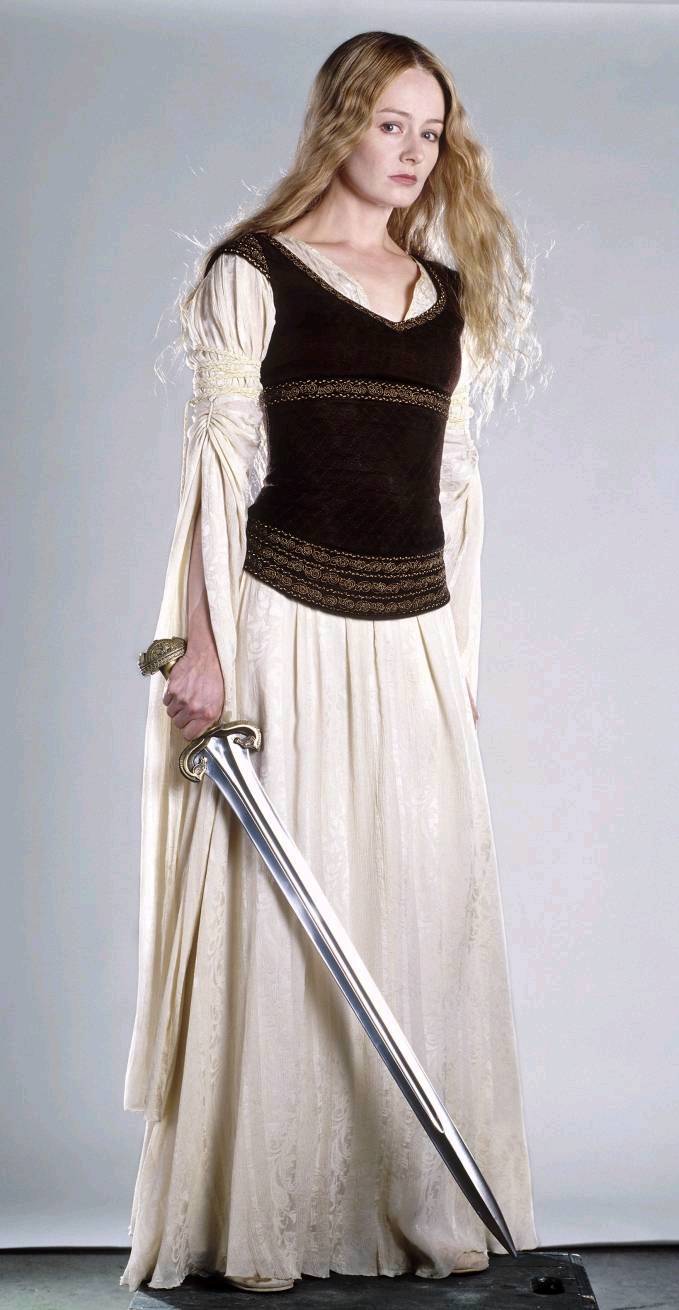
I have to say I am very pleased with how my Shieldmaiden gown has turned out. I do not have any pictures of it as yet, though there will be some no doubt later, when I've bought more film as I seem to be going through a lot lately...hmmm.
Below is a photo (well actually I just lay some scraps of my fabrics, trims and cords across my scanner and scanned them in) of the fabrics, trims and cords I used for my Shieldmaiden Gown. Each material is labelled so you know which is which.
