Step 1: Inserting Hyperlinks
|
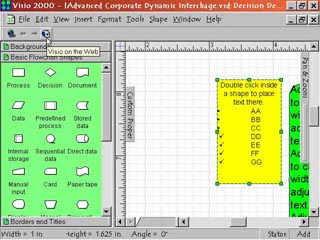
1. You can insert a Web hyperlink into a shape to make it ?clickable'. Simply select the shape and click the left most button on the web toolbar, Insert Hyperlinks. This brings up the Hyperlinks dialog box where you input the URL and other information for the link. |
Step 2: Navigating Links |
2. Once you have cross-linked two or more shapes or pages, you can use the Back and Forward buttons to navigate back and forth between those links. This provides an excellent method to verify your links without having to leave the Visio environment. |
Step 3: Updating Links
|
3. Whenever you move a files or a drawing that is linked, you must update the links path. Choose Edit > Links this will open the Links Dialog Box, where you can choose the Change Source Button to locate the file's location. |
Step 4: Visio On The Web |
4. The last button on the right is the Visio on the Web command. Click this to open your browser and connect to the Visio web site for additional help and information. Through this you can quickly contact Technical Support for any issues or questions you may have. |