Step 1: Shape Arrangement Commands
|
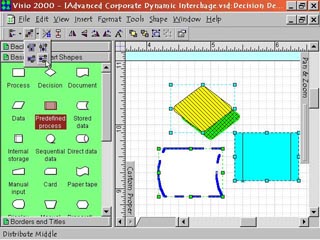
1. The first four buttons starting from the left deal with arranging and connecting shapes on the page. Align Shapes takes two or more selected shapes and lines them up in order. The pop down menu of alignment options is accessed through the arrowhead on the button's right. Distribute Shapes moves selected shapes to different areas of the page. Lay Out Shapes brings up an option box allowing you to pick arrangement styles. Connect Shapes connects two or more selected shapes in the order of selection. |
Step 2: Flip and Rotate Commands |
2. The next five buttons right of the Shape Arrangement Commands are: Flip Horizontal, which reverses the left and right of a selected shape across its center. Flip Vertical, which reverses the top and bottom of a shape across its center. Rotate Right, which rotates a shape 90 degrees clockwise around its center. Rotate Left, which rotates a shape 90 degrees counterclockwise around its center. And Rotate Text, which rotates selected text 90 degrees counterclockwise. |
Step 3: Levels and Group Commands |
3. The next two commands to the right deal with overlapping shapes. Bring To Front puts the selected shape on top of other overlapping shapes. Send To Back puts the selected shape on the bottom of an overlapping stack of shapes. Right of these are grouping commands. Group takes two or more selected shapes and in some ways defines them to be one shape. Ungroup takes a grouped set of shapes and redefines them as singular objects. |
Step 4: Custom Properties Command
|
4. The last button on the right of the toolbar is the Custom Properties button. Select a shape and click on this to open the Custom Properties dialog box. Custom Properties vary from shape to shape and the user can define additional custom properties for a shape. An example of a custom property in a flowchart might be the Cost of a process. The user can then input a cost figure that the shape will ?remember' in its properties. |