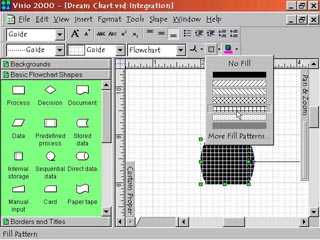
Step 1: Line and Fill Styles
|
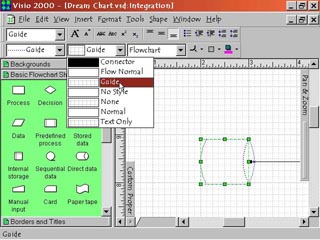
1. The first text box on the left of the Format Shape Toolbar is the Line Style text box. Click on the pop down menu arrowhead on the right of the text box to access the menu selections for this command. These allow you to change the line style that a selected shape is drawn in. The next text box to the right is the Fill Style text box. Its pop down menu allows you to change how the interior of a shape appears. Note: these selections can affect text appearing within a shape or text box. |
Step 2: Layers |
2. The third text box from the left is the Layer control. It has a pop down menu that is accessible when an object is selected. When a drawing is created it is created with certain objects being on different layers. Two common layers are Connectors and Flowchart. By selecting an object and using the pop down menu, you can change the layer an object is on or even remove layering altogether. |
Step 3: Corners and Fill Patterns
|
3. Right of the Layer text box are two very useful buttons. Corner Rounding lets you round off the corners of a shape. Click the pop down menu arrowhead on the button's right to access predefined corners or the More Corners option. More Corners allows you to define any amount of rounding you desire. Fill Pattern lets you choose a predefined pattern to fill a shape with. Or choose More Fill Patterns from the pop down menu to select from a larger range of patterns, colors or both. |
Step 4: Shadows |
4. The last button on the right is the Shadow Color command. Select an object and click this button to give it a shadow. To select a color for the shadow, click the pop down menu arrowhead on the right. From this menu you can remove shadows by choosing No Shadow. You can choose any of the predefined shadow colors. Or you can choose More Shadow Colors to create your own custom colors and even mix them with fill patterns. |