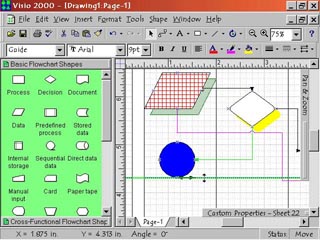
Step 1: View Guides
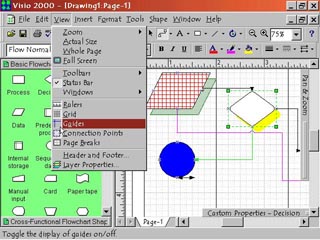
1. To view guides, select View > Guides. This must be selected in order to use guides. Guides are positioning lines the user can set up at their convenience. They can be used to align and size shapes.
Step 1: View Guides
|
1. To view guides, select View > Guides. This must be selected in order to use guides. Guides are positioning lines the user can set up at their convenience. They can be used to align and size shapes. |
Step 2: Setting Guides
|
2. To set a horizontal guideline, click in the ruler on top and drag down until the line is in the desired position. Release the mouse button and the guideline will set itself at the location it is dropped. To set a vertical guideline, click in the ruler on the left and drag across until the line is in the desired position. Then release mouse button to set. |
Step 3: Positioning Shapes |
3. After setting guidelines, to position shapes, simply drag them until the are aligned on the guide and release. |
Step 4: Sizing Shapes |
4. Position two (or more) guides at a desired distance. Drag a shape over and align it on one guide. Then use shape's sizing handle to stretch or shrink it until it is alignment with both guides. It is now sized. |
 Proceed to the Next Page!
Return to the Previous Page!