Techniques
– Taking a Screenshot
These examples will be in JPEG format since it’s an acceptable web format.
I recommend taking pictures in Bitmap format since you won’t risk losing
any color. When you’re finished with the hoax, you can then convert
the picture to JPEG. But we’re getting ahead of ourselves.
Let’s start up Sonic 3 & Knuckles. Usually you’ll start off by
playing the game and making observations. You want to visualize Robotnik
in the scenery. For this example, though, I will tell you where to
go.
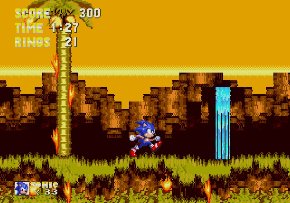
Go to Angel Island Zone and play until you’re about halfway through the
stage (where a floating robot shoots bombs and sets Angel Island on fire).
Let’s take a couple of screenshots of the surroundings. Save a copy
of the screenshots in a different location so that you can return to them
if something goes wrong.
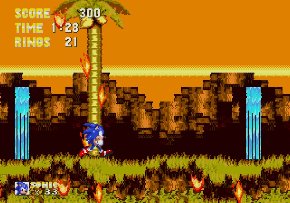
For simplicity we’re going to call these two screenshots “Screen 1” and
“Screen 2.”
|
|
Screen 1
|
Screen 2
|
First, let’s make some basic observations about the two screenshots:
• The sky is two different colors.
• One screenshot has one waterfall,
the other has two waterfalls.
• The waterfall visible in both screenshots
looks slightly different (easier to see in the larger version).
• The flames have changed shape.
What is the point of these observations? The point is that although
you haven’t moved much, the scenery is constantly changing. This is
important for copying and pasting, which will be covered later.
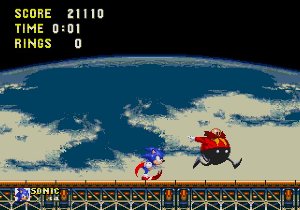
Now it’s time to take a screenshot of the star of our hoax. The question
is where do we find Eggman? Think back to Sonic 3 & Knuckles.
When you beat the boss at the end of Death Egg Act 2, Eggman runs away before
getting in his final weapon. So, let’s head off to Death Egg.
Again, pausing the game helps you find the perfect screenshot. Here’s
the screenshot I was able to take:
Now we’ve got our basic screenshots for the hoax.
Next -- Basic Techniques - Editing a screenshot
Back -- How do I start making a hoax?
Back to the Hoax 101 page
Back to the Hoaxes page
Home (Sonic's Hideaway)
E-mail