Pleroma Part II
Powering Up
Best TP/Experience ratio:
Segment Addresses
Decoder 4
Enemies
Regular
Mini-Boss/Boss
Items
Important
Misc

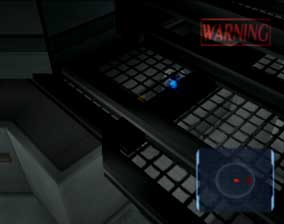
Open MOMO's cell to set her free, after which, one of the guards will sound the alarm (should've just busted open the door to begin with ^_^). Take the upper left exit, and head toward the A.G.W.S unit (Mercurio). Take it out (it'll be easier now with MOMO) to obtain Decoder 4. Go up the ladder and to the left. Your path is blocked, so you'll have to find a different way back. Head towards the monitoring room (where you found the Master Key). and push the red button. Exit the monitoring room, go down, and through the door on the left. Go down the ladder, and the game will enter another cinematic.
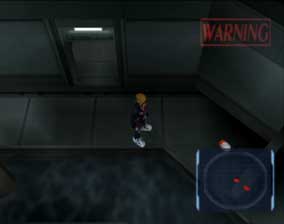
Now it's a race- the faster you move, the less battles you encounter. So start heading left, and go as fast as you can. Avoid the green goo on the ground, cause it will slow you down. When you see two ramps leading down, take the lower left one. When your path is heading straight to the left again, you will quickly come upon a bridge heading up, that connects to a path going right- take that path.
Detonate the object to obtain a Med Kit, then head upwards through the doorway. Follow the corridor up through another doorway. You are now in the room below the bridge where all the enemy units that were blocking your path were (notice the chanting). Head upwards and open the treasure chest to obtain an Ether Upgrade Z. Head back down and return to the path that was going to the left. Notice that you are not being followed anymore. If you simply start running to the left again, you will begin to be chased again. However, I found that if you walk (not run) to the left, staying on the uppermost part of the path, those machines won't resume following you. So walk in a straight line towards the red tanks. Detonate them to obtain ___ You may now continue left at any pace you choose.
You will eventually come to another point where the robots resume their chase. Near this point is another destructrable object towards the top of the screen which contains an Ether Pack S. Get it, and continue going to the left. When you come to the end of the path, take the ladder up. You'll now have a forced battle with three A.G.W.S. units- 2 Mercurio, and 1 Zolfo.
Battle Strategy
Have Ziggy focus his attacks on one of the Mercurios, while MOMO uses Sheep Beam to keep the other Mercurio asleep, and Life Shot to heal when needed (keep MOMO on back row). Use only a single attack on Ziggy's first turn, and two attacks every turn afterward so that he has six AP at the beginning of every turn. In the event that the Zolfo shoots the Mercurio that is asleep in order to wake him up, and Ziggy has the next turn, use Ziggy's BMP55SX to attack all A.G.W.S. simultaneously.
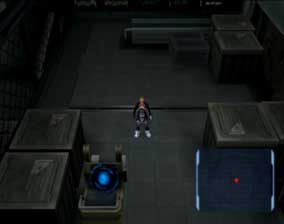
Detonate the forklift to obtain 2 Bio Sphere. Head upwards and detonate the two boxes to obtain 8 Med Kit S. Then go through the door on the upper left. Save your game and exit the room through the large door at the top. You are now back on the path you were previously on. If you defeated the Mercurio that was holding the Decoder 4, head to the right, so you can use the Decoder to open Segment Address 4 and obtain a theif ring. Otherwise, head to the left to continue making your escape. After exiting the doorway you'll find Margulis, the last obstacle to escape, blocking your way-
Battle Strategy
If you have enough ether points for Ziggy, you'll want to get his Bodyguard ether
If you haven't upgraded the speed of one of Ziggy's tech attacks, you'll need to alternate between using one attack, and three attacks, in order to use a tech attack as often as possible, because regular attacks just don't deal much damage. Use his close range attacks, as his long range attacks don't do much damage, if any at all. He'll drop a red ring or, if you're lucky, a purple ring.
Previous: Pleroma Part I Next: Elsa I