"I Share For The Better"
Lesson 8: Glow in the Dark
-
Steps:
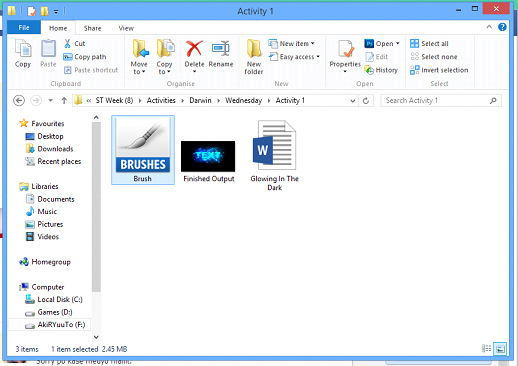
- Double click the brush file located in the folder.
- Open Adobe Photoshop Cs 3 or any version will do such as Cs 3, Cs 4, Cs 5 or Cs 6.
- Create a new canvas. Go to the Application bar.You can see first the "File" button. Click the button file then there will be a pop-up menu.When the pop-up menu appears click the button "New".
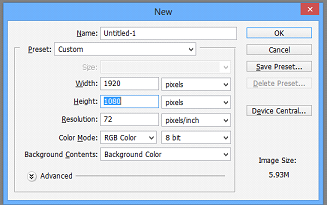
- After clicking the "New" button, the customizing canvas will appear make your foreground color to white and background color to black, now create a new document with measurements 1920 px x 1080 px and the Background Contents option to Background Color.
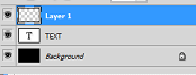
- Use the Horizontal Type Tool and click type in ōTEXTö using Arial as the font, Black as the font style and 300 pt as the font size.

- Click on the image of the ōTö in the layers tab while holding down CTRL. You will notice that the text will be selected.

(Peeled Sticker)
(Futuristic Grunge)
(T-shirt)
(Hair Color)
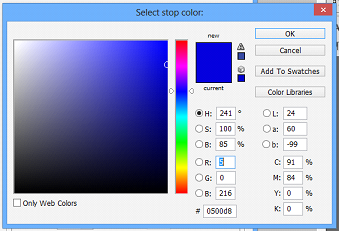
7. Create a new layer by pressing CTRL + Shift + N. Select the gradient tool and double click to where the colors are. Change the first color to a mild light blue color, type in the ō#ö box ō00c0ffö and the second color to a dark blue color as ō0500d8ö the use the gradient tool, start with the upper ¢ left of the screen going to the lower ¢ right of the screen.
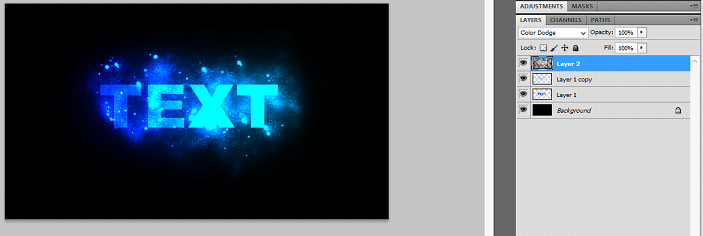
8. Now deselect the layer (CTRL + D) and duplicate the new layer with the colored ōTEXTö on it (CTRL + J). Then delete the ōText Layerö and make new layer and place that layer above the two ōTEXTö layers.

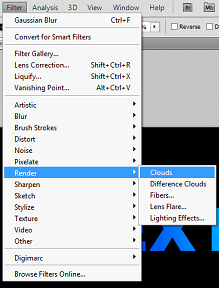
9. Now go to Filter > Render > Clouds.
10. Change the blend mode of the new layer to color dodge.
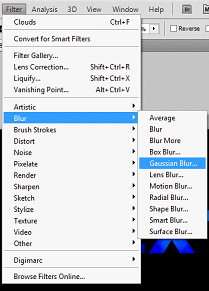
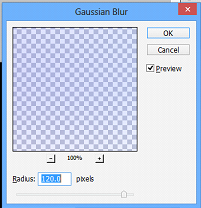
11. Select the copy of the ōTEXTö layer and go to Filter > Blur > Gaussian Blur and change the radius number to about 60 ¢ 120.
12. Now select the brush tool and scroll down to see the downloaded brushes. Then select the clouded layer and start brushing with those downloaded brushes.
13. Save your work as Glowinthedark_(your name).psd. Then you can also save it as a jpeg file or png file (eg. Glowinthedark
_(your name).jpg, Glowinthedark_(your name).png)
14. Congratulations now you have learn another use of Adobe Photoshop!