"I Share For The Better"
- Open Adobe Photoshop Cs 3 or any version will do such as Cs 3, Cs 4, Cs 5 or Cs 6..
- Create a new canvas. Go to the Application bar.You can see first the "File" button. Click the file button then there will be a pop-up menu.When the pop-up menu appears click the "New" button.
- After clicking the New button, the customizing canvas will appear use 72pixels as your resolution and the size will be width ="4" height ="5". Name it as Hair color. Then click "OK".
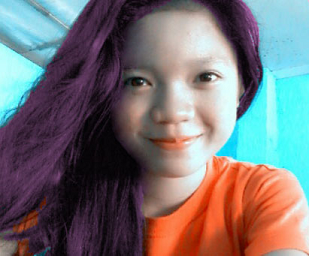
- To open the images that you will need, again go to the Application bar then click the file button. When the pop-up menu appears click the "Open" button. Open the neccessary image the the original image. For example:
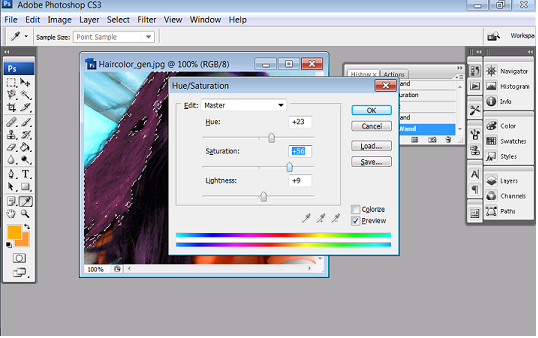
- Use the magic wand to select the hair then when the hair had been selected press Ctrl+u for hue and saturation.
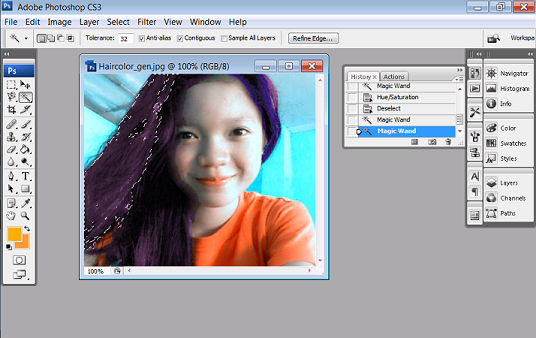
- Use the magic wand to select the hair then when the hair had been selected press Ctrl+u for hue and saturation.
(Peeled Sticker)
(Futuristic Grunge)
(T-shirt)
(Hair Color)
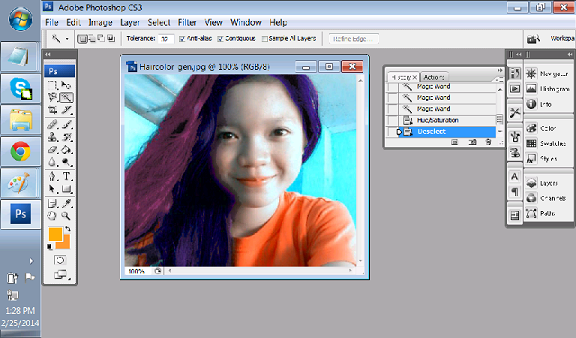
8. Congratulations now you have learn another use of Adobe Photoshop!
And that's all Thank You for Learning!