| PAGE 5 |
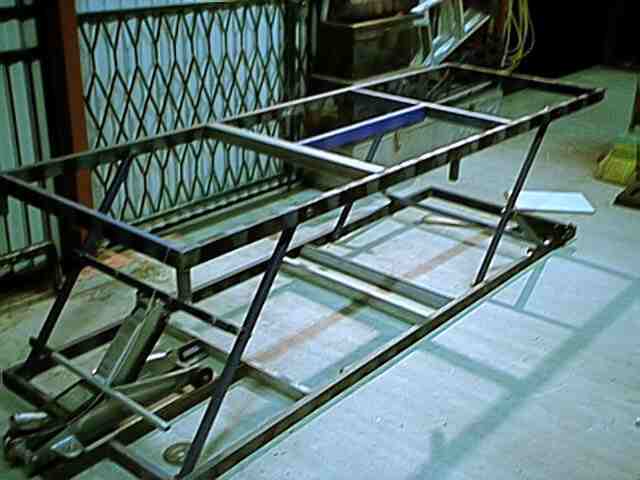
| 4-5-2002 Well I've finally gotten back to the Velo restoration! Two house moves and a newly built shed have been keeping me occupied. I've also almost finished constructing a hydraulic lift bike table which I've added a photo of. Please contact me if you want more info on how to build one of these. It cost me about $200 (Australian) to build - much cheaper than the $990 one that I was going to buy!! Anyway - on with the Velo |
| Click on pic for bigger view |
| I've started pulling parts off the motor/frame assembly. The radiator was the the first bit to come off. This has been degreased ready for paint strip and re-painting black. There are some brass manufacturers plates on the top of the radiator,which I will polish and then tape up before painting. Pulled the carby off. I plugged inlet/ outlet holes and spent an hour or so cleaning 50 odd years of grime off it, before completely stripping it down. I've cleaned all the outside surfaces and then sprayed inside with carby cleaner and blew everything out with compressed air. A lot of the jets were clogged up with grot so I'm surprised I ever got the poor old girl to run. |
| I bolted the carb back togethor with new home made gaskets and then sprayed it with a rattle can. The colour I'm using is "Silver Grey Metalic" which looks like a good match to what original paint was left on the carby. I've just finished the final coats of clear finish and am a bit worried that the carb is looking too grey. The silvery look seemed to dissapear when the clear was sprayed. I've left it hanging up and will have another look at it in the morning. |
| Carby stripped down. (click on for bigger view |
| BACK TO PAGE 4 |
| BACK TO HOME PAGE |
| 7-5-2002 I decided to repaint the carby. Don't know what happened before but suspect I wasn't shaking the spray can often enough and therefore not getting enough silver out with the grey??? Anyway, the carby is now a silver grey that matches the original colour. I've decided to get the starter/choke lever powdercoated black. I'm thinking that continued use will wear the paint off it pretty quick. I'll leave it for a while and make sure there's nothing else I want powdercoated. |
| Had a closer look at the radiator and noticed it was still a bit grimy between the fins and water tubes, so had another go at degreasing. No mucking around this time - I dumped the whole thing into a 4 litre tub of degreaser and let it soak for 30 minutes. A bit of a brush down and then a hose off, and it came out sparkling clean. So clean in fact, that I've noticed a hairline crack where one of the side tanks connect onto the central airbox section. I'll have to get some flux and have a go at soldering it. If that doesn't work then it will be dropped off to a radiator repair place. |
 |
 |
| 14-5-2002 Managed to solder up the radiator ok. I'm not too sure how the strength of the join ended up but am relying on the fact that it's rubber mounted in three positions. I polished the brass manufacturer's plates up and then covered them up with masking tape. Sprayed the radiator with four thin coats of black. Hardest part was getting coverage inside between the fins and water tubes. The radiator is now mounted in it's frame using new rubber mounts, and new hoses. I've also painted the air cleaner cover and clamp. |
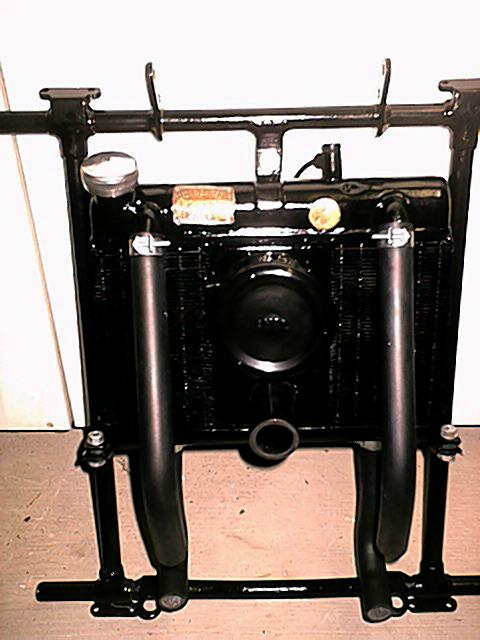 |
| Click on pic for bigger view |