

Rob's Painting Tips
Just Click bellow for the lesson you require.
The following projects are
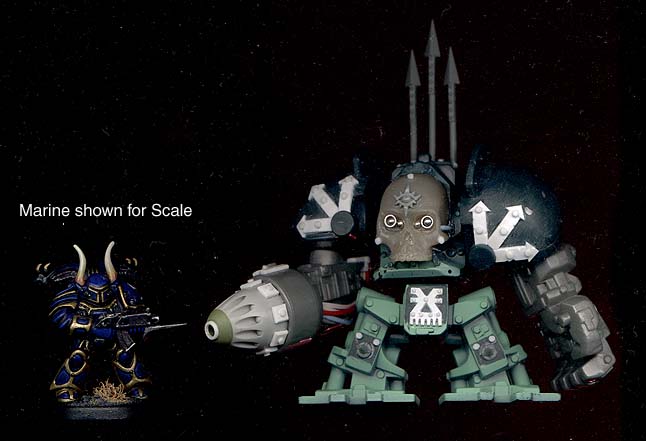
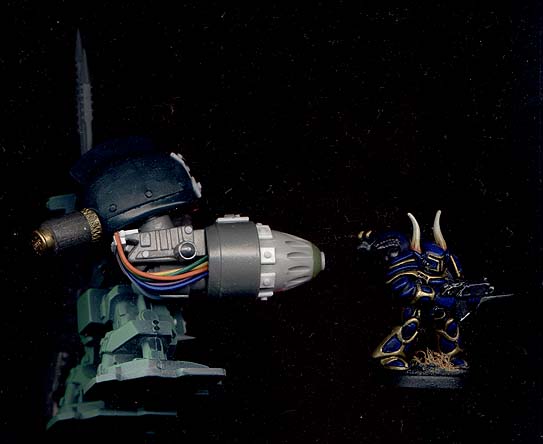
This is a Havok Miniatures "Battle Form" or Dreadnaught if you use it in WH40K as you can see he's a bit bigger than the GW ones and costs about 1/7 the price ($10.95 AU compared to $69.95 AU) I decided to really chaos this one up so I cut off the usual face part and replaced it with half a resin skull I had lying around. I put in sensor eyes made from pin heads and bits of alluminium tubing. The chaos arrow things on the shoulders are made from Evergreen plastic cut to shape and then bent to fit. The rivet is cut plastic rod. The Big muzzle for the gun is and old multiple rocket front from I think a 1/24 scale fighter plane kit. I once bought a bag of plane kit parts it was one of them. As you can see from the side veiw it has been cut down and rounded off with green stuff with a plastic tube as a central barrel. All the cabling underneath is a bit of multicoloured ribbon wireing. The odd thing at the back of the shoulder is a screw recess for housebuilding. The dark bit around the side of it is lead. I stuck it on because the gun tended to face the ground without a counterweight. If you want to see some dreadnaught I did earlier click on the WH40K link bellow and go to the Chaos page.
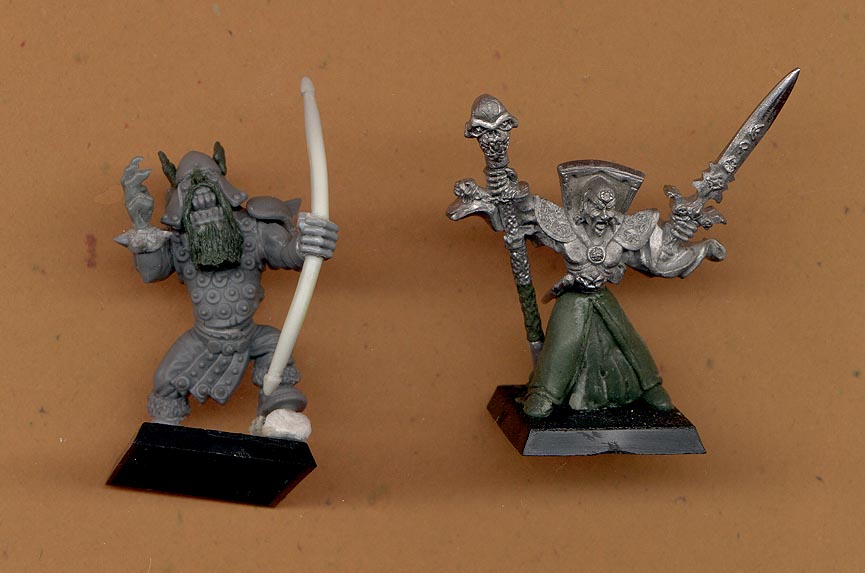
Heres a couple of minis that I've gone the green stuff on. The One on the left is a GW plastic orc which I have straigtened up to make taller and after adding horns and a beard, plus the big bow and arrows is to be a troll archer for Earthdawn. Unfortunately the character it was for didn't survive the first gaming session. The Necromancer on the right was as you can see Half a necromancer. I've had the top half of this mounted guy in my bit's box for ages and thought he deserved legs. I also changed his oversized wand into a staff and thinned the size of his sword.