 |
|
|
|
|
|
|
|
|
|
|
|
|
|
|
|
|
|
|
|
|
|
|
|
|
|
|
|
|
|
|
|
|
|
|
|
|
|
|
~Canopy Rebuild~ |
|
|
|
 |
|
|
|
 |
|
|
|
|
|
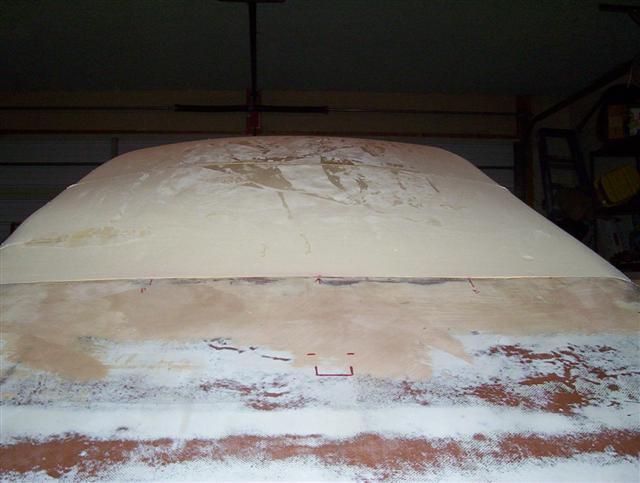
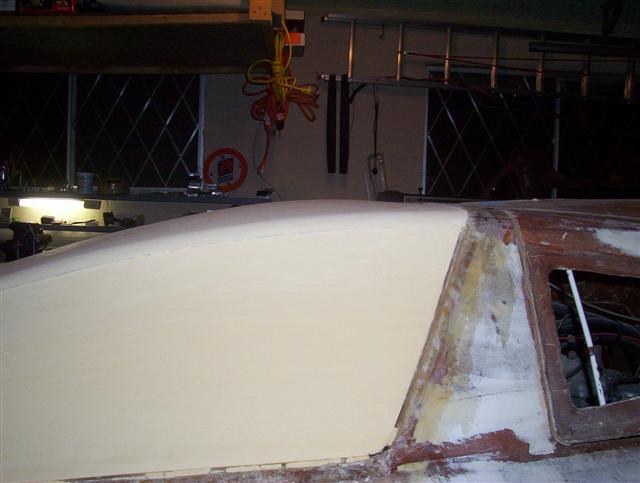
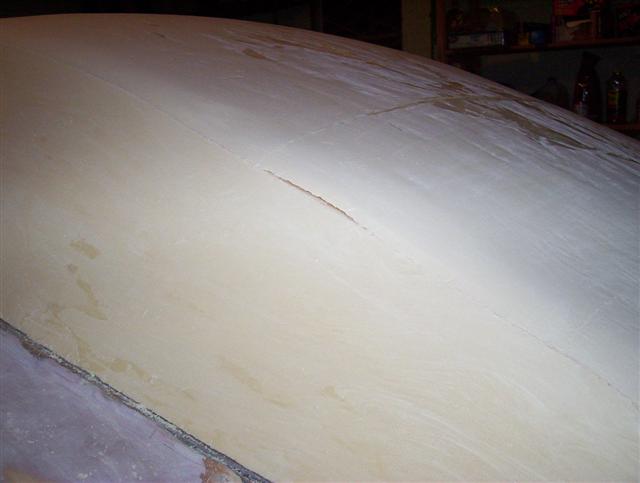
Nearly a month passed by before I was able to do more work on the canopy. I started to notice warping and changes in the shape. Because the Trymer is so much more rigid I doubt this would be a problem with the Trymer, although I don't know for sure. These are some pics of the changes in shape. |
|
|
|
Glue Issues |
|
|
|
Solvent-Based Contact Cement |
|
|
|
|
|
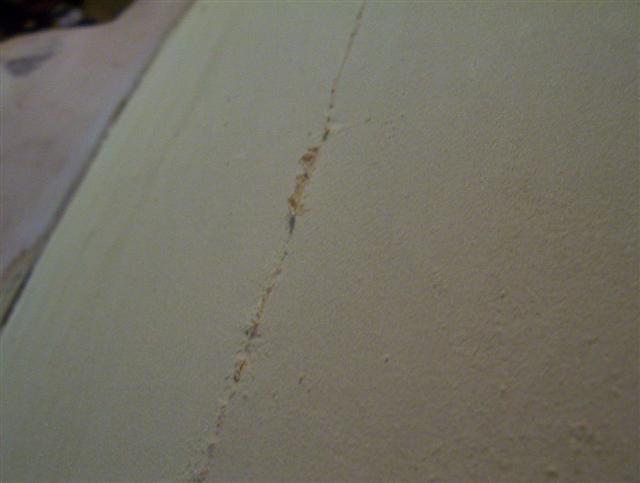
Worked very well to put panels together. I used two applications, one to soak in and the other to glue together.
When dried it is very rubberized. Sanding the radious through the glue seams caused risidual glue in the seams to stick out, because the foam sands off much faster that the glue.
Paul told me that any 'positive' protrusion, or anything sticking up, will tend to cause air bubbles in the glassing process. He said it's much better to have a 'negative' in the surface, or depressions. With that in mind, I worked on getting the seams cleaned up. Light sanding block and a razorblade, good music and lotsa time. |
|
|
 |
|
|
|
|
|
 |
|
|
|
|
|
|
Glue Seam Repair |
|
|
|
|
Rubberized Cement protruding after sanding seam for contour. |
|
|
|
 |
|
|
|
|
 |
|
|
|
|
|
|
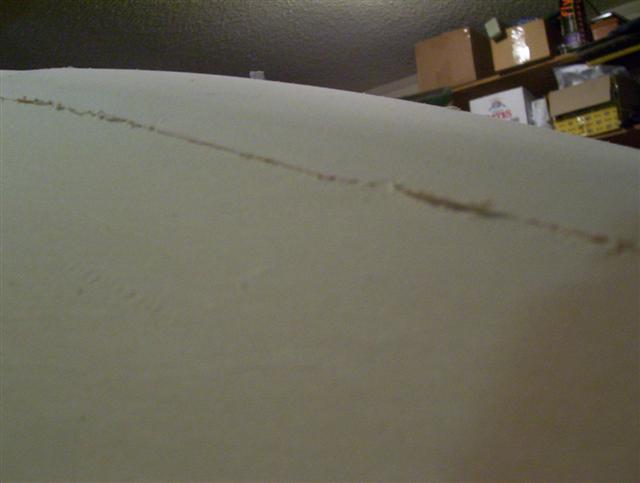
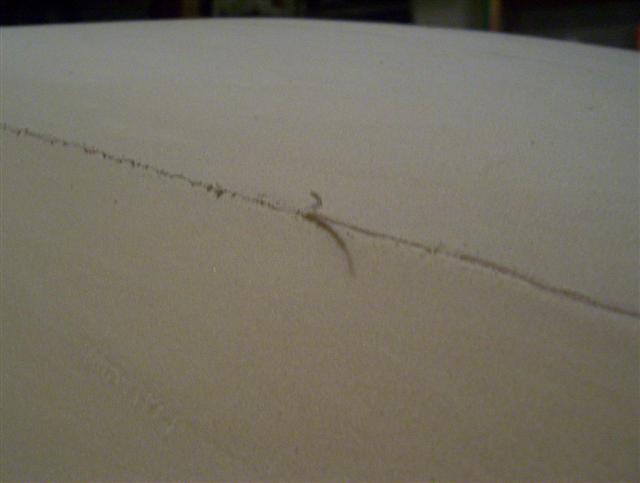
I had a few cracks in my panels that occurred when handling them, and also when cleaning up the glue seams I found some weak ones. A hot glue gun worked really well to repair these. Another good suggestion from Paul. |
|
|
I carefully used a razorblade to cut out the protrusions. How it glasses remains to be seen. |
|
|
|
|
|
|
 |
|
|
|
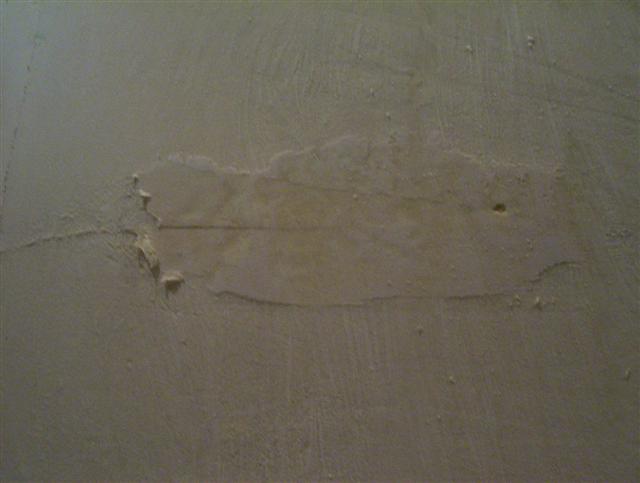
I wouldn't recommend what I did here. Using a paint brush, I layed a layer of contact cement over a crack. If it's not a finish surface, no problem. Otherwise I would avoid doing this. I had to sand this off which of course caused the foam in the immediate area to quickly come off. This crack occurred when I was handling a panel before it was glued in place on the vehicle. |
|
|
|
|
|
 |
|
 |
|
|
 |
|
|
|
|
|
|