 |
|
|
|
|
|
|
|
|
|
|
|
|
|
|
|
|
|
|
|
|
|
|
|
|
|
|
|
|
|
|
|
|
|
|
|
|
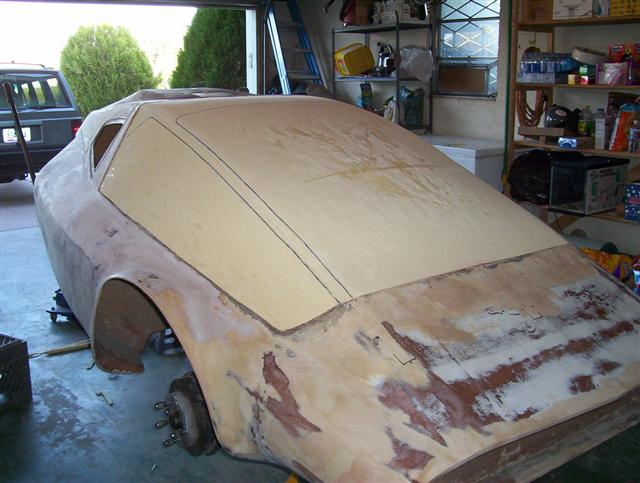
~Canopy Rebuild~ |
|
|
|
*Window Layout *Window Recesses |
|
|
|
 |
|
|
|
 |
|
|
|
|
|
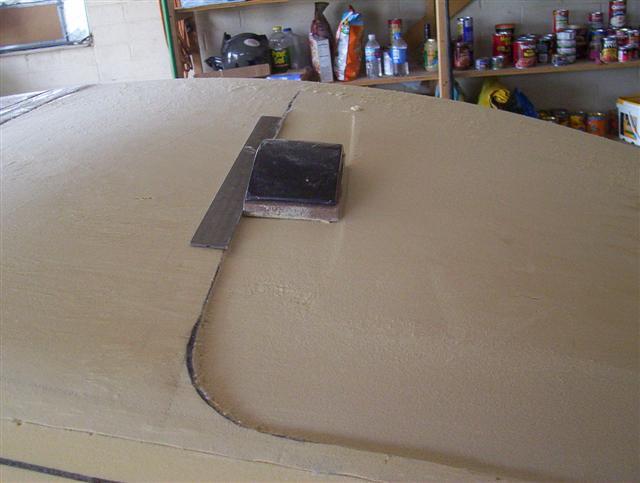
Recess is .25" deep for flush fit of polycarbonate. A woodsman I am not. Starting with a metal straight-edge and a course sanding block, the edges were rough. |
|
|
The plans are a bit vague with window dimensions. Using information from the plans and from my picture collection I did the best I could to layout where the windows should go. |
|
|
|
|
|
|
 |
|
|
|
Using the .25" thick stringers I'd purchased, I cut up one at 8" for a sanding guide, then cut up another 4" piece to make a pre-calibrated sanding stick. I have become a huge fan of glue guns. I glued some emery cloth onto the 4" X .25" chunk of stringer, then used it as a sanding stick to get a better effect while being able to tell proper depth at the same time. Worked like a charm. |
|
|
|
|
|
 |
|
|
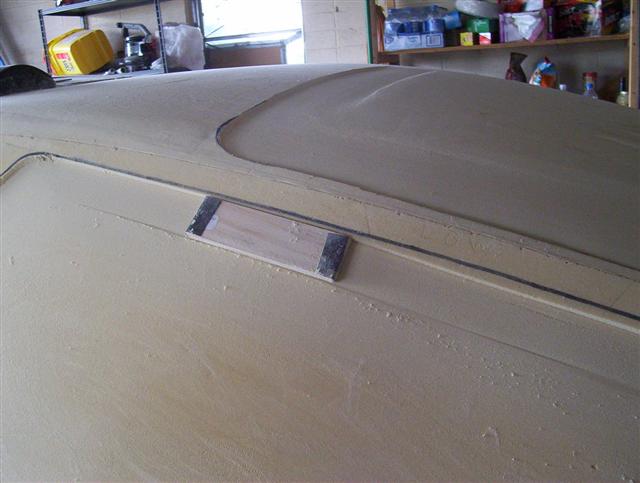
I widened the A pillar, as the original width felt way to thin. The Tuff-R foam at this point is very delicate and I had to slow way down to get the edges I want. Suggestion: get foam at least 1" thick. I'm running out of depth and may end up sanding through it in spots. No biggie, just more work that could be avoided if I had known. |
|
|
|
|
|
|
 |
|
|
|
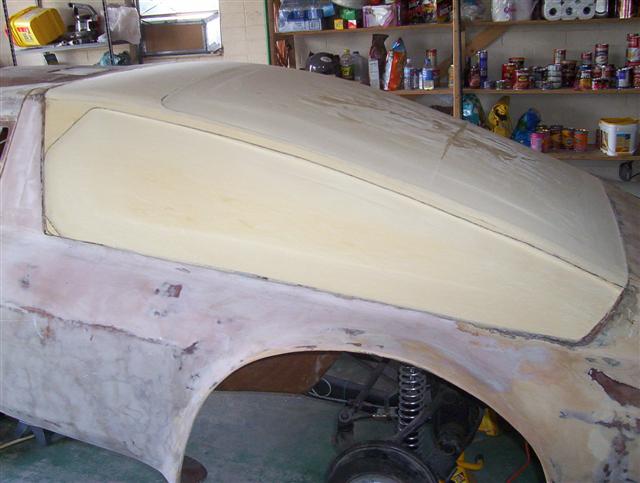
Starting to take shape. Due to the change in foam shape from sitting, I will have some body work to do. If using Tuff-R, my suggestion would be to get it glassed as soon as you can. |
|
|
|
|
|
*Update: I've decided to take the top panel off and to redo it. I wasn't happy with the bulging, and also when I sanded the A Pillar interface to the windshield recess, due to the angle I'd chosen, the foam became way too thin and sanded through in spots. I will widen the A Pillar, using the top of the panel rather than the side for the recess. If you look closely at the photos you can see where the top of the A Pillar was on the side rather than on the top. I will update these pics as I go. A great example of how changes aren't all that difficult to do. Cost here is time. |
|
|
|
|
April, 2007 |
|
|
|
|
|
|
 |
|
|
|
 |
|
|
 |
|
|
|
|
|
|