 |
|
|
|
|
|
|
|
|
|
|
|
|
|
|
|
|
|
|
|
|
|
|
|
|
|
|
|
|
|
|
|
|
|
|
|
|
|
|
|
|
|
|
|
|
|
~ Canopy Rebuild~ |
|
|
|
 |
|
|
|
 |
|
|
|
|
|
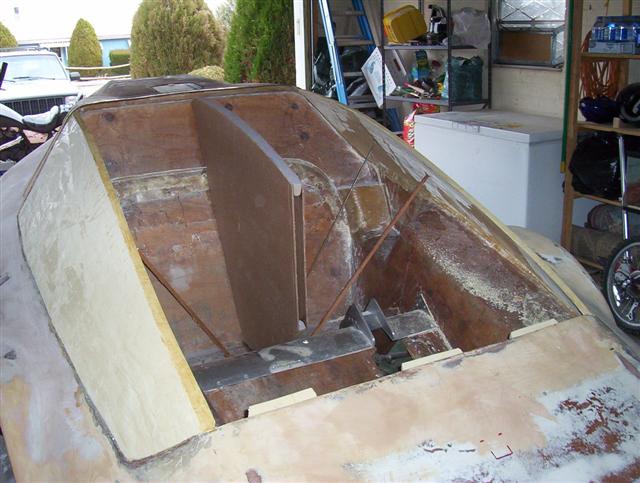
Very expensive household items used to hold down top while drying. |
|
|
Added foam pieces to the front area to support and position the top flush with the body. |
|
|
|
|
|
|
 |
|
|
 |
|
|
|
|
|
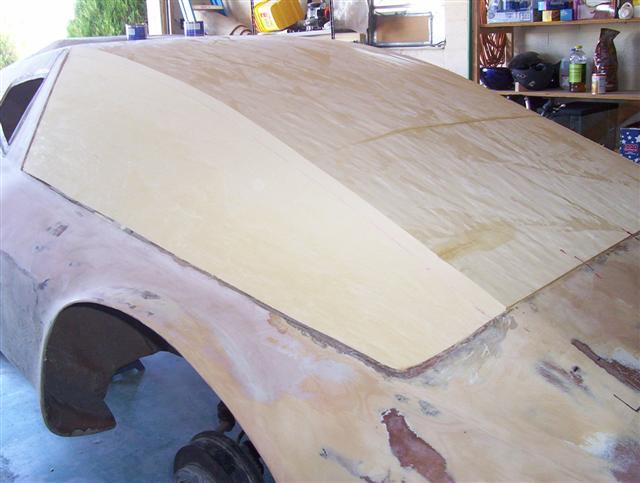
Final fit of foam pieces. To get to this point required a lot more time than would be expected. I like the fit. Sculpting is next. |
|
|
|
|
|
|
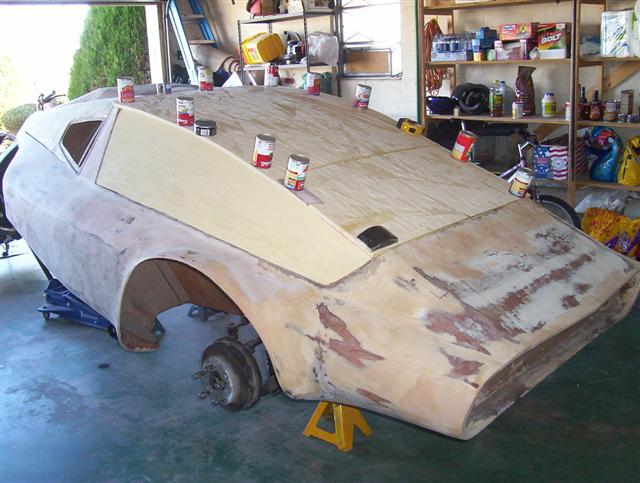
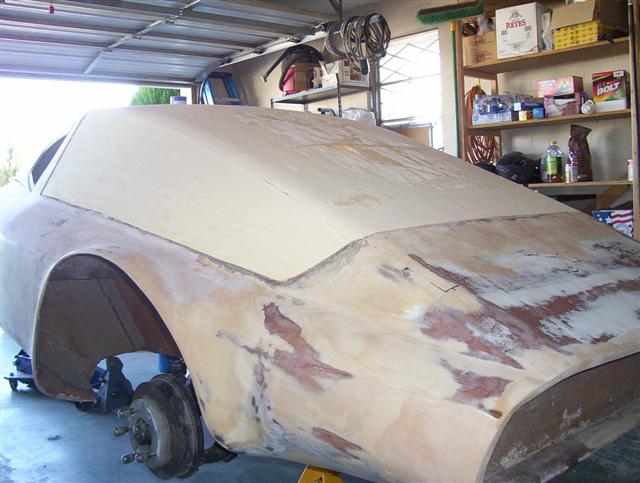
My kids love my Tri-Magnum and can not wait until I can drop them off at school functions in it. ...me too. |
|
|
|
|
|
 |
|
|
|
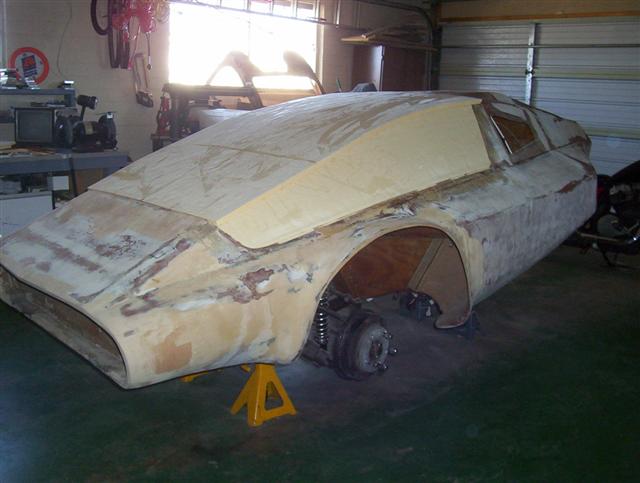
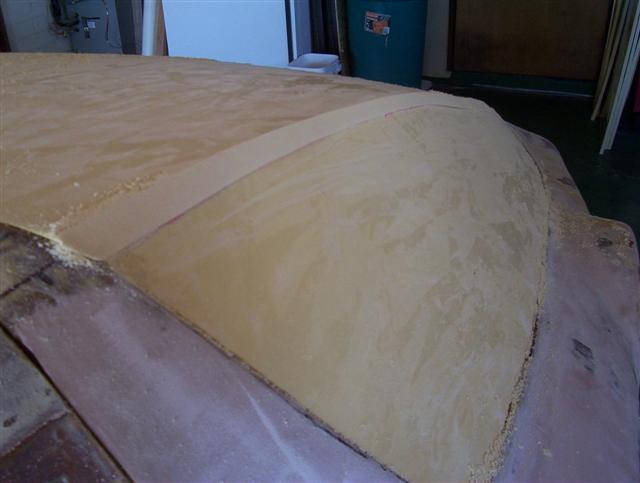
A razor knife taken to the overlapping edges roughs in the shape. Sanding block continues to shape the radius of the panel interfaces. |
|
|
|
|
|
 |
|
|
 |
|
|
|
|
|
|
A gentle sanding block forms the curvature. |
|
|
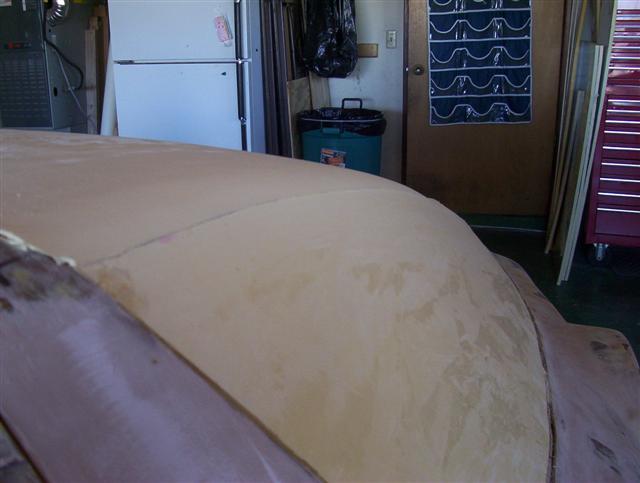
Begin by extentding the flat surfaces together. |
|
|
|
|
|
|
 |
|
|
|
 |
|
|
|
|
|
Wow. |
|
|
My goal is to blend into the existing body curvature. |
|
|
|
|
|
|
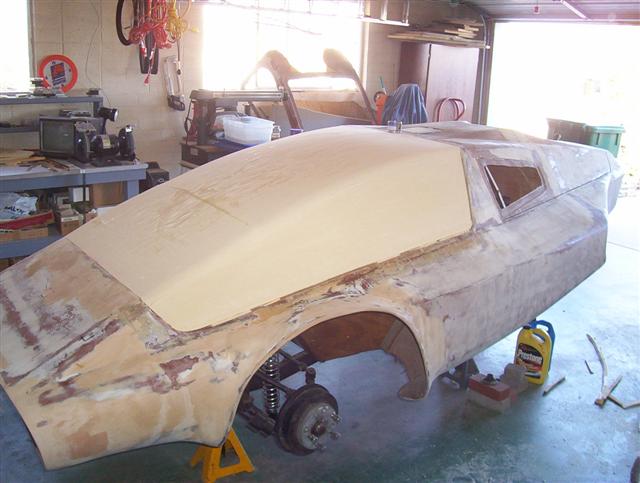
March, 2007 |
|
|
|
 |
|
|
|
 |
|
|
|
 |
|
|
|
|
|
|
|