Manipulated in Photoshop 5.5. Original 318K, saved for web,
optimized, 3 [email protected], 5.697K, 30 Quality.
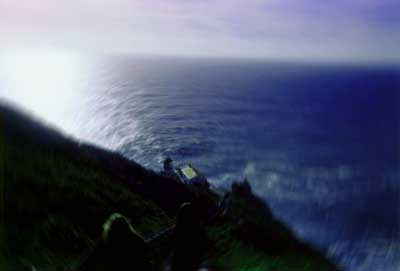
The first step I took was to adjust the image using Variations. I can't remember now, but I'm fairly certain I added more green and more blue to liven up the hillside and the water. The next thing I used was the Radial Blur Filter centered around the lighthouse. This effect pretty much enabled the picture to visually represent what I felt like after I climbed up the thousands of stairs that lead back to the parking lot, dizzy and tired. Next, I used Hue/Saturation to adjust the colors again as well as to saturate the beautiful blue color of the water. The final step was a small adjustment in Color Balance. I adjusted the blue as well as the green.
copyright © 2000, 2003 Broken Helix Web Productions All rights reserved
Most recent update: 28 Apr 03
For more information contact [email protected]