Installation is straightforward, though there may be a couple of things
to look out for;
1. you might have to put a couple of new holes in the metal plate of
the front indicators, so that you have neat holes in the fairing that are
far enough away from the large hole used for the old indicators. The fairing
also has a slight arc in it that is not accommodated by the straight back
of the indicator, so you can either just be careful not to torque down
the screws too hard that attach the lens to the metal plate, or slightly
file the lens (in it's centre portion where it meets the plate) so that
it is concave and fits snugly to the plate.
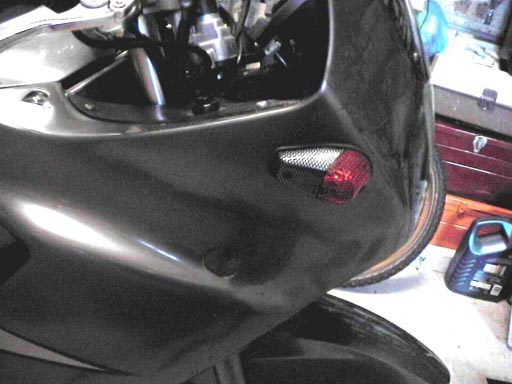
2. Make sure you install the front indicators according to their left
and right markings. Take a close look; there is a tiny drainage slot in
the rubber where it meets the lens; this needs to point downwards. there's
also an L or R marked on the rear of the rubber, where it meets the fairing.
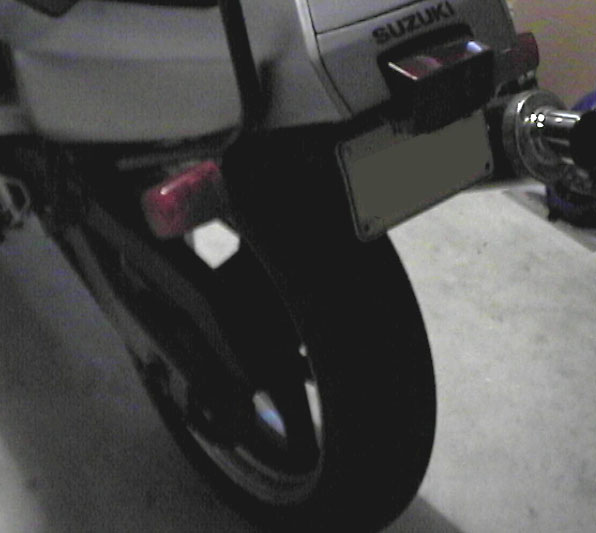
2. The rear indicator cables may not quite reach the terminal sockets.
I found I needed just a couple of inches on the left hand side to reach
the terminals. You might need to construct two or four small (about 3 inch)
male to female automotive connection wire extensions, if you want to keep
all of the wiring neat. Or you can just splice the wires and add a small
amount of extension cable where it's needed.
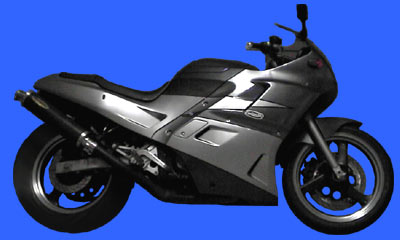
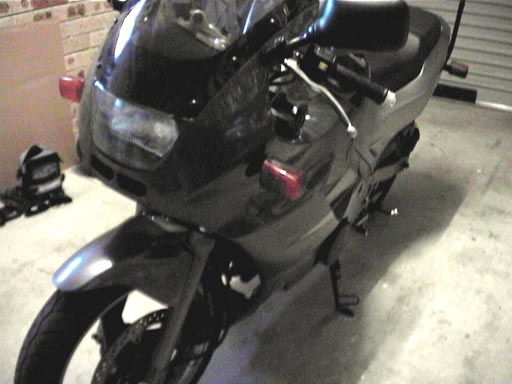
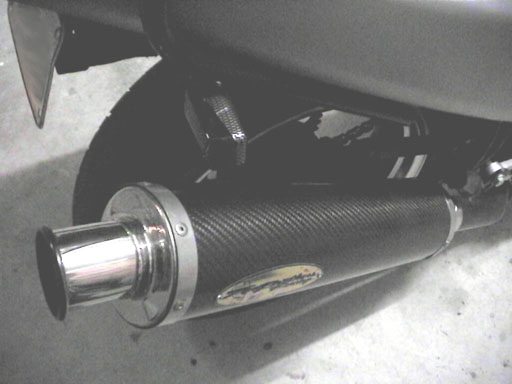
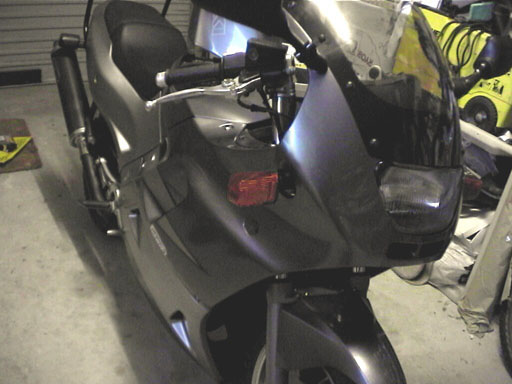
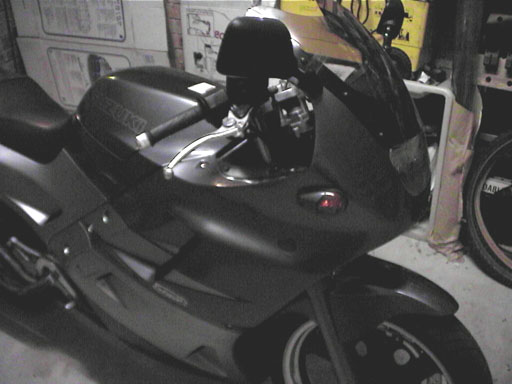
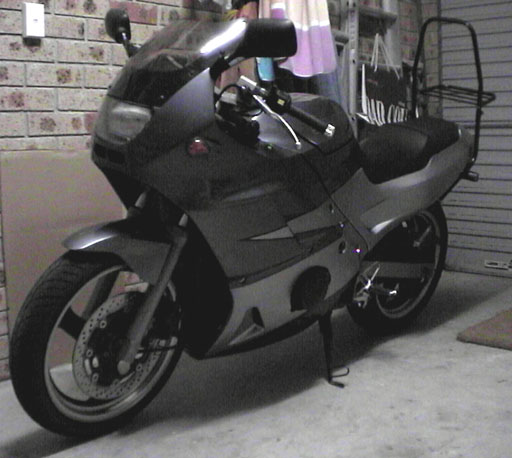
Here's some before and after shots. (Grainy garage shots may not
quite do the new look justice, sorry.)

 Made
in Sydney, Australia
Made
in Sydney, Australia