Air horns always come with a relay. Make sure
you use it. The standard
electrical cables will not handle the current
draw from an air horn compressor.
There will be instructions provided with the horns for wiring the
relay.
Nothing too complex here.
You are setting up a new circuit for power which
runs straight from the battery
to the compressor. You are turning that circuit on and off with
the old circuit that used
to run power to the horns via the horn button on the handlebar.
That way the old circuit
is not being loaded with the heavy current that the compressor demands.
You could probably leave
the old horn in line as a fail safe, though I took mine off.
Use a heavy guage cable for
the compressor circuit, as you can see in some of the shots below.
The high current circuit
should also have it's own fuse, at whatever rating that the horn mfr. recommends.
Mine's a yellow fuse, whatever
rating that is... about 20 amp?
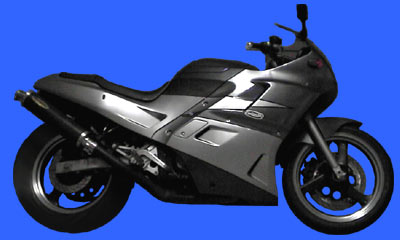
I put the compressor here. It is one of
the large types.
Front lower fairing, looking towards left leg side.
You can get a set of air horns with a smaller compressor than mine,
which is obviously better. Go for it if you can find it.
Someone
on the EzBoard set up airhorns and cable tied the compressor to the space
above the engine,
on
the radiator fluid reservoir side of the bike. I checked it out and you
can get a compressor in there;
I
just don't know about heat issues Vs. the tubing that runs to the horns,
or the electrical cable feeding the compressor.
Or,
for that matter, how susceptible the compressor is to the heat.
In
the face of ignorance, I go for the option that I assume is safer...
at
least more likely to keep those horns working for when you need them.
They
also used a single air horn... it is easy to do this with the air horn
kits
and
it still makes for a very loud horn, no doubt.
Try to run some metal plate from other places
to reinforce the mounting
point of the compressor if you mount it here,
as the compressor is quite a heavy little thing.
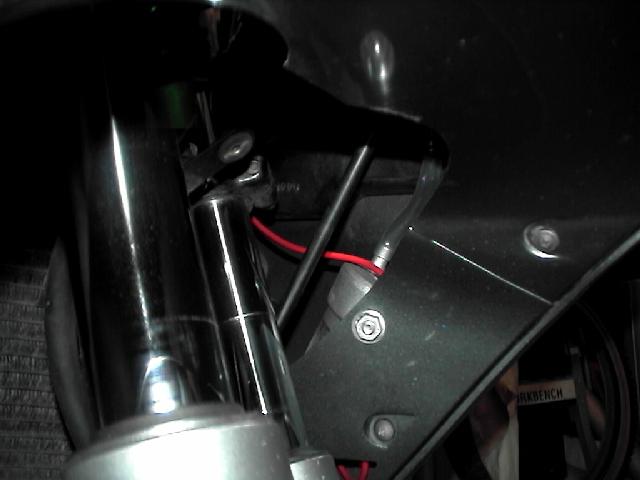
Horns.
Here's a view over the top of the front of the fairing into the space
where
you can see the tip of the compressor and one of the two horns being
fed.
An essential point to note is not to hang your petrol
powered garden mulcher
above your bike or it may leak crap onto your fairing,
as seen around that
philips head screw. OK, it's not essential to note that.
Just making excuses.
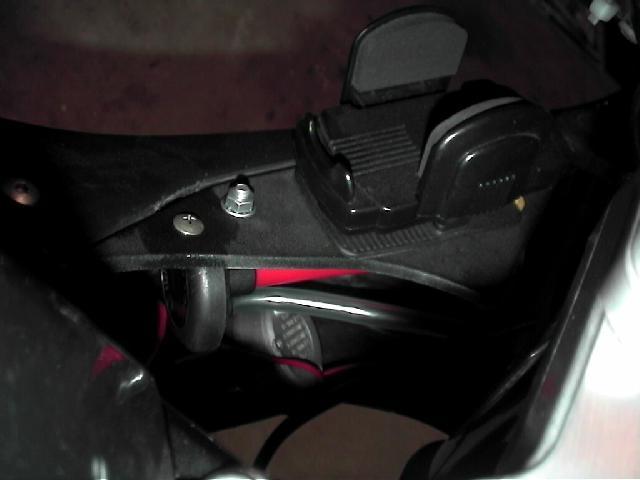
Here's a shot a little further back to show the dog's breakfast that
is going on here.
I chose to mount the relay just off the left mounting point for the
fuel lights,
so it's hanging out a bit.
(Yes it could have been much tidier... I will fix it and post another
shot
later. The rush to get the horn in took precedence over the looks of
the job.
Safety was more important.)
This shot shows you where I put the second horn,
facing downwards, out towards the front wheel.
This horn is 's also mounted off of that fuel light point, with the
relay.
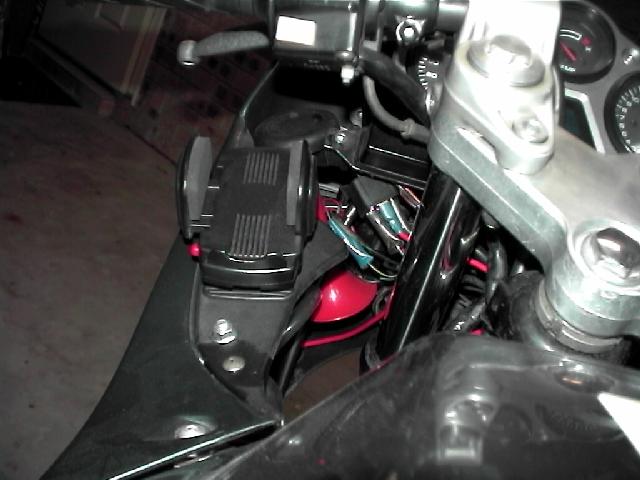
Really Important.
You have to make sure that everything clears the front forks through
their whole
travel, which ends up being the trickiest bit for space.
So how loud is it? If I don't have my helmet visor down when I hit the
horn,
it causes reasonable pain to my ears. That's loud.
And a world away from that pathetic excuse for a horn
that is supplied stock.
This is just one solution that I found to get the horns in...
make your one even better and send me piccies for this page!

 Made
in Sydney, Australia
Made
in Sydney, Australia