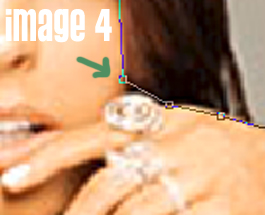
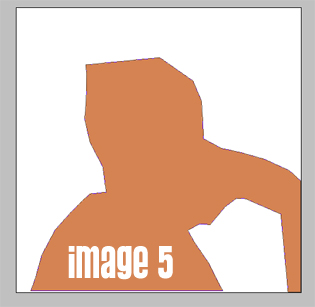
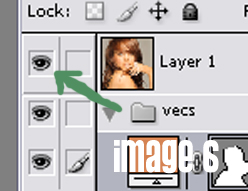
| Alright, now its time to begin. This is super exciting isn't it! Usually the first step I take with my vectors is covering all the big areas such as all the skin, the hair, a shirt and anything that takes up more space than tiny details So why don't we start with the skin? Starting with the skin is smart because its beneath everything so you can be as sloppy as you'd like. Select your Eyedropper Tool and choose the darkest shade of skin. Once you've got your color, move back to the Pen Tool and start outlining the area your working with. See Image 4, thats what you should see while your outlining (by clicking each point not by dragging the mouse). Pretty simple. Once you've got your basic shape, you can remove the top layer (the image itself) to see your shape and make sure you like it (image 5). To do that, just click the little eye (image 6) and it'll remove the layer immediately. To get it back just click the empty spot and the eye will come back. I only do that to make sure that my shapes aren't all spaced apart and that there isn't any white gaps. |
 |
 |
 |
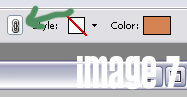
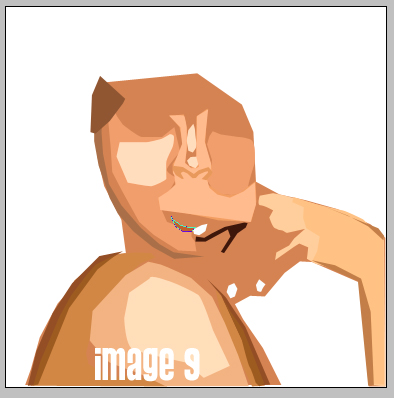
| Now, repeat Step 3, always choosing a lighter color (with the Eyedropper) than before for the skin and using the Pen Tool outline the areas that are of that color. What you'll pretty much see is a lighter color above your existing color of skin. (image 9 should give you the general impression of the color schemes and layering.) IMPORTANT One thing you must always remember to do... is EVERYTIME you choose a new shade, you must click the little chain (image 7 and 8) because that makes sure that the colors of each shape change or else your vector will be the same color the whole way through. |
 |
 |
| So, if you've been putsing with the skin and all the different shades your vector might come out something like this (image 9). I also did the finger nails just cause. If you didn't, don't sweat it. IF your vector looks nothing like that, thats fine to... don't expect the shades or shapes to be the same they always vary from vector to vector. Don't sweat it if your vector looks stupid. They always do until you start to move on through them, so no worries. Another detail to keep in mind is, and i don't know why this happens, but the colors you pick from the picture never completly match up the ones that appear in your vector. PS just likes to mess with us, so sometimes you need to tweak a color using the palette, do so. Your not obligated to use the colors given to you by theimage. |
 |
 |
 |