We can control a robot using R/C technology, but it would usually require a MOTOR SPEED CONTROLLER, another set of BATTERIES, as well as a set of MOTORS. This adds up to extra weight and extra cost. One way to work around this problem is to use servos as drive motors.
When you buy a controller, you should always get something with more than 2 channels. I was being cheap so I bought a 2-channel AM radio, which means I do not have the space to expand and add weapons. Too bad. I think it's a good idea to invest in a good radio, as well as a couple of crystals, because they will never get broken and you can use them in each robot you build.
But be warned, servos are not designed to be drive motors for robots, so they will be slow. This means in a real competitive environment, you'll have the other robots running circles around you. However, it is a good place to start because many controllers come with servos anyways, and so you can put them to good use.
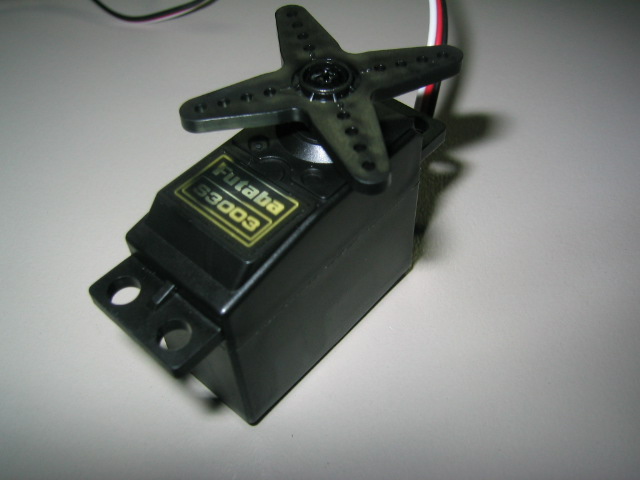
A servo is a computer controlled motor used (usually) to move the control surfaces on a model plane or the steering on a model car. It has an output shaft that rotates 90 degrees back and forth, based on the position of the stick on your remote. While this is fine for planes, if we want to use them to drive a bot directly, we need to do a little work on them.
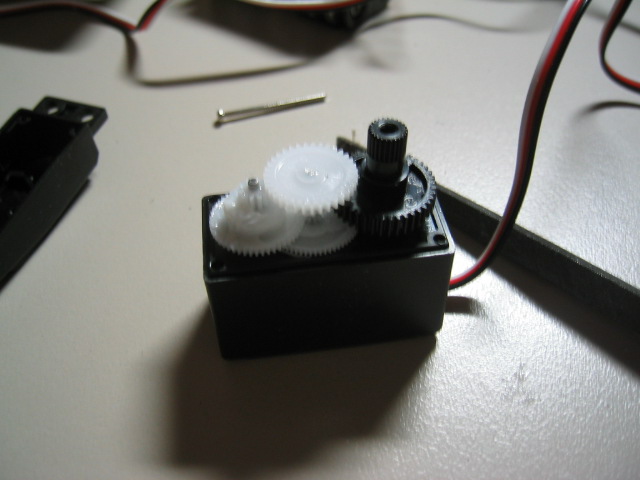
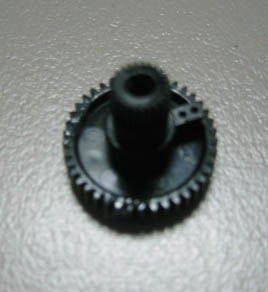
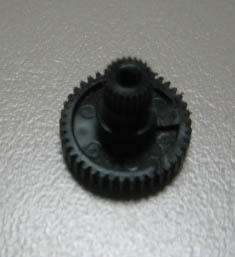
A servo works by comparing the position of the output shaft to the position requested by your remote. If your stick is at 78 degrees, and the servo shaft is at 30 degrees, the electronics in the servo rotate the shaft until the two values match. There are 2 steps to modifying a servo. The first is to remove any physical stops that keep the shaft from rotating 360 degrees. The second is to fool the electronics in the servo into thinking the shaft is always centered. Once you do this, if the remote commands a position of 30 degrees, and the (fooled) servo electronics see 0 degrees (centered), the servo is going to rotate the shaft to match them. Silly servo. It doesn't realize that because of your modifications, it will never get there. So, it just keeps happily spinning. Same for the other direction.
1.) First, we take our servo, and open it up. We do this by unscrweing the screws located on the bottom of the servo. Be careful when you're taking it apart, remember to remove the control horn, first (that X-shaped thing on top).
6.) You can now quickly put the servo back together, making sure everything is in the right place. If the servos refuse to stop turning, you can use the manual adjustment sliders on the controller to fix the problem. Voila! You now have the perfect high-torque drive motor for your antweight robot.