�
�
�
HomeInterior
Exterior
Mods
ColdAir
Links
�
�
�
�
�
�
�
�
�
�
�
�
�
�
�
�
�
�
�
�
�
�
�
�
�
�
�
�
�
�
�
�
�
�
�
�
�
�
�
�
�
�
�
�
�
�
�
�
�
�
�
�
�
�
�
�
�
�
�
�
�
�
�
�
�
�
�
�
�
�
�
�
�
�
�
�
�
�
�
�
�
�
�
�
�
�
�
�
�
�
�
�
�
�
�
�
�
�
�
�
�
�
�
�
�
�
�
�
�
�
�
�
�
�
�
�
�
�
�
�
�
�
�
�
�
�
�
�
�
�
�
�
�
�
�
�
�
�
�
�
�
�
�
�
�
�
�
�
�
�
�
�
�
�
�
�
�
�
�
�
�
�
�
�
�
�
�
�
�
�
�
�
�
�
�
�
�
�
�
�
�
�
�
�
�
�
�
�
�
�
�
�
�
�
�
�
�
�
�
�
�
�
�
�
�
�
�
back to top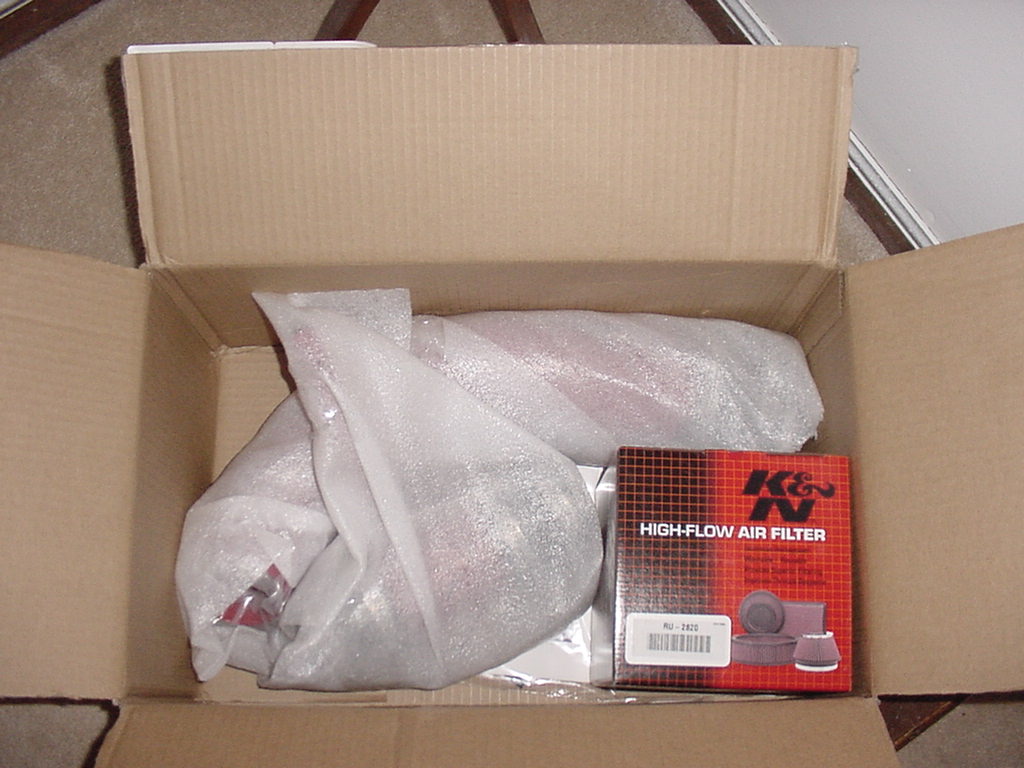
Step by step on how to install a Cold Air Intake. � � � � � � � � � � � � � � � � � � � � � � � � � � � � � � � � � � � � � � � � � �
How everything came in the box.(click for larger image)
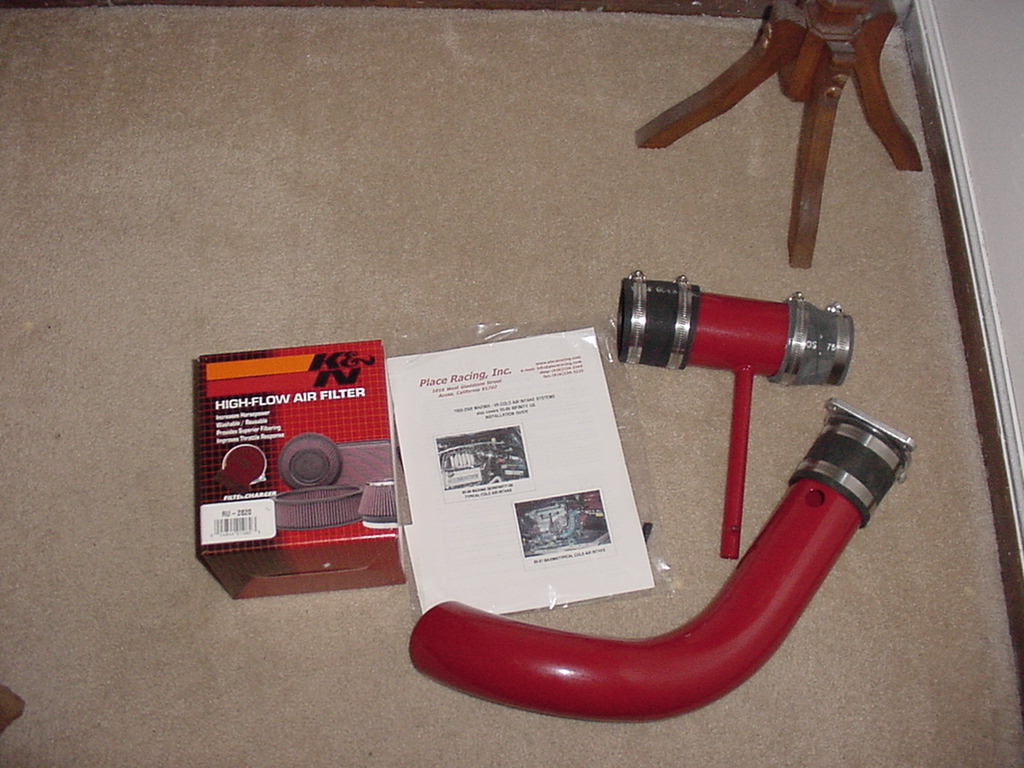 out of the box. (click for larger image)
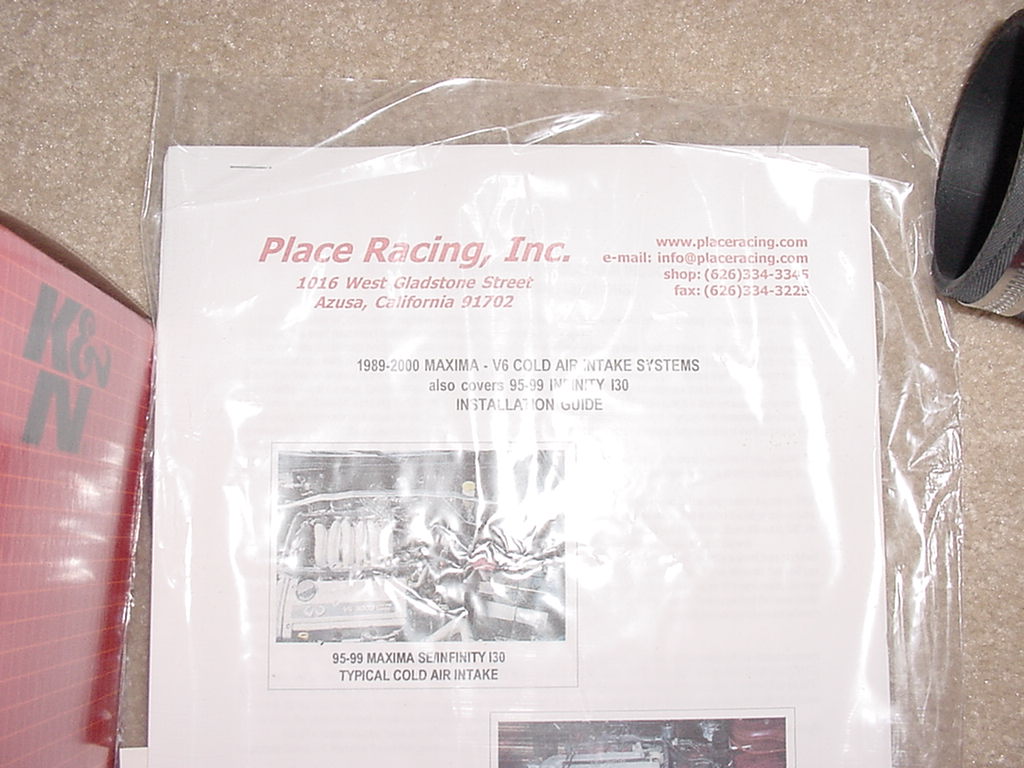 Owners Manual. (click for larger image)
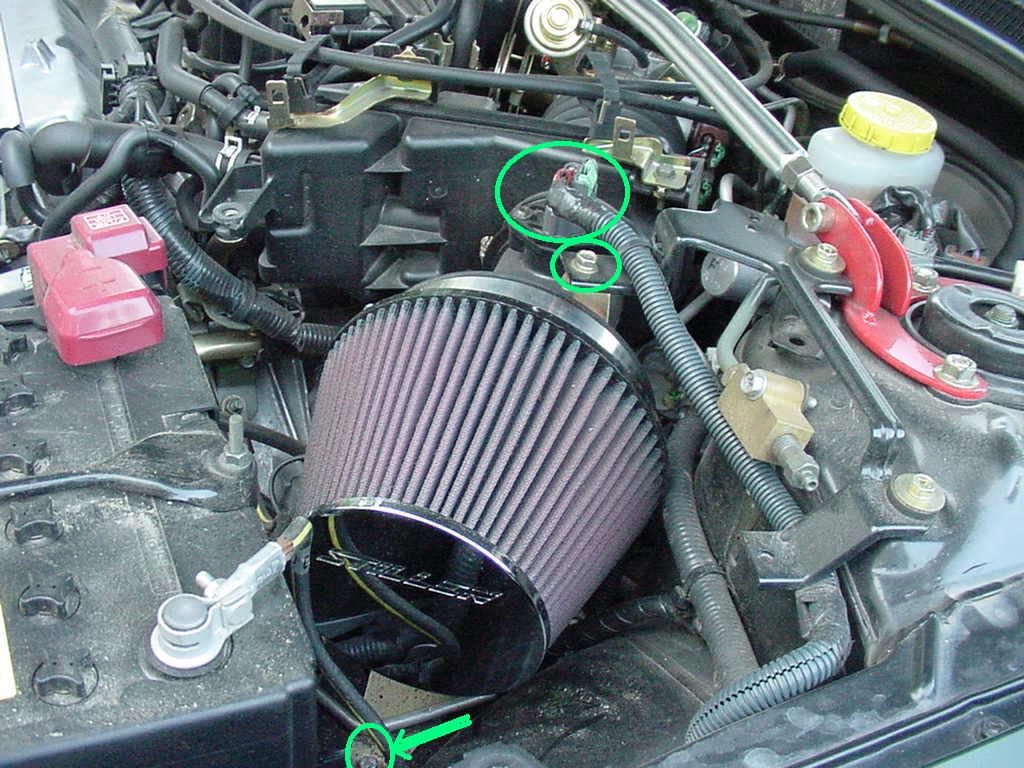
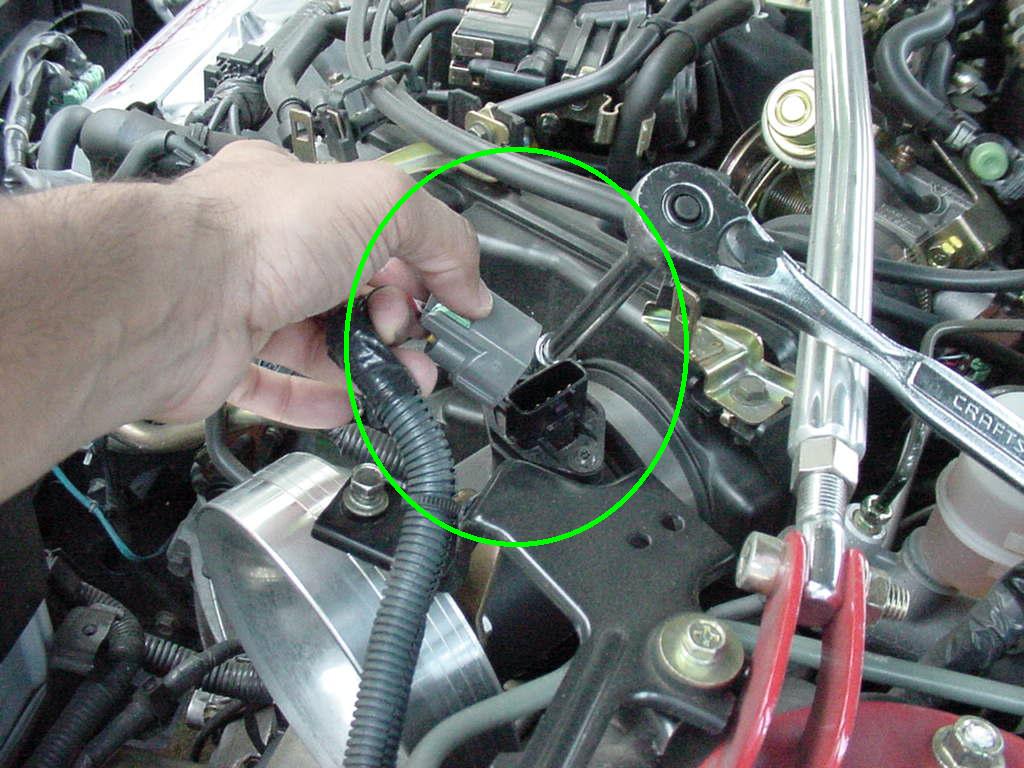
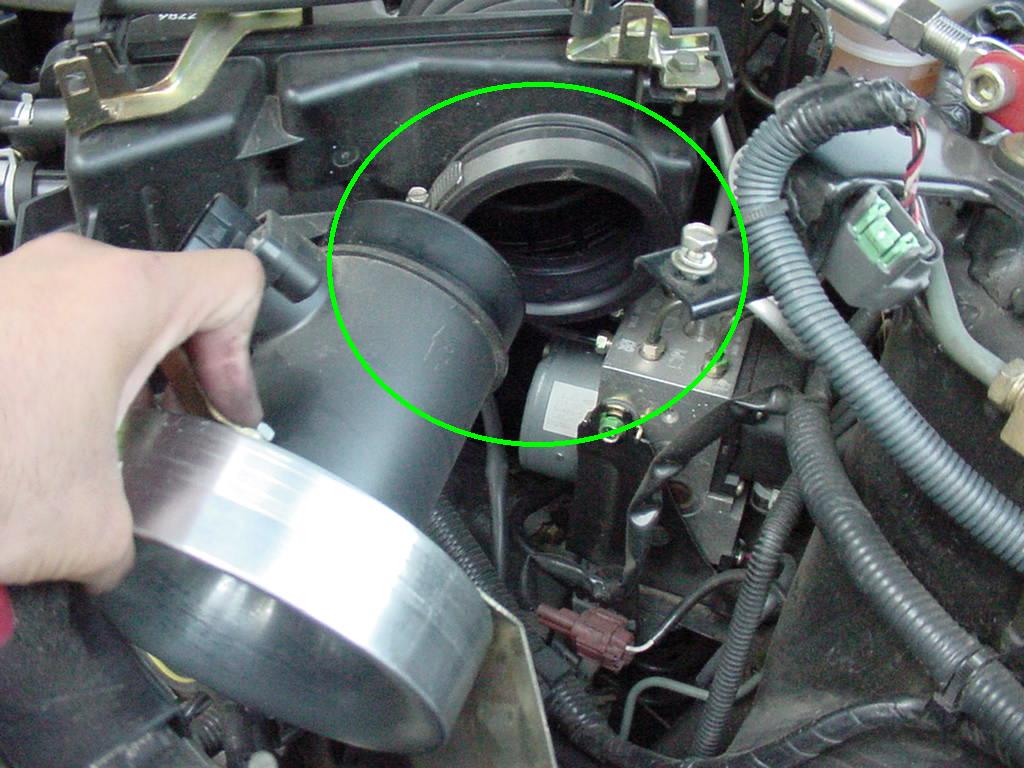
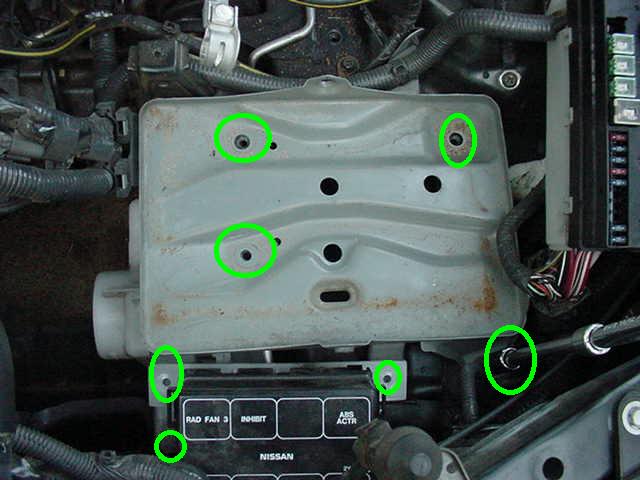
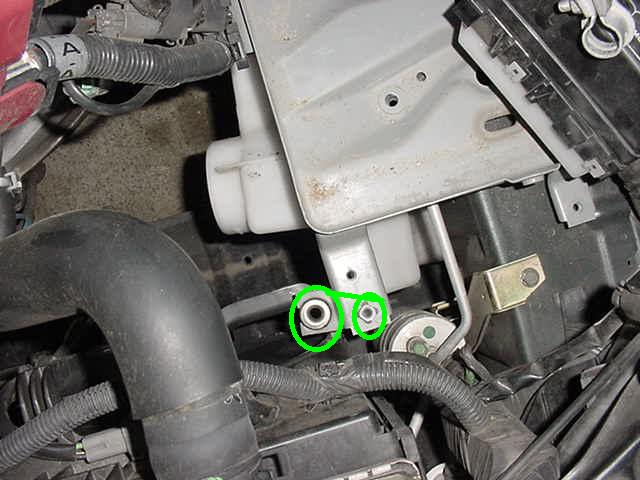
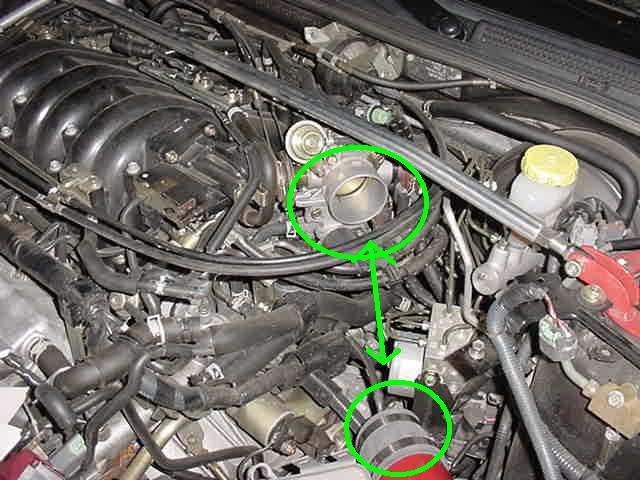
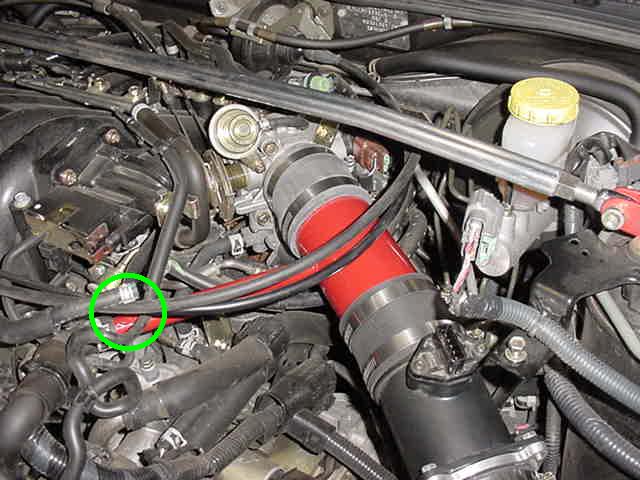
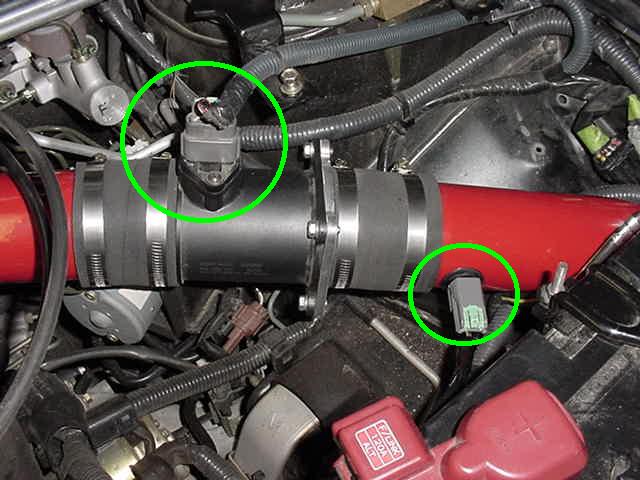
 What the stillen intake looks like installed on 2K Maxima. All Green locations will be unscrewed. Also notice the Sensor wire. (click for larger image)
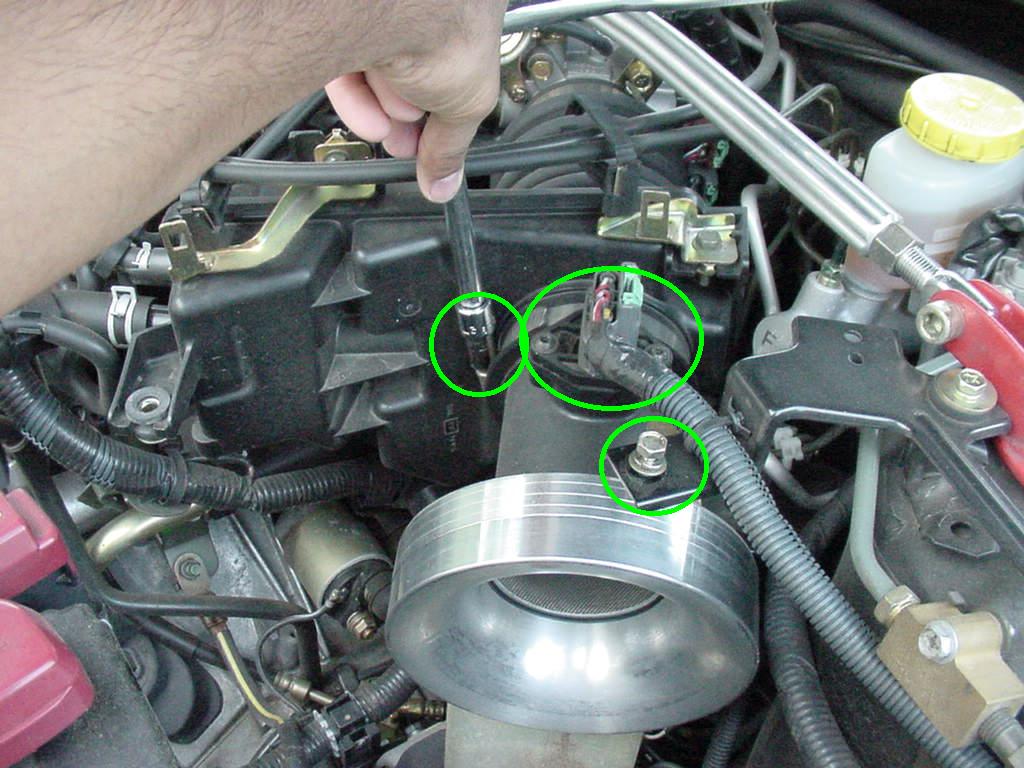
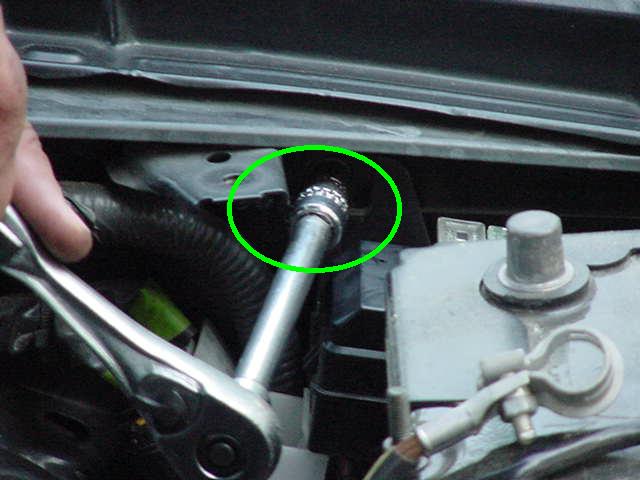
 Another picture of the sensor plug and the screw that holds the top part of Stillen Intake. Unscrew this screw. (click for larger image)
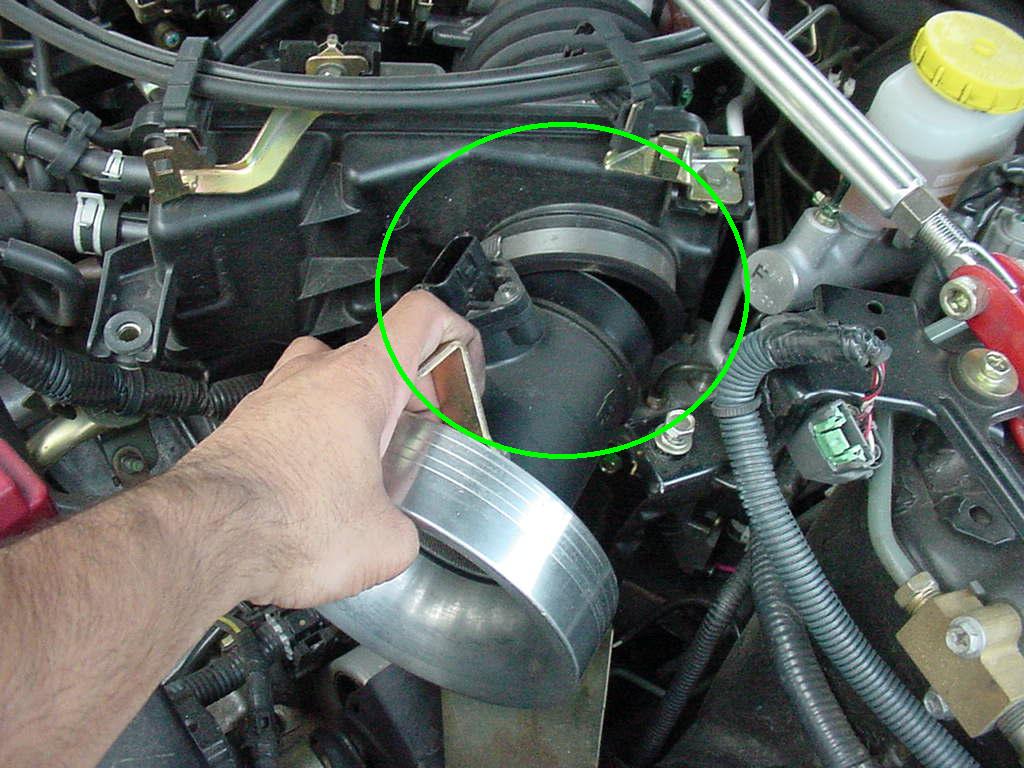
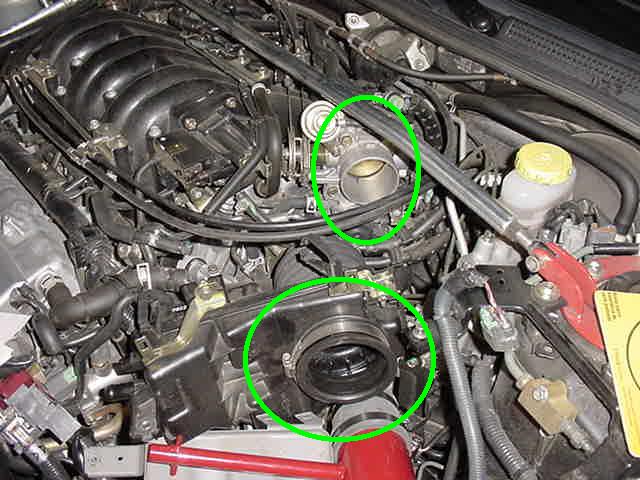
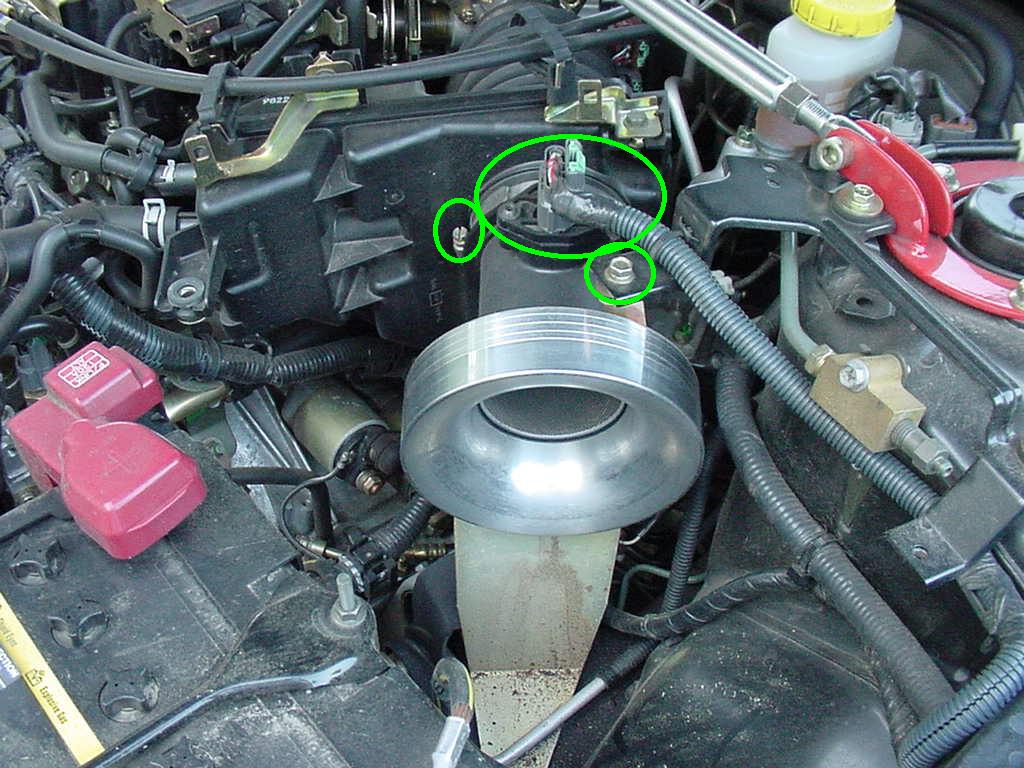 Image of MAF bracket with Cone removed. Also notice the screw that holds the MAF assembley in place. Unscrew these to take the whole unit out.(click for larger image)
 Another View. (click for larger image)
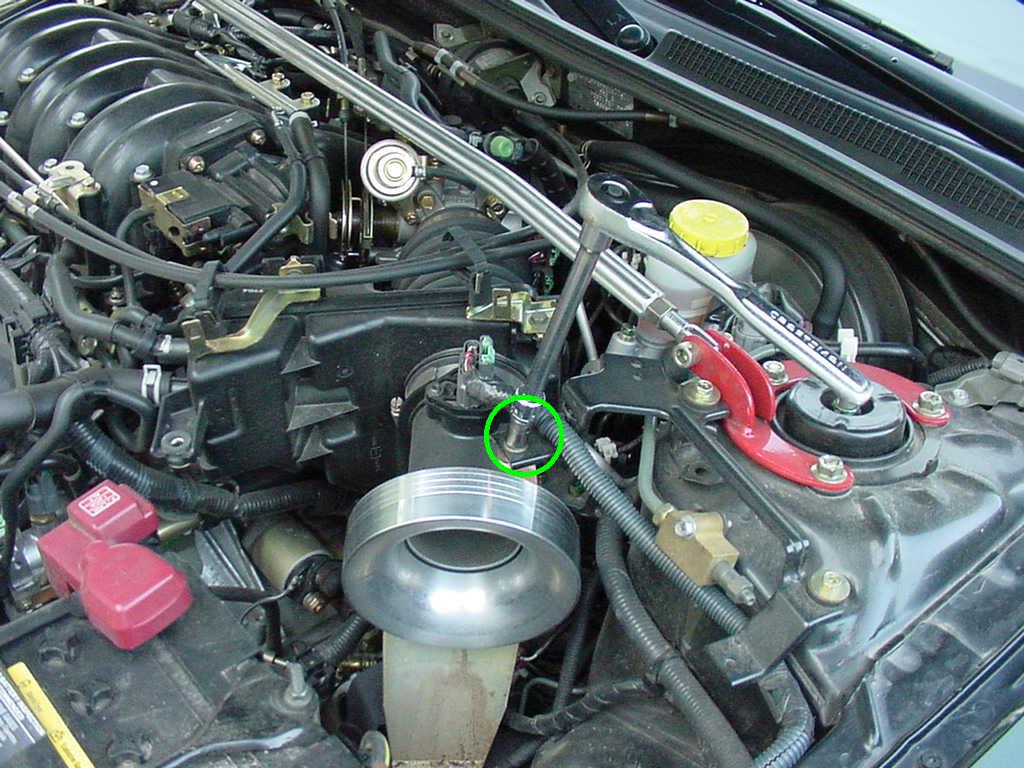
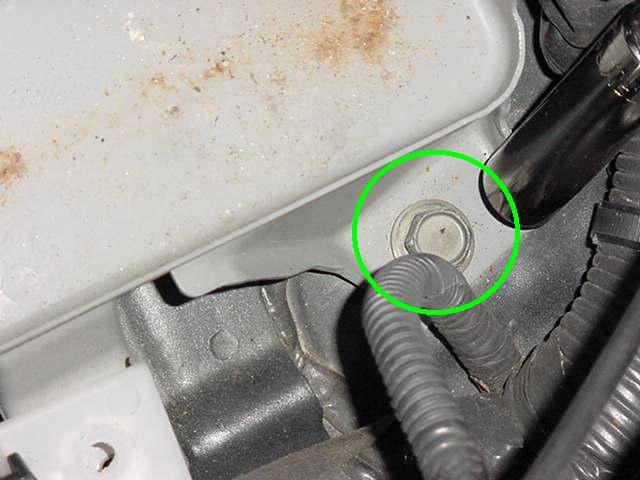
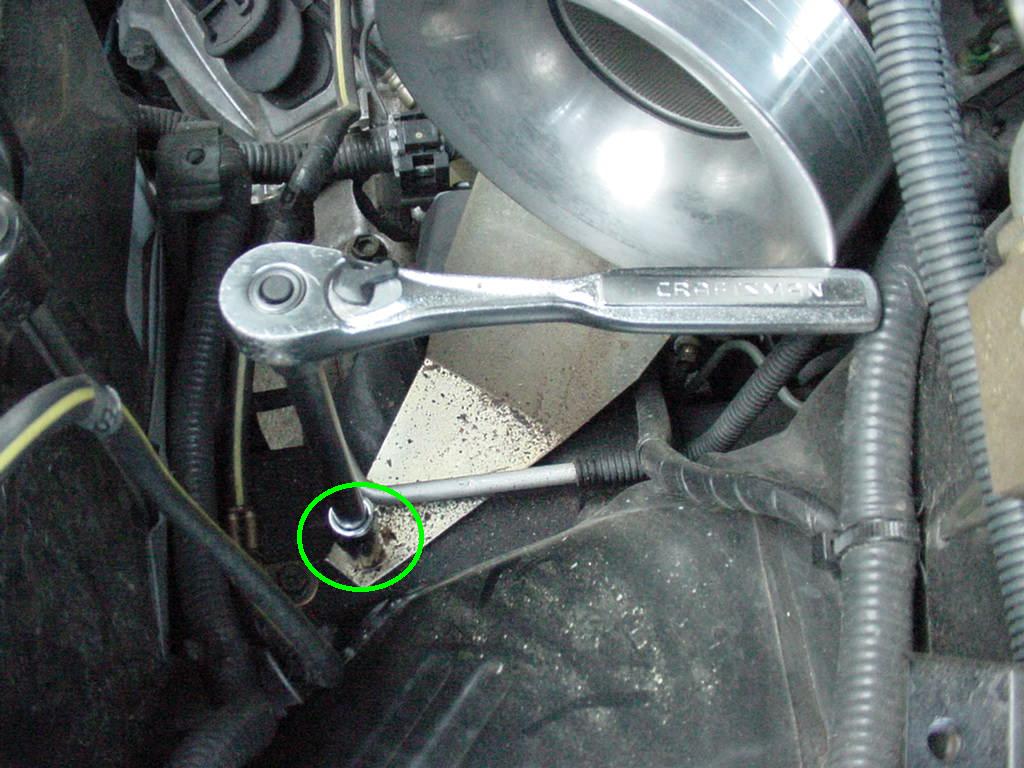 Bottom Screw holding the MAF/Still intake unit in place. Unscrew here. (click for larger image)
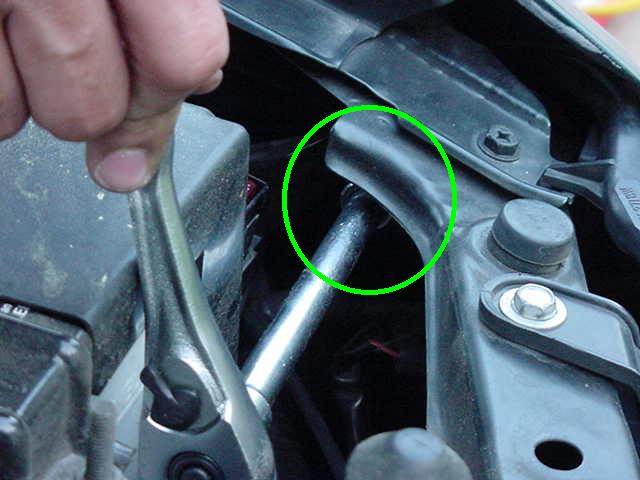
 Rear Clip screw needs to unscrew. Sensor wire needs to disconnect. Top screw should already be disconnected at this time. (click for larger image)
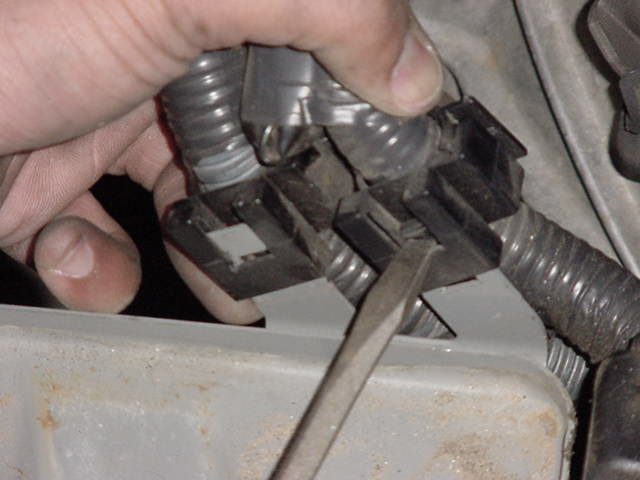
 Disconnecting Sensor wire. (click for larger image)
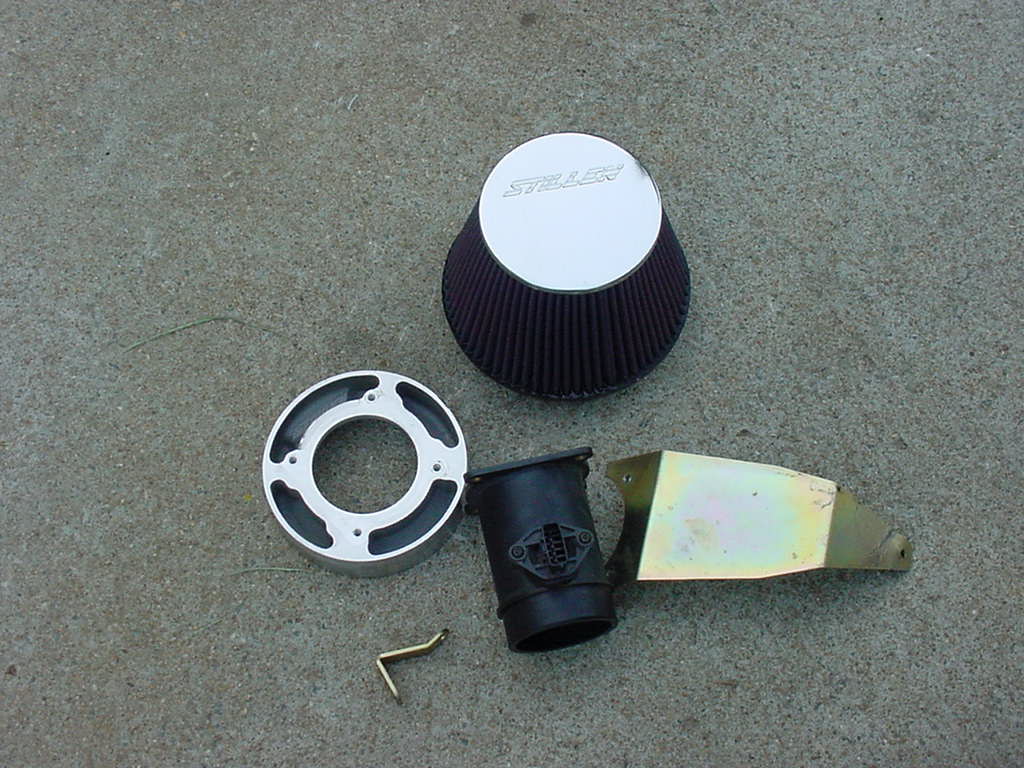 The whole kit as it comes from Stillen.(click for larger image)
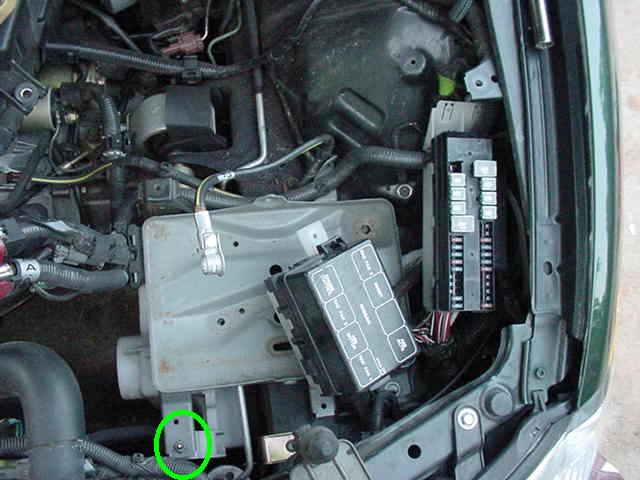
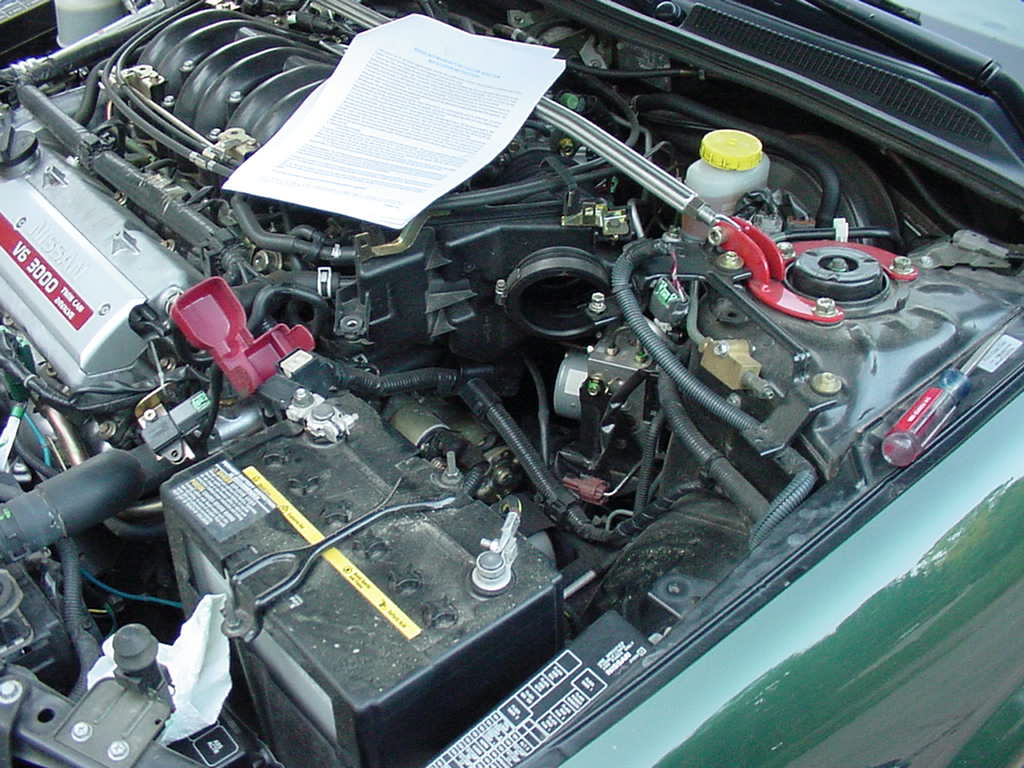 Open Engine bay with MAF Removed.(click for larger image)
 Removing MAF. Notice the stillen bracket still attached to factory pipe. (click for larger image)
 Another shot. (click for larger image)
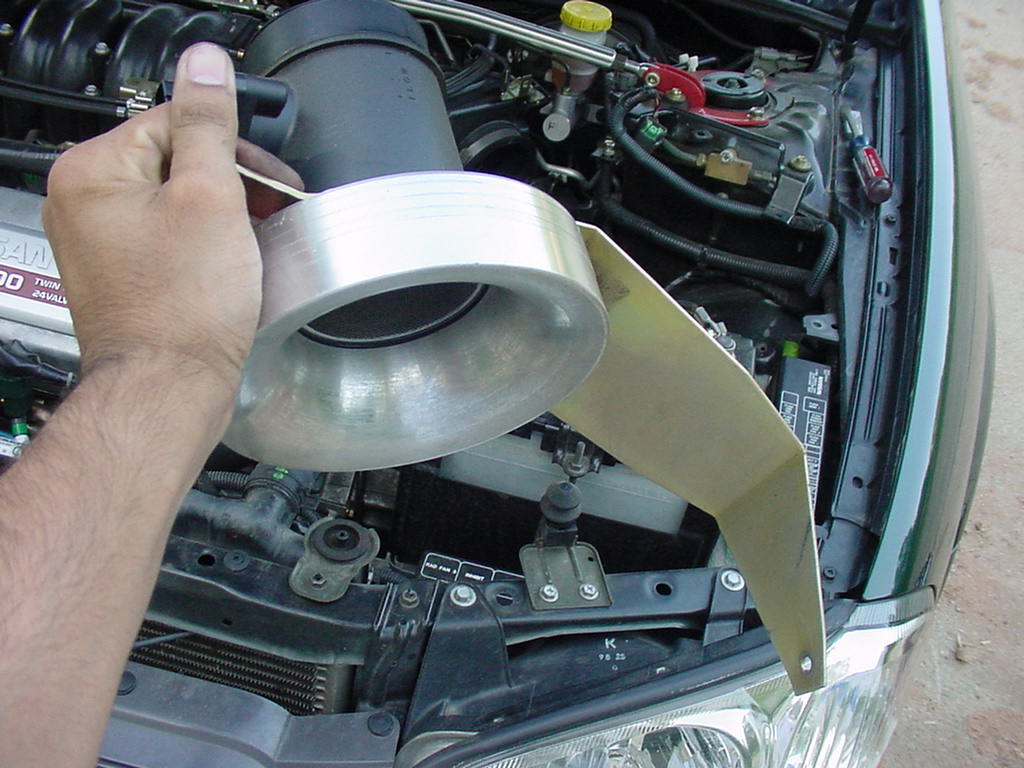 Unit in my hand. (click for larger image)
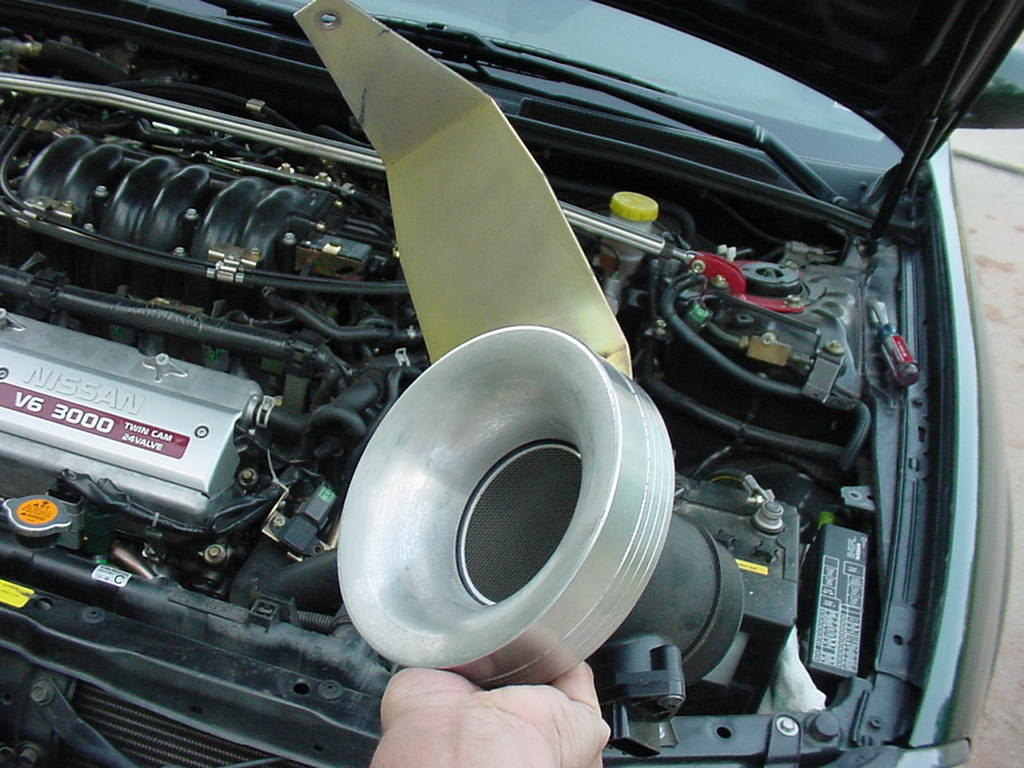 Another Shot. (click for larger image)
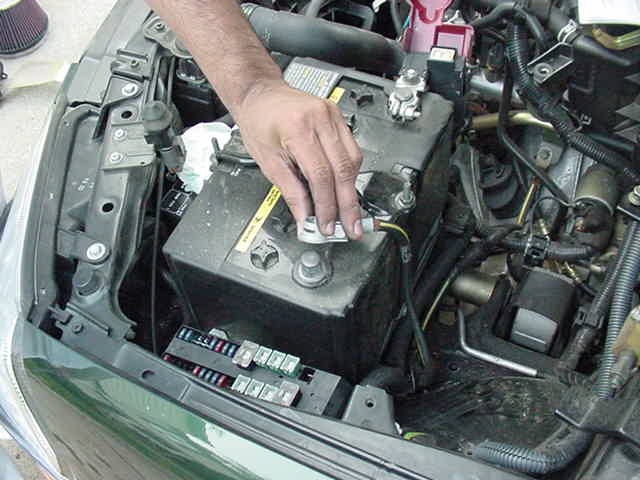 Disconnet battery wire.(click for larger image)
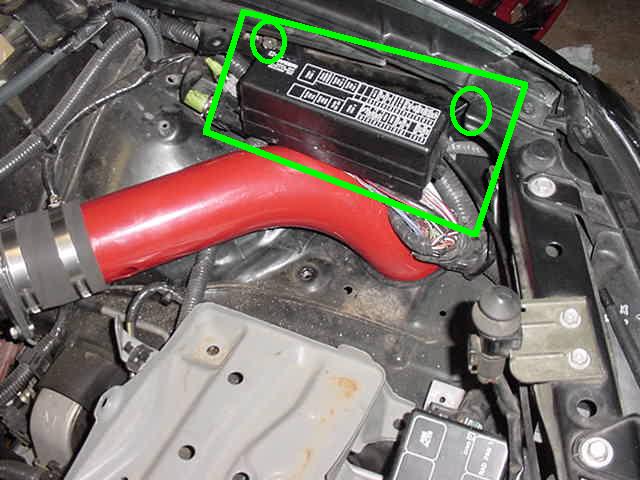
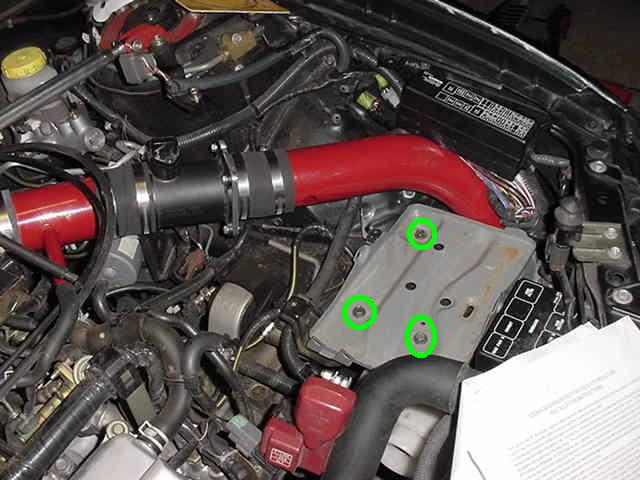
 Loosen 2 10mm screws that are holding the fusebox to the body. This is the left screw..(click for larger image)
 This is the right screw holding the fox in place. (click for larger image)
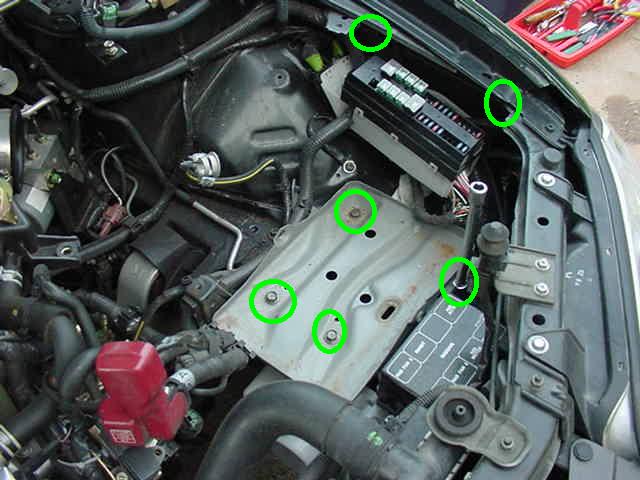 Unscrew 3 screws holding battery plate in using 12mm socket. Unscrew 2 screws holding the other fuse box in place using 10mm socket. and also a 12mm screw at the edge of the battery tray needs to be unscrewed. Top right notice the 2 10mm screws we unscrewed in the last step. (click for larger image)
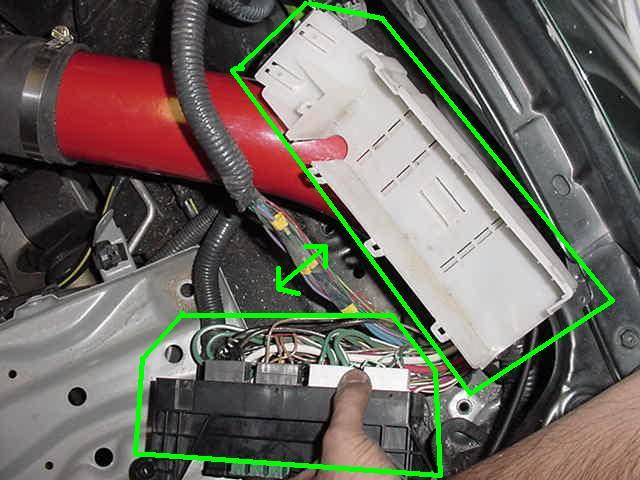
 Closer picture of disconnecting the 2nd fuse box using 10mm sockets. Also 1 screw holding white plastic casing from bottom side needs to be unscrewed. (click for larger image)
 Closer picture of screws as they are coming off one by one. Working on 12mm bolt at lower right of pic to take the battery tray off. (click for larger image)
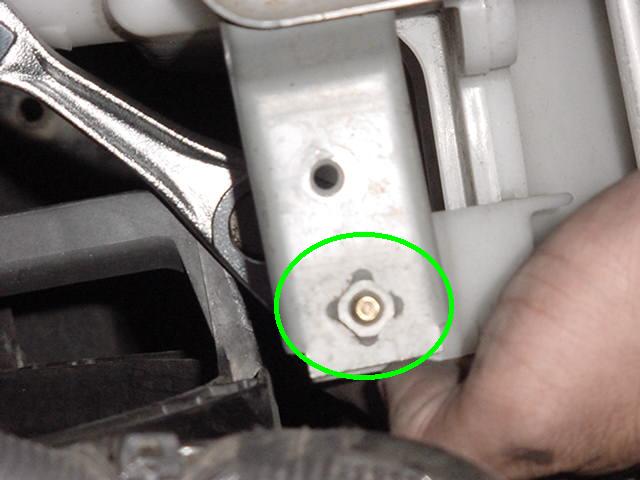
 closer picture of that screw.(click for larger image)
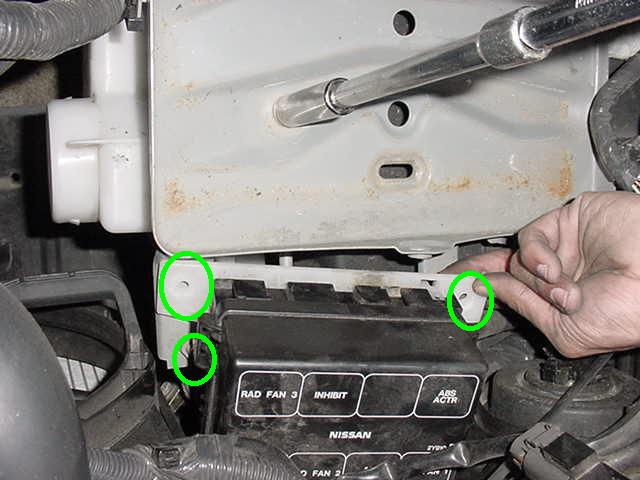
 This screw holding the white plastic housing to battery tray needs to unscrew from bottom side using 10mm socket as mentioned earler.(click for larger image)
 Closer look of the same bolt. (click for larger image)
 Closer look after unscrewed. (click for larger image)
 disconnecting clips at the edge of battery tray. (click for larger image)
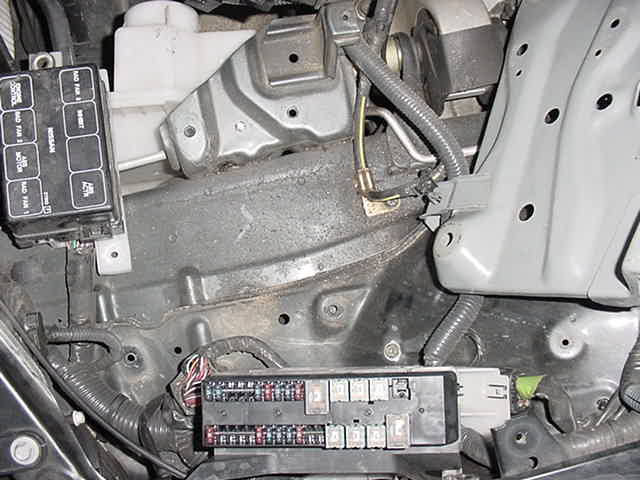 What the bay looks like after the tray is moved out of the way. (click for larger image)
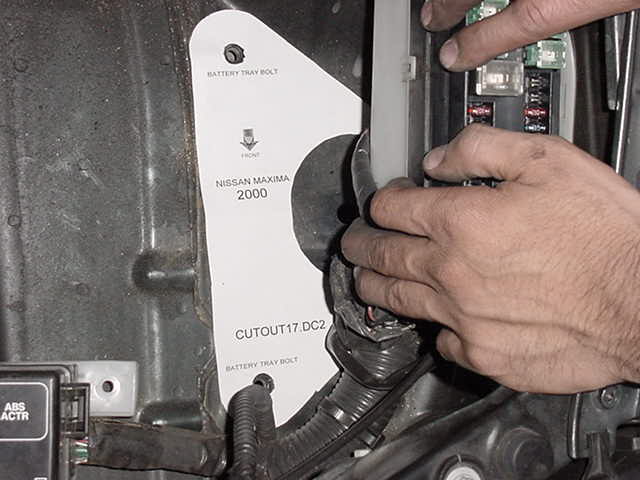 Lay the template down.(click for larger image)
 Drill a nice and clean 3inch hole.(click for larger image)
 Connect Coldair Tubing directly into the intake opening. (click for larger image)
 Another picture. (click for larger image)
 For 2000+ Maximas disconnect the white plastic piece attached to upper fuse housing. Otherwise the tube won't fit or the fuse box willnot screw back in its place. (click for larger image)
 What the tube looks like going into the hole. (click for larger image)
 Screw upper fusebox back in its place. (click for larger image)
 Connect 3 Vacuum hoses to the Intake pipe. Notice there are 2 small vacuum lines and 1 main one. Connect all 3..(click for larger image)
 Screw battery tray back in. It should go in its place like it came out.. (click for larger image)
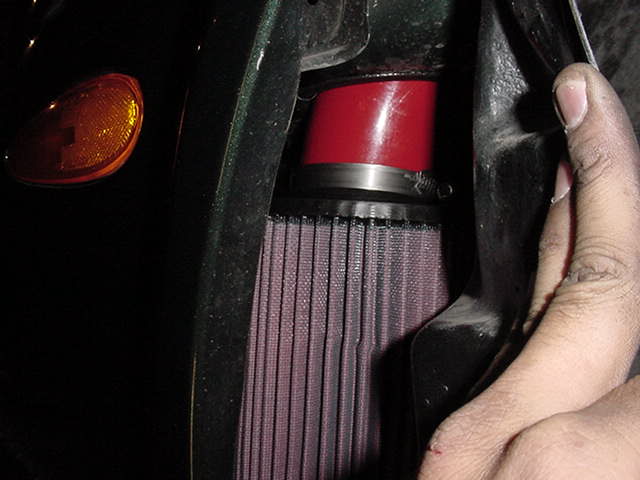 Filter peeking through bottom of fender. (click for larger image)
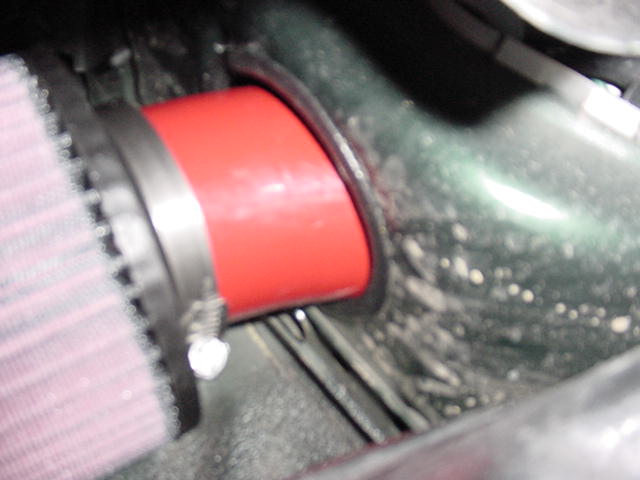 Another shot looking at the filter from bottom. (click for larger image)
 Connect the Top Sensor wire to MAF and install the O/2 sensor into the Cold Air Intake on side. Connect the battery and start it up. Watch for check engine lights. Mine never came on but if it does go back and check your connections. Goodluck. (click for larger image)