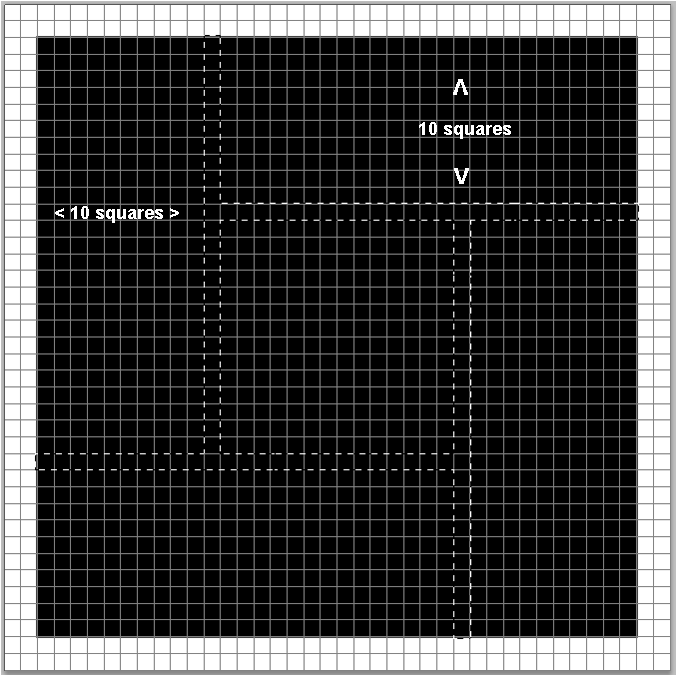
Step 7: Draw Rectangular Selections
Now we have to divide the shape into several smaller shapes. To do this we'll delete some parts.
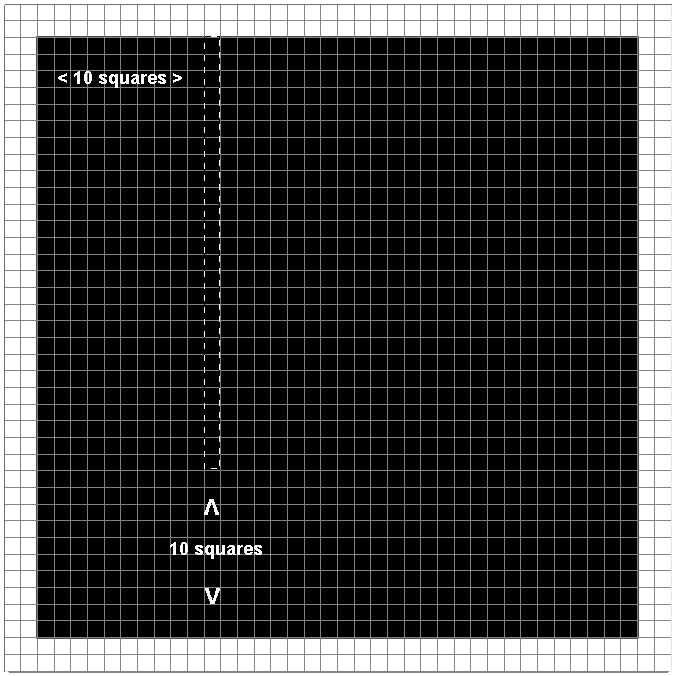
Select the Rectangular Marquee Tool and starting from the left, draw a selection down around the 11th column, leaving 10 squares between the bottom of your selection and the bottom of the shape.
It should look like this:
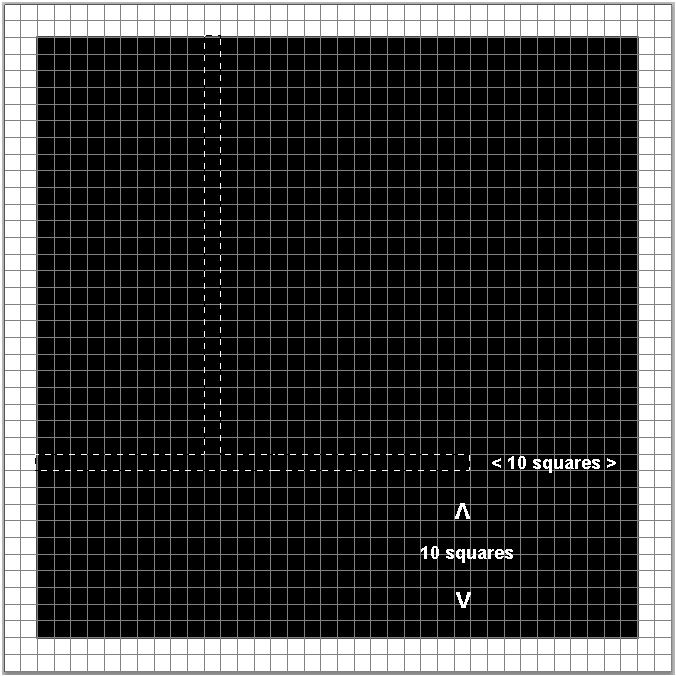
Now we're going to draw the second selection. Hold down your Shift key, which will switch you to Add to Selection mode, then count out 10 horizontol rows of squares upward from the bottom of the shape and draw a similar selection around the 11th row of squares starting from the left. Leave 10 squares between the right edge of the selection and the right side of the shape. It should look like this:
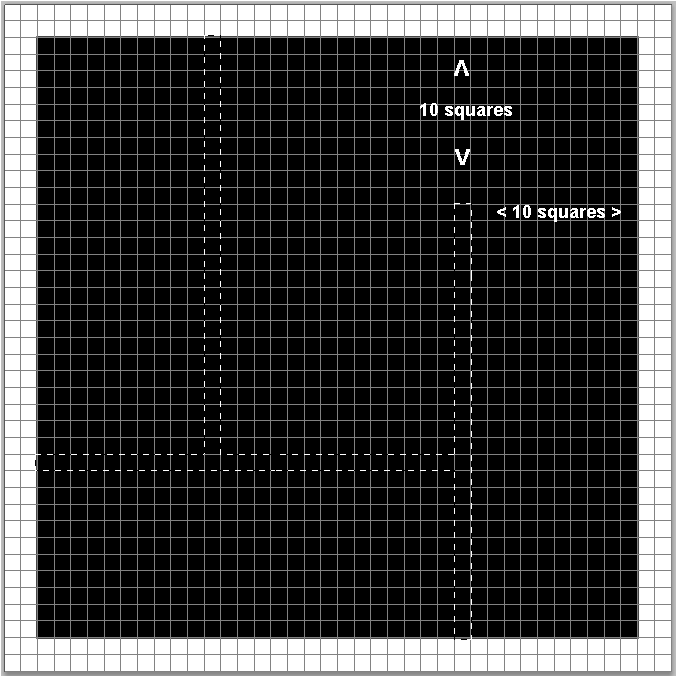
Hold Shift again then count 10 columns of squares from the right side of the shape and draw a selection upward around the 11th column. Leave 10 squares between the top edge of the selection and the top of the shape. The third selection should look like this:
For the last one, hold down Shift again and count out 10 rows of squares from the top of the shape and draw a selection around the 11th row beginning from the right of the shape. Leave 10 squares between the left edge of the selection and the left edge of the shape. When you're done it should like this: