Front Speakers Installation
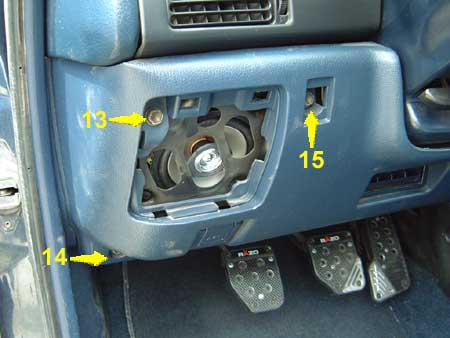
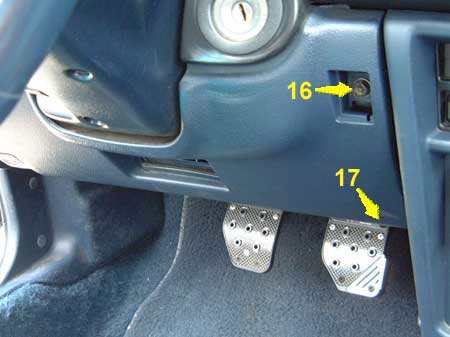
Here is the left hand side. Again, remove the grill and the screw cover first. Then take out
screw #13 - 17. You can now remove the lower part of the dash.
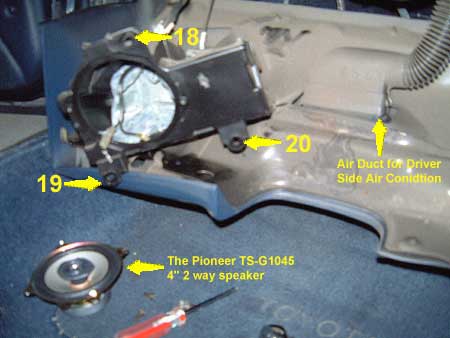
But the left hand side is a little trickier than the right, Cause you got the hood release
cable and the air duct from the air condition connected to the dash. So
Be careful not to damage either.

You can remove screw #18 - 20 to take the speaker out. The same drill
here to replace the speaker just as the right hand side.
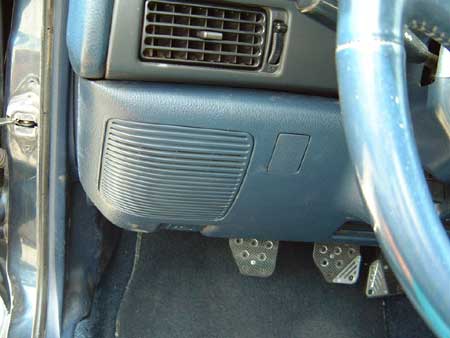
After you put everything back in, you are done. You've successfully
replaced the left front speaker. And it's time to enjoy the music~ :-)
Things to remember ...
- Seems to me that most of the 4" speakers will work with the dimensions of the speaker
box, even though the guys over at Crutchfield told me that most of the 4"
speakers are too deep or need spacers ... But regardless, try to stay with similar
sizes. (and don't blame me if you can't get yours fit ... but let me
know ... hehe)
- Maybe I should have disconnected the battery first. But since it seems not too
dangerous and I know what I was doing, sort of, so I just went ahead and do the replacement without disconnecting the battery. And pay attention not to short circuited the wires! Cause I am sure you don't want to
fry anything in your car ...
- Always have your tools ready. It not fun to look for tools in the middle of the work.
- Always remember what you took out, what remember where to put them back in. Not good to have parts left over after you put the dash together.
- Put the grills and screw covers back on only after you make sure that every works fine.
- Take your time, don't rush. You don't want to break anything that you are not suppose to break.
The whole thing took me less than 2 hours, I worked really slooowwww ... though. The Pioneer sounds
a lot better than the stock speaker, even before they are broken. ;-) They are so much better that I have to
basis the front speakers now since I only have the stock speakers at the back.
The tweeter makes it sounds a lot better than without it, I am curious how a 3-way speaker will sound like ...
And I am thinking of replacing the rear speakers too. That will be another fun little project.
Pioneer TS-G1045 4" 2-way Speaker Features
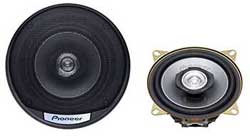
- IMPP (Injection Molded Polypropylene) Rigilite™ Composite Cone (Silver
Grey) for Richer Bass Response
- 1-1/8" Silver Film (PET) Cone Tweeter
- High Energy Strontium Magnet (Woofer)
- Shallow Mounting Depth for Wider Installation Coverage
Specifications
- 80 Watts Max. Music Power (20 Watts Nominal)
- Sensitivity (Efficiency): 90dB (1W/1m)
- Frequency Response: 45 - 22,000Hz
- 4 Ohm Rated
- Dimensions: 5-1/4" x 2-3/8"
- Mounting Depth: 1-3/4"
|