
|
|||
|
|||
 |
 |
 |
 |
|
| Exercises Select an activity from the list below. | Exercises | EZtest Series |
| | Exercises | | ||
|---|---|---|
| Vegeman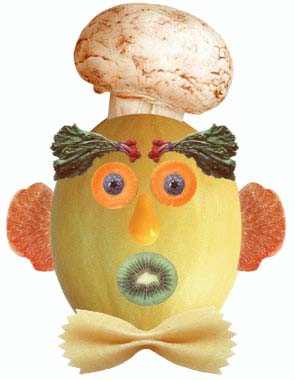 |
First, select all parts with the Magnetic Lasso Tool then duplicate them to another document. Change their sizes by using Transform [CTRL+T] then move them using the Move Tool. Move them to their proper places (by referring to the Final Output). Download files here |
|
| Knight 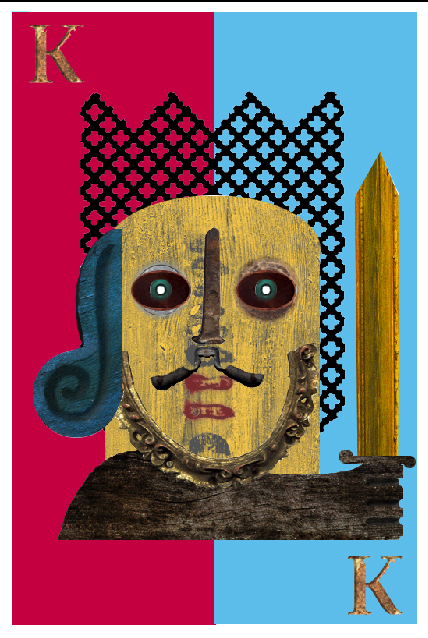 |
First, I selected the biggest parts. I selected the red rectangle first with the Rectangular Marquee Tool, then duplicated it to a new document. I selected the coins, the black pattern, the wood and sword with the Magic Wand Tool then copied it to the new document, similar to the earlier one. I chose the yellow wood with the Pen Tool and made a curve on the top, and selecting the rest normally. Duplicated this as well. I selected the ear and nose with the Lasso Tool then duplicated it. All duplicated layers are arranged in the New Document using the Move Tool. Download files here |
|
| Kitchen World  |
First, I made a square document. I used the Fill Bucket to fill the background with orange. Then I selected the easiest-to-select parts. I selected the spoons and the pan with the Magic Wand Tool and duplicated them to the square document. I then selected the herbals with the Magic Wand Tool and Magnetic Lasso Tool combined, then duplicated them to the square document. Next, I used the Move Tool to put them in their respective places. Lastly, I used the Horizontal Type Tool put ‘Kitchen World’ and my name within the image. Download files here |
|
| Old Man 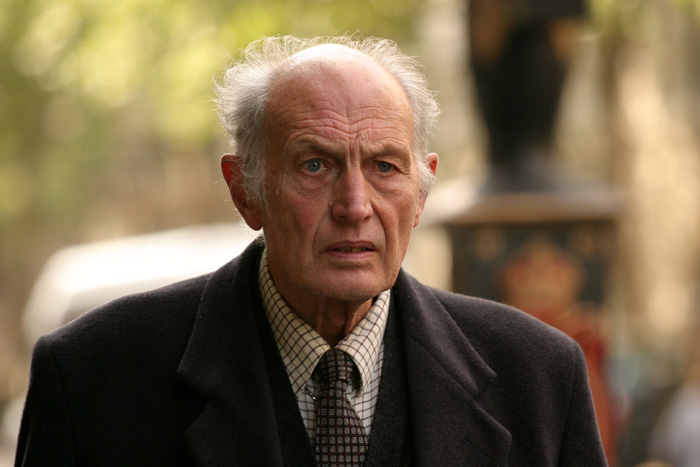 |
First, click on the Patch Tool, then define a sampling area (the head). Then, drag the selected area to the area that is wrinkled(which needs to be fixed). Drag the sampling area to the wrinkled areas until the desired quality is achieved. Download files here |
|
| Old Photo 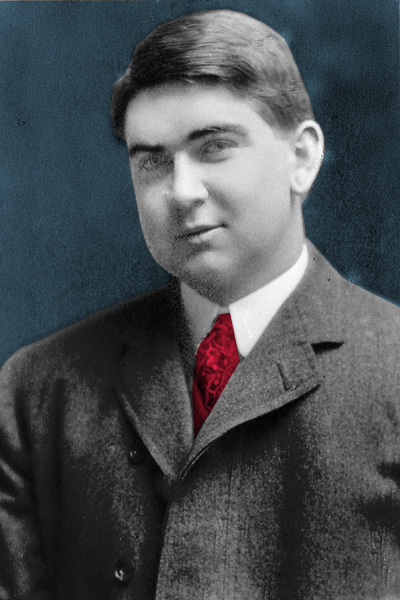 |
Set the mode to RGB first by going to Image > Mode > RGB Color before proceeding. First, click on the Clone Stamp Tool, then define a sampling area from the background, then click on the white parts on the background. Next, define a sampling area on the coat, then fix the whites over there. Lastly, select the background using any selection tool then go to Image > Adjustments > Hue/Saturation then tick the Colorize box. Apply the colors how you want them. Also do the same to the others if you want to. Download files here |
|
| Baby In A Zoom 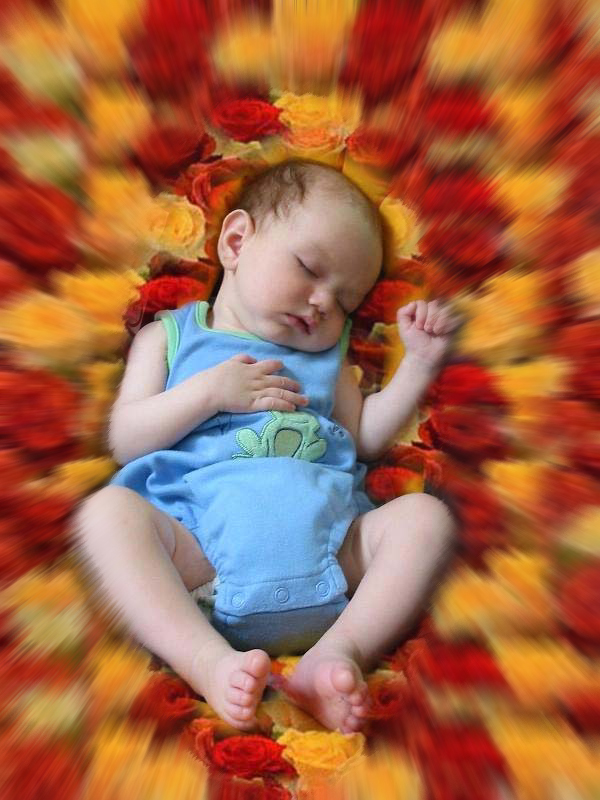 |
Define a pattern using the flower image by going to Edit > Define Pattern. Click OK, then click the Pattern Stamp Tool. Apply the defined pattern by clicking on the arrow of the box with a small image. Select the pattern from there then paint the area (don’t paint the baby). Afterwards, select the baby. Next, right-click then choose Select Inverse [CTRL+SHIFT+I]. Now go to Filter > Blur > Radial Blur. Apply these options: Blur Method [Zoom]. Quality [BEST]. Amount [15]. Click OK. Download files here |
|
| Beauty Queen 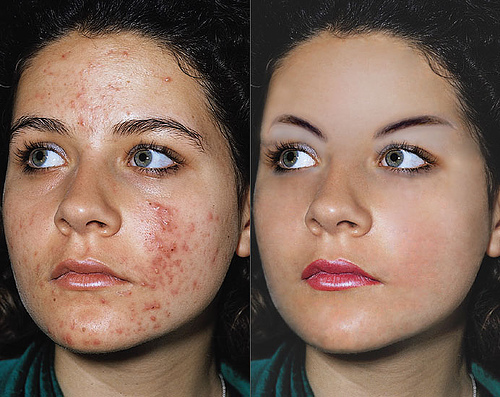 |
Select the Healing Brush Tool first then define a sampling area (the head or the left cheek would be fine). Then, use the brush on the area that needs to be fixed. You must always check your sampling point as it moves when you use your brush. Make sure the sampling point doesn’t get to the eyes or hair, etc. Continue until desired quality is achieved. Download files here |
|
| | EZtest Series | | ||
| Draw a Shape!  |
How do you even do this?! If you don't know how, then you could check the Tutorials page. :p | |
| | Draw a Line! |
How do you even do this?! If you don't know how, then you could check the Tutorials page. :p | |
| | Use the Fill Bucket! |
How do you even do this?! If you don't know how, then you could check the Tutorials page. :p | |
| | キリギリさん | 小鳥遊 六花 | ショコラ | 立華天使 | ぜんぶのだいすきです!! | ようこそ!| | |
| Touhou-Kirigiri Project / 東方-キリギリ project Copyright © 2014. All rights reserved. Site is viewed best on Windows 7 operating systems and above. |
Home | Tutorials | Exercises | About Us |