Mike tries his hand at a cool winter project
138.5H
As of April 26, 2002

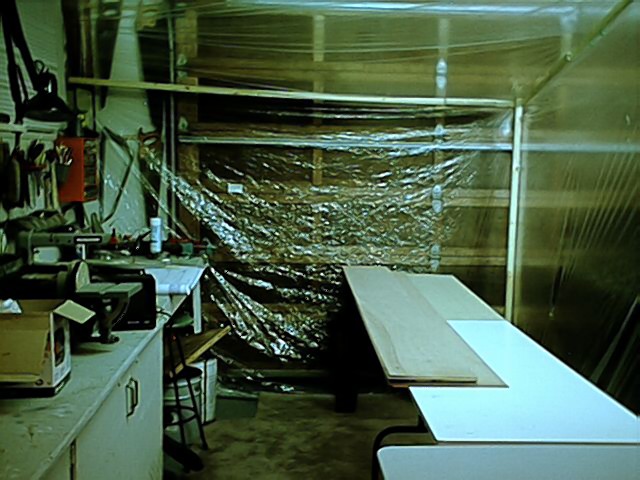
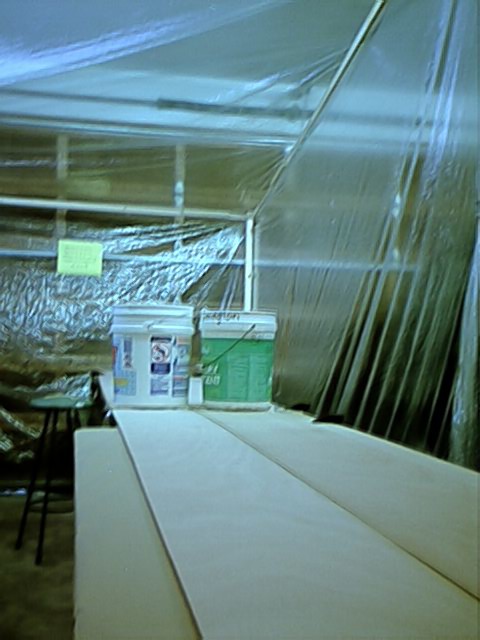
I will be setting up a work area in my garage, closed in with plastic and heated, though I have decided to go with Cold Cure epoxy which is good to 2 Celsius. I am keen to get those panels scarfed and start trimming up the pieces.
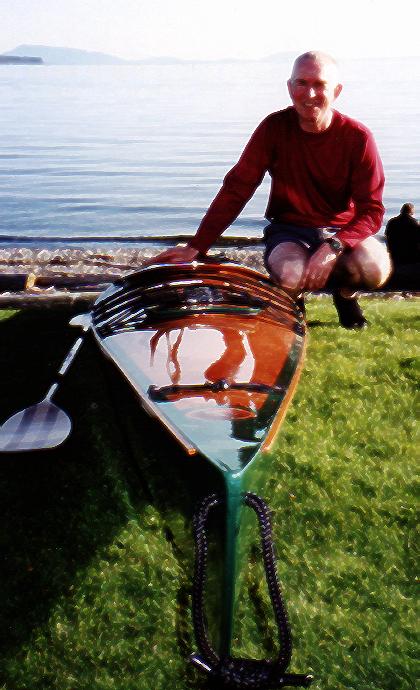
My friend and neighbour, Mike, is also constructing. He is working on a kit from Pygmy Boats. I believe he is building the Osprey. It will be interesting to compare notes and methods. He has already started and there are some definite differences in technique. It will be a pretty boat no doubt. Click here to check it out!
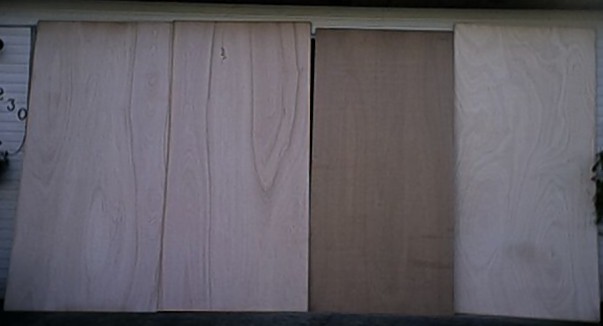
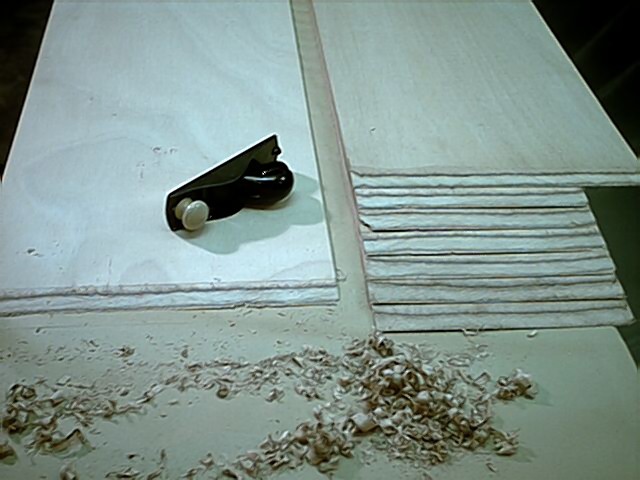
On January 12 it was time to scarf the blanks. I borrowed a belt sander but after practicing on some scraps I realized it would be easier with the block plane. So away I went and in 3 hours all 8 blanks were almost done. The next morning I checked the scarfs and fit them. Before I knew it I was mixing the epoxy and glueing and clamping. 5H
Sunday,January 13. Unclamped the blanks. Not bad looking scarfs for a first try. I had taped around the joint so could lift tape and most of the excess epoxy. I cleaned up the rest with a hook or pull scraper. A good sharp blade (which you can resharpen many times) easily removes the excess, especially when it is just past the cure time. 1H
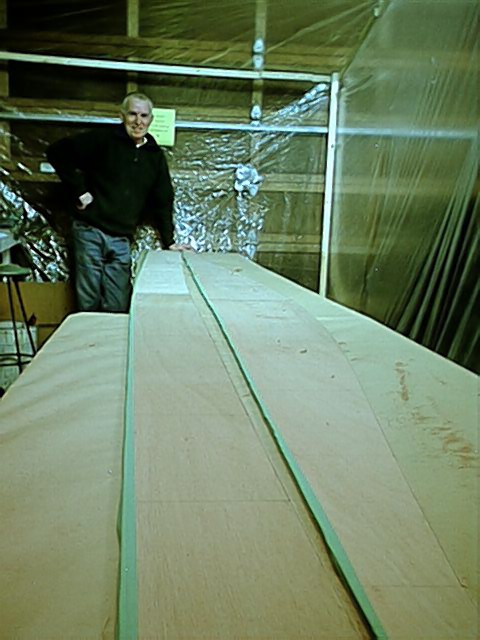
Monday, January14. Spent the evening laying out the hull panels on the blanks. Time consuming for one person. It would have been handy to have a helper to read out the measurements from the plans but hey, some good music and a marm space, what better way to spend a winter evening. (Well I guess there are better things to do but we won't go there!). After 2 1/2 hours they were ready to cut. 2.25H
Tuesday, January 15. Dave, my 19 year old son, came out and helped me cut the panels. With great trepidation we wielded the jig saw and after a couple of hours we had the job done and were pretty satisfied with the end result. We left about one eight of an inch to plane down, something I will hold off doing until I have cut a few other components and am ready to sew; I would hate to have the trimmed pieces sitting around for a few days and run the risk of damaging the nicely planed edges. 2.25H
Thursday, January 17. A quiet night. Cut out my hatches and the rims. 2H
Saturday January 19. I cut out the backrest, trimmed it up and then realized that I had cut with the grain horizontal which meant that it would not flex enough to give it the necessary curve. So... I cut another one though it was getting hard to find a big enough scrap. I guess if I had waited until I did the deck I would have had plenty of extra wood but I want to get all of these little things done ahead of time. I also made the jig for the deck beams. Then I decided to plane down the hull panels. I felt that if I got them ready I would be able to glue the sheer clamp on Sunday. They planed up pretty well with just one 'wow' on one of the panels; I guess the blade tilted when I was cutting. Ah well, it will be hidden by the rubrail if it is of any consequence. 2.75H
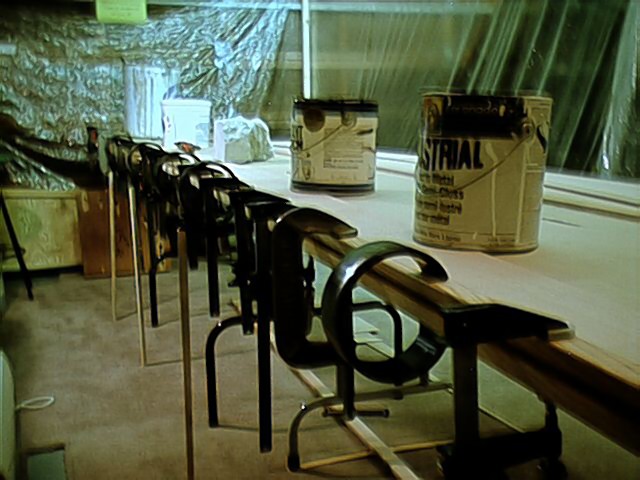
Sunday, January 20. The panels were ready. I trimmed my sheer clamps to size, mixed the epoxy and went to work. With the hull panels outside to outside, I wetted them and the sheer clamps with unthickened epoxy first then added the Antisag, pasted it on the sheer clamps and with the help of Dave, we clamped the whole thing together. It went really well, I used every clamp I had, even some made of 4 inch plastic pipe (they work great!) Now I wait a couple of days and the stitching can begin! 2H
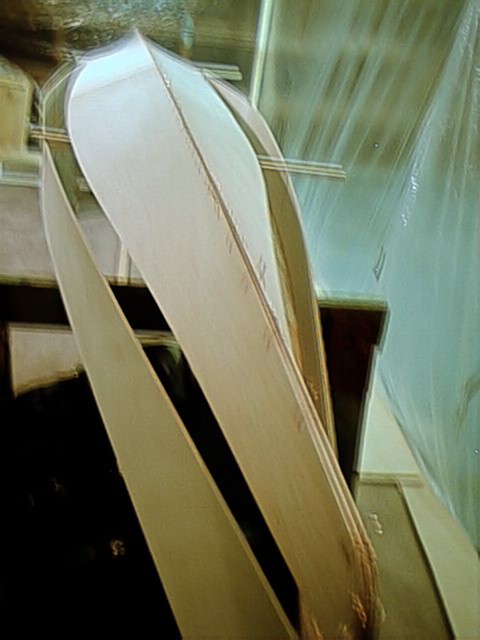
Tuesday, January 22. It was time to drill the holes in the bottom panels. I got that done with them still stapled together from when I planed them. Then I cut the wire up and joined the bottom panels. That done I wired the stern and bow of the side panel, took the tables I had been working on down and set up the saw horses. I placed the wired panels on the sawhorses, looked them over and felt that things looked promising. That was enough for the evening. 2H