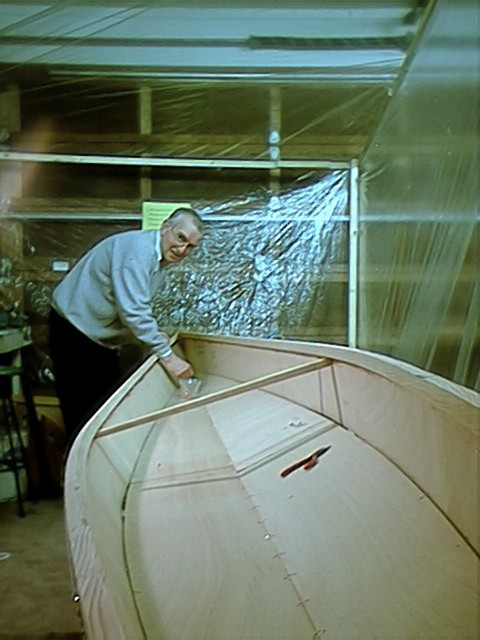
| Wednesday, January 23. More stitching. I went with the advice in the book and tied a wire every couple of feet then flipped the hull 'upright and pushed all of the remaining wires through without resorting to crawling underneath. It worked really well and with all of the wires in I began to tighten them. It definitely was starting to look like a kayak! 2H |
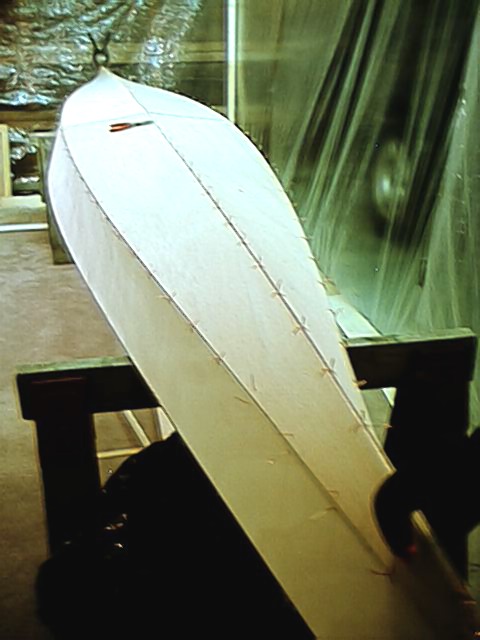
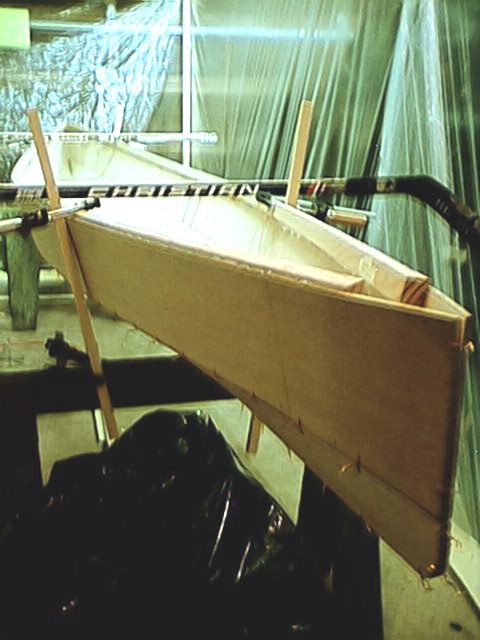
| Thursday, January 24. Just a short night of tightening stitches. When I finished them off I checked the hull over for gaps that I would have to adjust. It turned out I needed to adjust at the bow and stern where the bottom panels met the sides and also a couple of small gaps along the seams. 1H Friday, January 25. I undid a few wires and planed or filed down the few areas that needed to be adjusted. It took longer that I thought it should but the wires broke when I tried reusing them so I had to rethread some which is a bit tricky up in the bow and sterm. However I eventually got it done and proceeded to suspend the hull to get it ready form 'winding', or leveling. I actually did use a level and then checked with two sticks as specified. Those old hockey sticks came in handy and things look good for filleting and 'glassing tomorrow. 2H |
 |
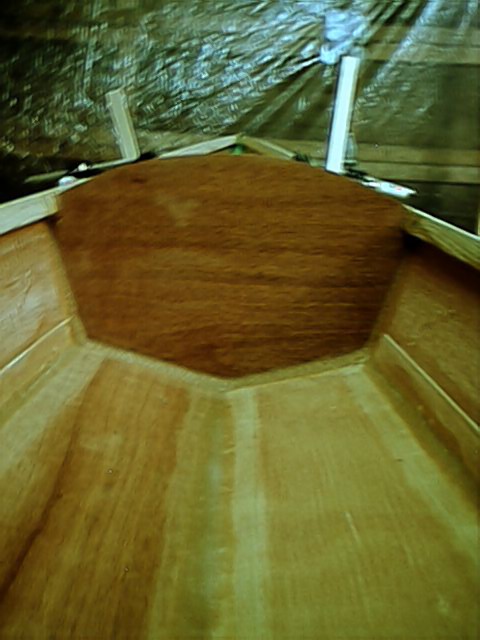
| Sunday, January 27. It was time to get things filleted! But first I cut the strips for the beam as I planned to get the beam glued at the same time. Mixed up 18oz of epoxy, wetted out the strips plus the area to fillet and then took some of the epoxy and added antisag for the glue. Got everythigng glued up then laid the strips on the jig. It was a little tricky keeping them aligned as I clamped but after a couple of adjustments I had the shape that was specified! Then it was time to fillet. I put the glue epoxy back with the unthickened and added wood flour. Got the right consistency and then put the mix in a cleaned out caulking tube and placed a nice tidy bead down the joins. I used a couple of wooden tools I made plus a small lid and a CD to shape and smooth the bead. I think the caulking tube worked really well; it was tidy and left very little to be scraped up after. Then it was time to stretch the 3 inch 'glass tape before placing it and soaking it in unthickened epoxy. I was not able to get rid of one thick edge on the 'glass but at least the side ones |
| won't be seen easily: I put the thick edge on the side as opposed to the bottom panels. By the time I was on the third strip of 'glass I had figured out that by pulling at the edges of the 'glass about a foot ahead of the brush, I was able to eliminate a lot of bubbles and wrinkles. I saturated the cloth and coated the interior then Ichecked the hull for level once more just in case a clamp had slipped as it took some effort to brush out the honey like epoxy and the hull was shaking a bit. All was well and after picking up a few runs here and there I called it a day. Above you can see the result of my labours today. 4H Tuesday, January 29. A pretty quiet night. I took the beam off the jig, scraped the glue that had squeezed out and sanded it up. I had a bit of trouble aligning the plywood whenI was clamping it so I had to even it all up. Turned out not bad and it did spring back just as described in the manual! The curve matched the full sized drawing in the plans perfectly. Tidied the shop up and called it a night. 1H Thursday, January 31. Time to cut out the bulkheads and coaming along with the spacers and thigh braces out of the 6mm ply. Before I started, I was checking from the plans to my hull and found that where the forward bulkhead was supposed to go it was one inch too wide!? So... I checked the spacer I had used for spreading the side panels and lo and behold it was one inch too long. Now I took great care to measure that piece of wood when I cut it but I never bothered to check it onceI spread the panels. Good job there was enough flex that it didn't matter. I cut as new stick, replaced the old one and got it right this time. I'll know for next time! Back to the bulkheads. I made cardboard templates which was really handy. I got a good fit and then cut the plywood. I copied the other pieces from the plans to vellum and then used a tracing wheel to mark the plywood. All set to trim them tomorrow. 3H Saturday, February 2. I made sure the bulkheads fitted, wired them into place and cut the cloth to lay in the cockpit. I should have done this when I was doing the hull seams but I ran out of 'steam'. It would have been better to stoke the boiler and get it done then. Ah well. I wired the bulkheads in and was ready to fillet them tomorrow. 2.5H Sunday, February 3. Mixed 18oz epoxy and wetted out the cloth in the cockpit. Boy, this Cold Cure epoxy is tough to brush. I tried putting it under a lamp but that just catalyzed it quicker I think. Anyway, I wetted out the strips for the beam then added Antisag and spread it as glue on the strips. Then the fun began trying to align the beam on the jig. Blue air but it got done! By this time the epoxy was beyond use as fillet material so I put it in the endpours that I had sealed off with small bulkheads. Saves me having to stand the hull on end. Then I mixed teh fillet material and put it in a zip lock bag (thanks Lee at CLC). It worked great. I made a small smoothing tool out of plywood and shaped the material nicely. I dumped the excess fillet material in the ends and then mixed up 6oz more to top them off. Job done for the day! 2.5H Tuesday, February 5. Took the second beam off the jig. I made a full sized beam as I figure I will use it for the front beam and for the seat back. I know it will be bigger than specified for the back but I will maybe trim it down or possibly leave it. I made up a couple of holders for the hull that I attached to the sawhorses, then I flipped the hull over and removed the wires. High tech; a wireless hull! 2H |