| My 86 K-10 Truck Project |
| 11-20-05 I have added a page now for my truck project. (And since deleted all the IROC pages too as of 4-15-07) New Photos too as of 7-7-2007! The project is DONE! Click here for quick link to the new pics. |
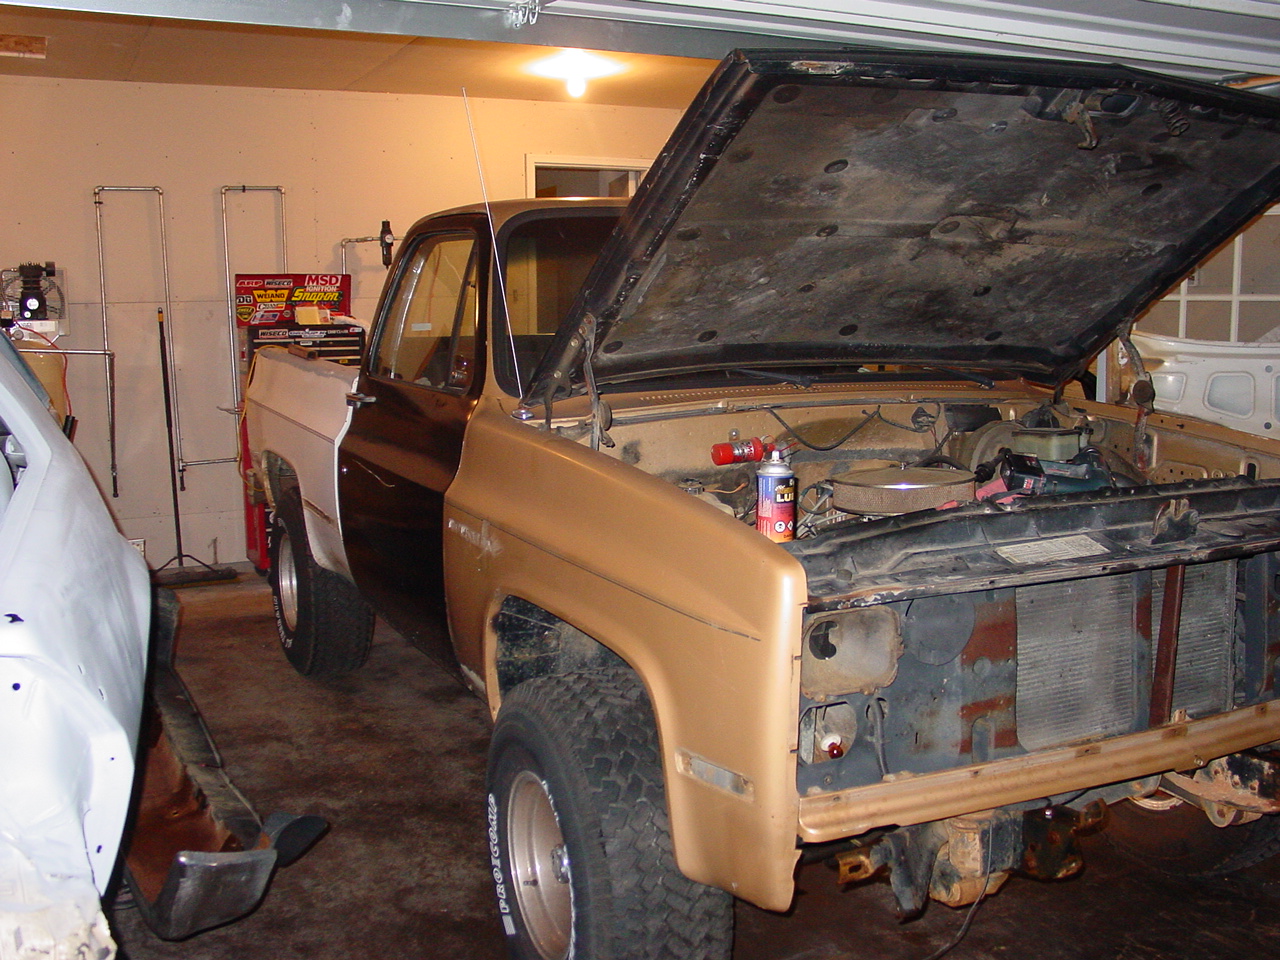
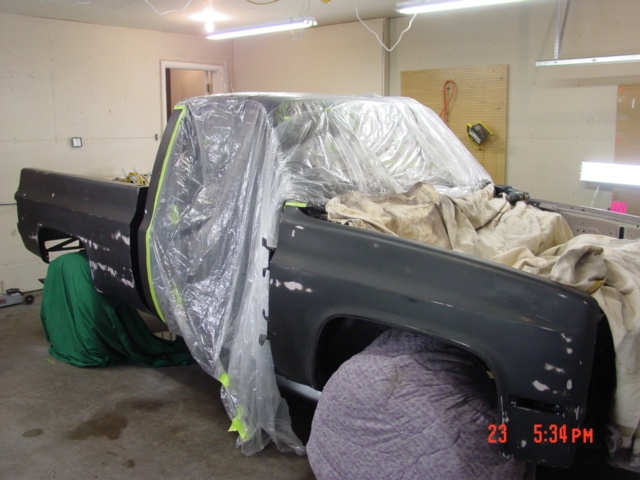
| Above is a picture of my "gem" in rough form. When I bought it, it was one solid color tan. The driver side door and fender had a big crease in them and the bed was bent in badly on one side. The passenger door had a huge dent and so did the hood. I didn't want to try to fix all that with bondo and pulling out dents, so I replaced all the parts over a peiod of years. That is how I ended up with the patchwork quilt look on it! Thankfully, the frame is in good shape and didn't need any work. I began painting the interior of it first more then 6 or 7 years ago. I chose black at that time because I thought it would look good, but what a bad choice for a first paint job attempt! (Black shows every flaw) When I had to move to Wisconsin, my plans were put on hold again and I left the truck back in Georgia for about 2 years sitting out in a field. |
 |
 |
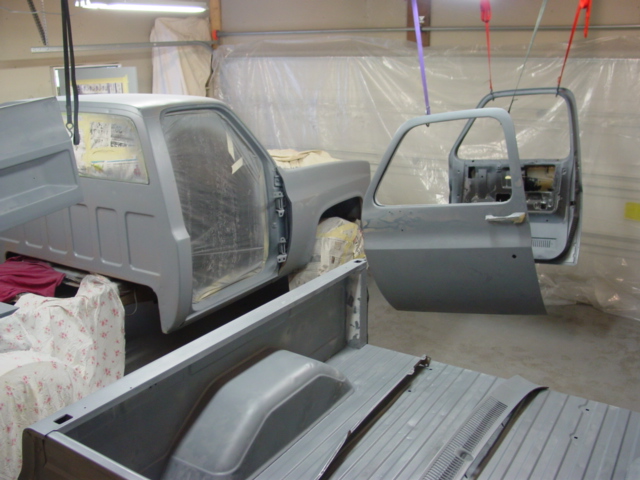
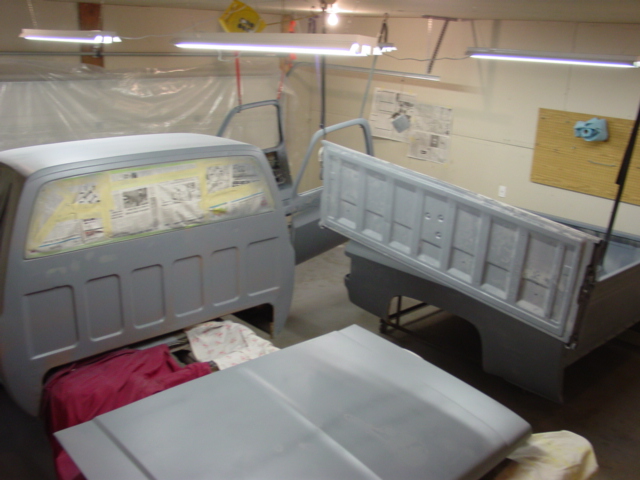
| Here's some pictures of work in progress I made once I got a place where I could continue my project. I dismantled everything so that the color change paint job would leave nothing uncovered. I put the bed on a rolling dolly I fabricated to move the Iroc around on originally. It took more then 6 months of work sanding, bodyworking, sandblasting the bed inside and general prep work to get it ready for the primer coats. I began with a coat of epoxy primer/sealer and then covered with about 3 coats of urethane 2k primer. |
 |
 |
 |
 |
 |
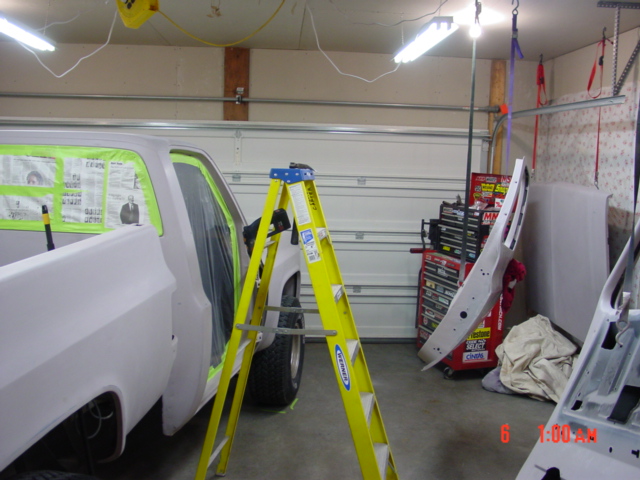 |
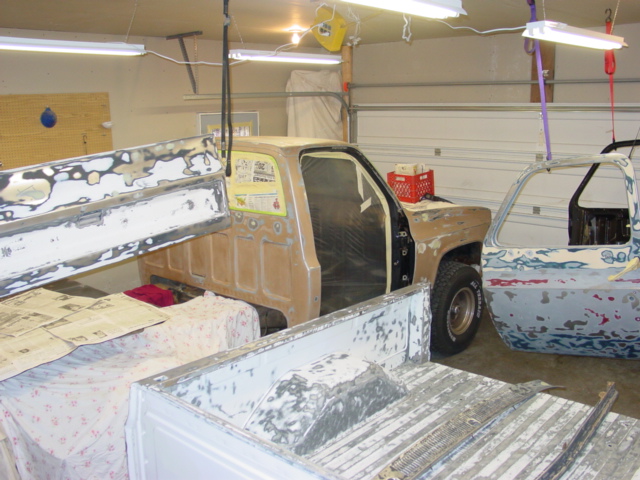
| My garage was jamb-packed with parts to paint! A truck like this has a lot of surface area to paint, and my two car garage was just too small. I thought that everything had to be painted at the same time when I was doing this for the first time, so I tried to fit everything inside and shoot it all at the same time. I don't know how I shot the primer without bumping into everything but I did. I was in for a big disapointment just ahead when trying to shoot the back base color coat next. |
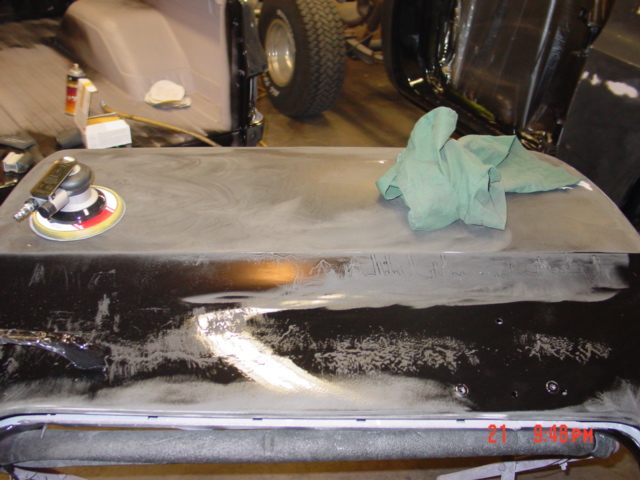 |
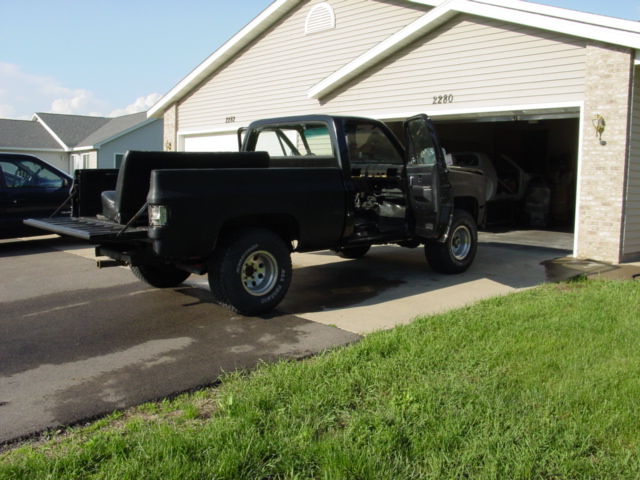
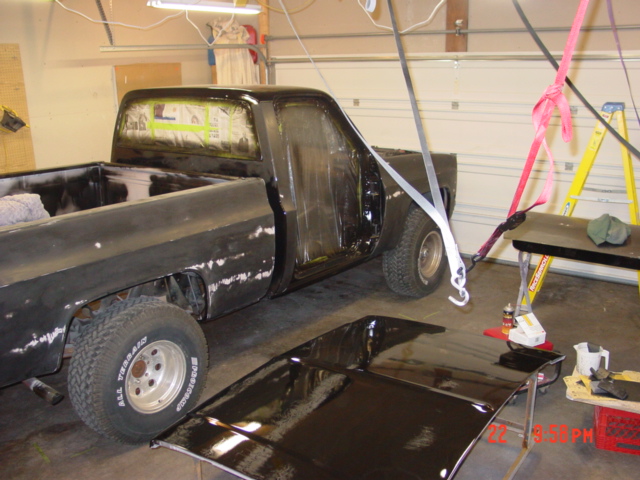
| After the 2k surfacer primer was applied, the wetsanding FUN begins. After about 2 or 3 weeks of on again off again wetsanding "parties" with the help of my friends Greg and Ben, we finished up with the flattening of the surface and the truck was ready for paint. I re-taped it and shot the black color for my first attempt at painting. The result is shown on the left here, runs and sags were everywhere. Paint hardens slow below 70 degrees, and my garage was proof of this. Inexperience didn't help any either! I had to do everything over again, and remove all the runs with nib files and run blockers. I ended up sanding the whole damn thing again with 400 grit and a d/a sander. |
| Check out Autobodystore.com for some great products and advice for all your painting and bodywork needs. Len Stuart is a great guy, and without the help of his website I would have never attempted this bodyworking project. |
 |
| I finished sanding out all the runs and shot the paint again one more time. I did much better the second time, but still couldn't avoid some runs. The picture on the right shows the finished result, during wetsanding the color to remove orange peel. Buffing the finish is the next step. |
| - Note - Even though some of the info is outdated, I chose to keep it this way so I can keep a timeline of the project to share with everyone |