Previous Page |
 Next Page | |
 | ||
Previous Page |
Next Page | |
| ||
We will use the Copy & Paste feature to insert the rest of the text into our letter.
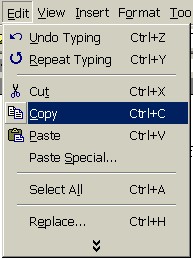
To copy something (text, a picture, etc.), you first need to select it. Then, open the Edit menu and select Copy.
NOTE: There are two ways you can select text to highlight it. One way is to double-click or triple-click over the text to select the whole word, line or paragraph. The other way is to move the mouse pointer just to the left of the word you want to highlight, hold down the left mouse button, move the mouse down to the end of the text you want to select, and release the left mouse button.
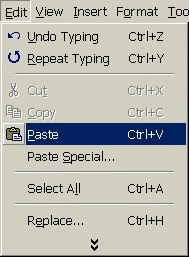
Move the cursor to where you want to insert the copied text or picture (left-click once to insert the cursor at your new position), then open the Edit menu and select Paste. The text (picture, etc.) will now be in both locations.
If you wish, you can move the text or picture (instead of copy it and have it in your document twice) by selecting Cut instead of Copy on the Edit menu. This will remove the item from its original location. When you select Paste the item will be moved to the new location. However, if you select Cut and do not select Paste, the item will be deleted. (If you accidentally cut something, you can use the Undo feature if it is available.)
There are actually three other methods to Copy & Paste (and Cut & Paste):
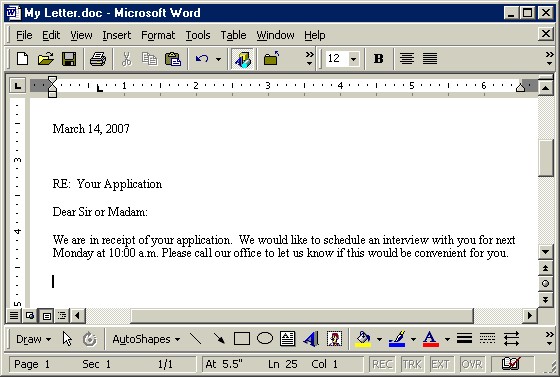
Practice: We are going to copy the text in the box below and paste it into our letter. First, move the mouse pointer so that it is just over and a little to the left of the first word in the box below. When the mouse pointer changes from an arrow to a line, hold down the left mouse button and move the mouse down and to the right until it is at the end of the second sentence in the box and then release the left mouse button. Both sentences should now be highlighted. Open the Edit menu and select Copy. Go to your letter and left-click at the end of the line you previously typed (We are in receipt of your application). Make sure there are two spaces after that sentence. Open the Edit menu and select Paste. Press Enter twice. Save your document.
| We would like to schedule an interview with you for next Monday at 10:00 a.m. Please call our office to let us know if this would be convenient for you. |
Your letter should now look similar to this:
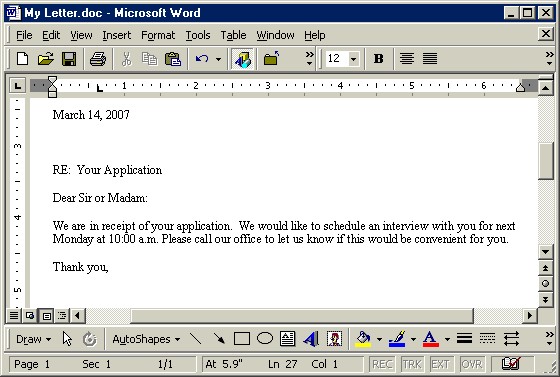
Step 12: Insert the closing line.
The AutoText feature includes some closing line options. Open the Insert menu, go to the AutoText submenu, open the Closing submenu and select one of the available closing phrases.
Practice: Make sure your cursor is two lines below the last sentence. Follow the instructions above to insert the closing line Thank you. Press Enter four times. Save your document.
Your letter should look similar to this now:
Step 13: Type the signature line.
This is where you type your name and your title, if this is a business letter.
Practice: Make sure your cursor is four lines below the words Thank you. Type your name. Press Enter and type Supervisor. Save your document.
Generally, people want to make a good impression when they go to the trouble of typing up a letter. Misspelled words can make a good letter look bad. It's important to get into the habit of spell checking your work before you print your letter.
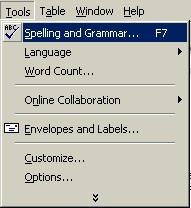
To spell check your document, open the Tools menu and select Spelling and Grammar.
If there are no misspelled words, there will be a message saying that the spelling and grammar check is complete.
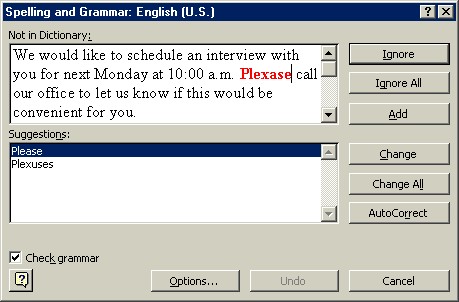
If there are one or more spelling errors in your document, the Spelling dialog box will appear.
(Note: If a dialog box appears with a Resume button on it, just click on the Resume button and the Spelling and Grammar dialog box will reappear.)
If the Suggestions box contains the correct spelling of the word you want to use, click on that word and then click the Change button and the spell checker will replace the misspelled word and continue on to the next misspelled word, if there is one. You can ignore that one instance of the misspelled word (click the Ignore button) or you can ignore all of the instances in the presentation (click Ignore All). You can add the word to Word's dictionary for future use if you are sure the word is spelled correctly (click the Add button). The spell checker will continue until all of the misspelled words are found, or you can click on the Close button to stop the spell checker before it is finished.
Any instances of grammatical mistakes will also be shown if the Check Grammar option box is checked.
NOTE: While you are creating a document, misspelled words will have a red wavy line under them and grammatical errors will have a green wavy line under them. To correct spelling and grammatical errors while you are creating your document, right-click over the word with the red or green wavy line and select the corrected word or phrase from the shortcut menu, if one is shown.
Practice: Open the Tools menu and select Spelling and Grammar. If there is an immediate message saying that the spelling and grammar check is complete, it means there are no mistakes. If this is the case, go to any word in the letter and misspell it. Run the spelling and grammar check again and correct the mistake.
 Previous Page |
Next Page |