| Back |
| Back |
|
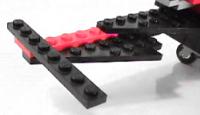
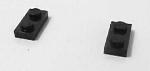
girder with an axle/peg and a 1x2 smooth peg on top. |
 |
|
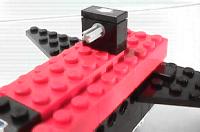
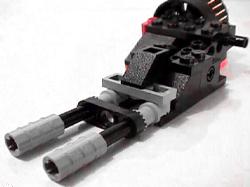
a 2x2 round brick to the axle/peg, then add a 2x2 plate. |
  |
|
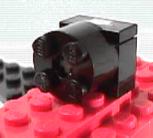
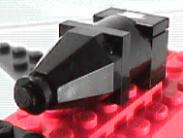
2x2 cone to the plate. This is purely for show. It is supposed to be Raven's engine. |
 |
|
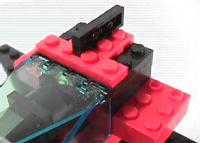
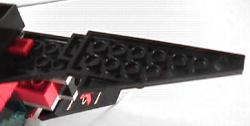
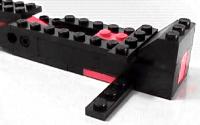
2x8 brick and a 1x8 girder with a black peg in the center hole. |
 |
|
2x3 bricks. |
 |
|
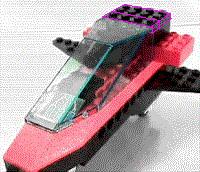
plate and canopy. |
 |
|
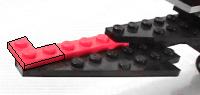
"L" plates and a 1x2 plate. On top, add a 1x3 plate. |
 |
|
two compnents using two 1x2 plates, two 2x2 plates, and two 2x3 plates. |
1
 2
2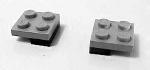 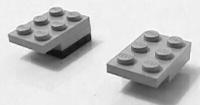 |
|
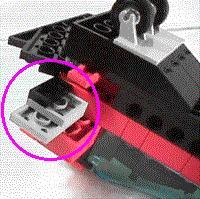
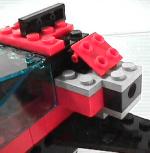
body over and rotate the wing out of the way. add one of the components as shown. |
 |
|
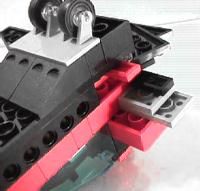
same for the other side. |
 |
|
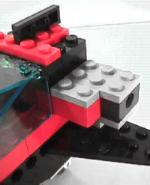
body back over and add a 1x2 girder to each side. |
 |
|
side, add a 2x3 plate and a 1x2 plate. Lastly, add a 2x2 brick/hinge. |
  |
|
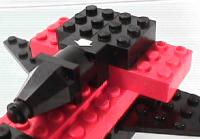
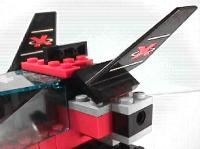
fins are the last part of the main body. |
 |
|
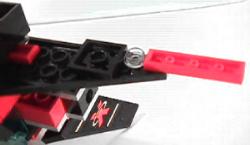
wing, add a 2x2 plate, a 1x1 light, and a 1x4 plate as shown. Repeat for opposite side. |
 |
|
wing at the end of the first one. Repeat for opposite side. |
 |
|
of each wing, add an "L" plate, than a 1x8 plate as shown. |
|
|
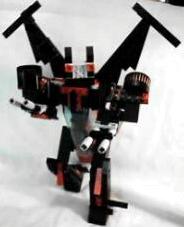
step is to add the head, arms, and legs to their respective places. (The legs attach to the lowest girder holes on the body.) |
 |
|
|
|||
1. Arms |
2. Legs |

3. Body |

4. Head |
5.
Transformation |
|||
|
|
|
|
|
|
|
|
|
|
|
|
|
|
|
|
|
|
|
|
|