If not, follow the previous tutorial first to get there.

Usually a dark green if your picture is going to be light, or a light pink if your picture is going to be dark (see the next step if you are confused).
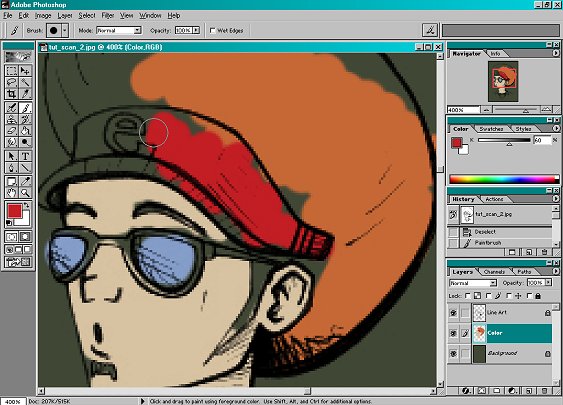
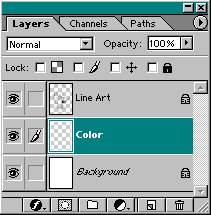
3. Select your Background layer and use the Paint Bucket Tool
 to fill the background the color you chose
(pictured to the left; color: #404735).
The reason for this step is, it makes it easier to see what you are coloring later.
For example, it would be difficult to color something on your picture white while the background was white.
The background color can be changed later if needed. You�ll most likely have to change it a few times trying to color different things on your image.
NOTE: Make sure that you are on the Background layer if you are going to fill it with a new color. After you�ve done that, don�t forget to return you�re your Color layer to continue coloring your image. DO NOT color your picture on the Background layer!
 to lay down all the solid colors of your picture.
 to fix it without affecting your Line Art or Background layer.