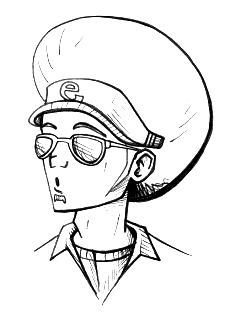
Because you scanned it as a black and white image, it is probably in Grayscale mode still. Let�s change it to RGB mode.
Image>Mode>RGB Color�

3. Hit �ctrl+A� on your keyboard to select the entire image.
4. Hit �ctrl+X� on your keyboard to cut the image.
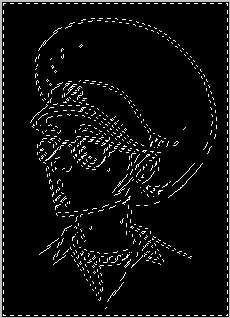
You�re canvas should now be completely white.
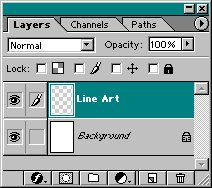
Your layers pallet should look like to the left.
6. Select the Paint Bucket Tool
 and fill the Line Art layer black.
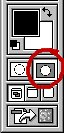
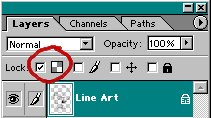
Click on the right one to enter Quick Mask Mode (circled in red).
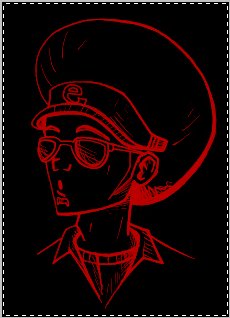
Because you are in Quick Mask Mode, the image should be red like pictured to the left.

After exiting Quick Mask Mode, your image�s line art should be selected around like pictured to the left.
10. Hit �delete� on your keyboard to delete all the selected area.
11. Then hit �ctrl+D� on your keyboard to de-select the image, leaving you with your line art.
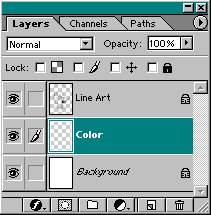
This will be the layer you will later work on.
Your layer pallet should now look like pictured to the left.
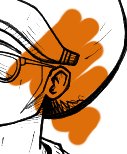

Notice it only colors on the lines (pictured to the left); that is because you locked the transparent pixles.