Don�t worry about naming it.
7. Decide where you are going to start coloring.
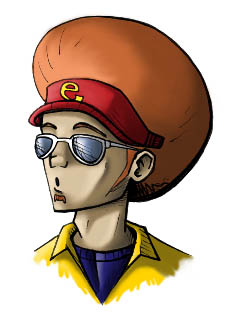
I�m going to start with the skin in this example, but it doesn�t matter.
Use Eyedropper Tool
 to select the soild color you used for the area you are coloring.
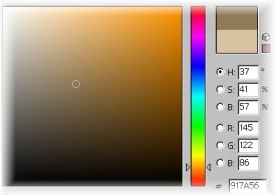

 to color in the areas where there would be shadows.
It doesn�t have to be perfect, but remember to keep in mind a light source.
Use different sized brushes accordingly.
Remember, if you make a mistake you can use the Eraser Tool
 to fix it without affecting the Color layer.
Look at the example to the left.

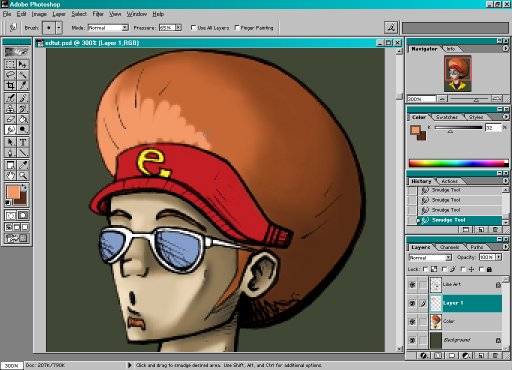
Select your Smudge Tool
 and set it�s Pressure to about 65%.
Using different sizes of brushes, begin to blend the shadows. Do this until you are satisfied.
See to the left.

So again, you should be left with your original three layers.
12. Now go all the way back to Step. 6!
On another new layer you are going to repeat the steps with an even darker shadow, and maybe some highlights.
This is why it�s time consuming. You can keep repeating these steps with different values as many times as you want, depending on how realistic you want your coloring to look.
Each time you are satisfied with your new shading, merge the layers together by hitting �ctrl+E�.
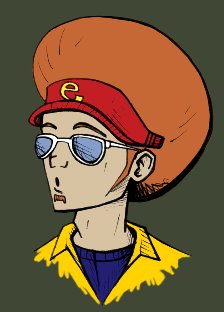
See the example to the left: this is after one extra value of shadows and a touch of highlights.
 to color