|
- For
this course we will use Word XP
- It
writes html code for you!
- You
can choose a colored background as shown in
figure C.
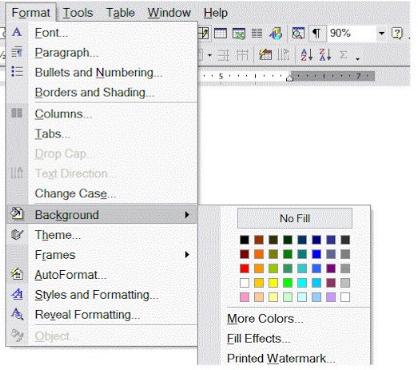
Figure C
- You
may also insert pictures and images from your hard drive.
As shown
in figure D.
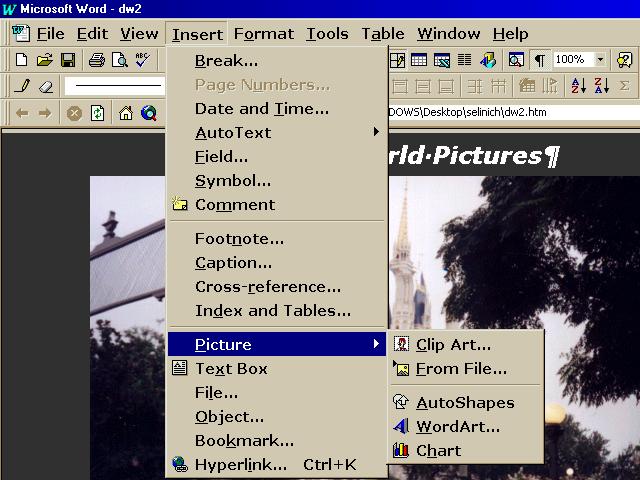
Figure D: See
Disney World Pictures page
- If
you copy and paste pictures and images from a web you need do
the following:
- Always
list where you found the picture (i.e. link to that
site).
- If
the site is of a personal nature, or that of private organization
or company always email to ask the author's permission
to use pictures and images from the site. As shown in figure
E.
- If
the site is public such as CNN.com,
ABC.com, MSNBC.com,
the History Channel,
and the Library of Congress simply
list where you found the image and link to that site.
- Always copy pictures and images
to your site and the author know what you intend, so you do not
use up his transfer rate.
- Sites change
and go down by coping pictures and images to your site, you
will never have missing pictures or images
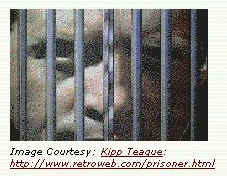
Figure E: After asking
permission to use the above image I
listed and linked to the author's website.
- You
may also want to link to other sites. You can link to any site
you
choose, but it is always a good idea let the author of the
page
know what you're doing.
-
There two steps to adding a
link to a webpage in MSWord XP:
1. Type the name of the link (what you want people to
see)
highlight that name using the mouse, and then go to
Insert,
then hyperlink.
2. Type in address as shown in figure F

Figure F
Top of Page
|

