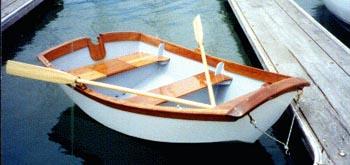
Jim's Little Dinghy Page
Share an adventure with an amateur boat builder as he builds a Prameke PK78 Dinghy!
05/08/2005
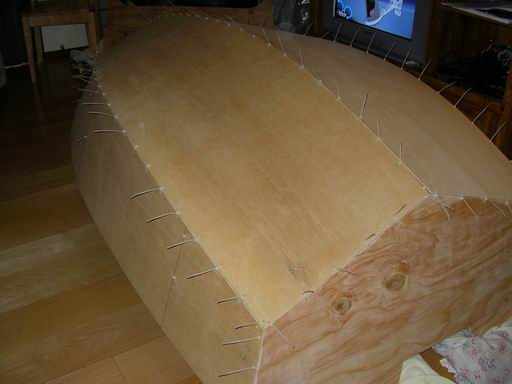
We held the pre-stitched bottom panels over the hull, slowly opened, and set it down on top of the frames.
Then we started stitching from the middle to the ends on both sides. This is what we ended up with.
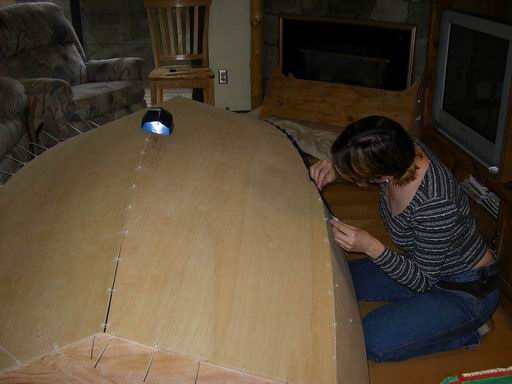
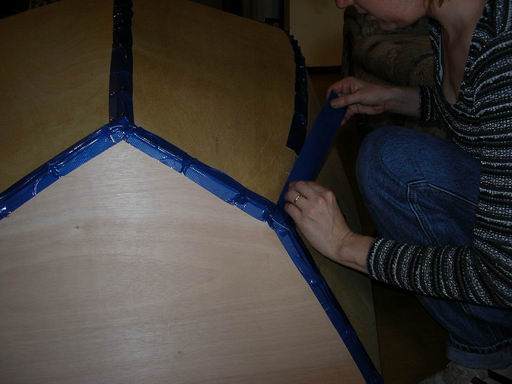
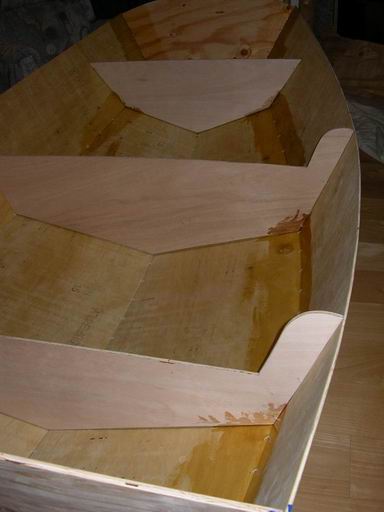
Then, while I started trimming ties Claire started taping the seams. We taped so
nothing would run out on the floor when we start doing the inside seams.
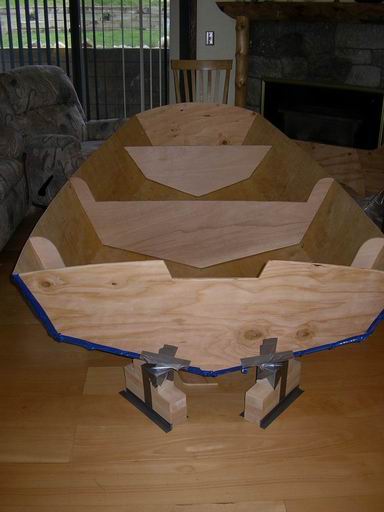
Here it is flipped right side up. All the frames are exactly level. When I measure diagonals I get
101" and 101 & 3/16", which is close enough for me. All the seams and joints fit perfectly.
Tracing patterns off the plans worked very well for us. At this point I would
recommend that method for a first timer like myself.
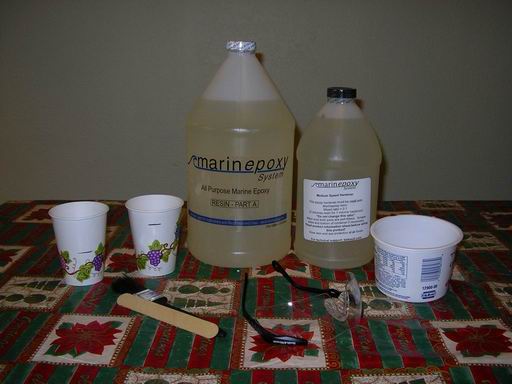
Time to spread epoxy. Here's my get started kit.
I purchased "medium" hardner. On my first batch of epoxy I mixed up 8oz of
"A" and 4oz of "B". This is how far I got in 15 minutes. You can still smooth it out
for about 3 minutes after that.
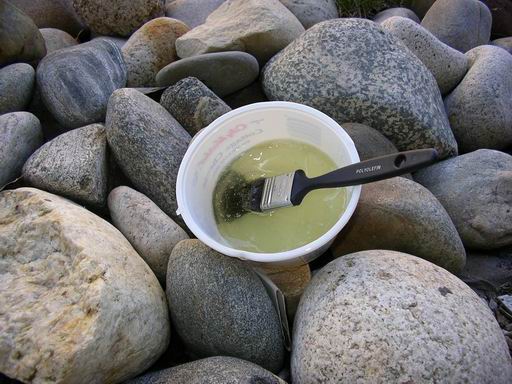
This is the other 6oz of epoxy I had left after 15 minutes. That is when it
got a little hot to hold. 5 minutes later it was smoking and I ran it outside.
Now it is an interesting memento/paperwieght. My next batch will be half the size.
Back at it tomorrow after a quick trip to the Mini Walmart for some .50 cent paint brushes.
HOME
BACK
NEXT