 |
 |
| How'd ya do that?!? |
| - Lots of folks have asked me how I am able to create some of the shots seen in my dioramas and diostories. Well, here are a few examples. Enjoy! |
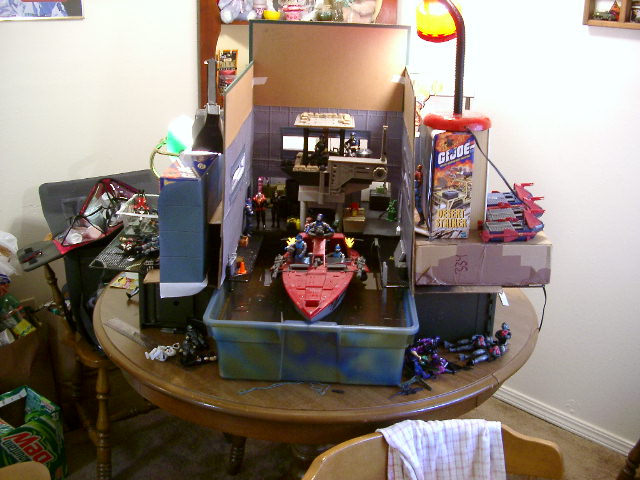
| - The Cobra Dock Set - |
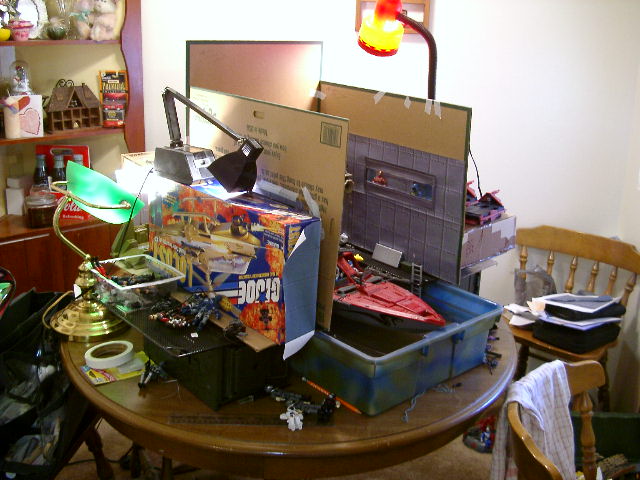 |
| - Shortly after I created this website I decided that I wanted to showcase my Cobra Naval forces in a creative and unique way. To that end I built the Cobra Dock complete with real water. While the pictures pretty much show what I used to create the set, here are some more details on various parts of the set: - The water was indeed real. It was poured into a clear plastic Rubbermaid storage box that I had spray-painted the outside of blue and O.D. green. In addition some real dirt and mud were added to muddy up the water and to hide the bottom of the container from view. - Black metal "build-it-yourself" book shelf panels were used for the catwalks on either side of the dock. These were held up by empty ammo cans turned sideways. -The walls and floor were made of cardboard. The floor was painted black. The walls had printed background panels taped to them with the doorways and windows cut out. - The background panels were printed out from a design I aquired from Neubneub's Star Wars diorama website. ( See my links page for a direct link to his web page.) - The crane in the middle of the back of the set is from the second G.I. Joe headquarters playset. The rest of the props are from various Joe scale toylines that I've collected over the years. - I used several lamps along with light from the overhead light and the nearby window to provide adequate light sources for the set. No flash photography was used. - I built this set in about 2 and a half days. It stayed up for another three. Then, my wife insisted I tear it down. Something to do with wanting her table back. =) |
 |
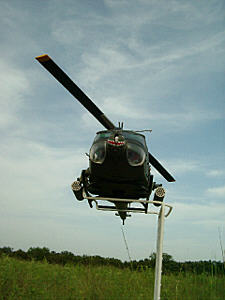
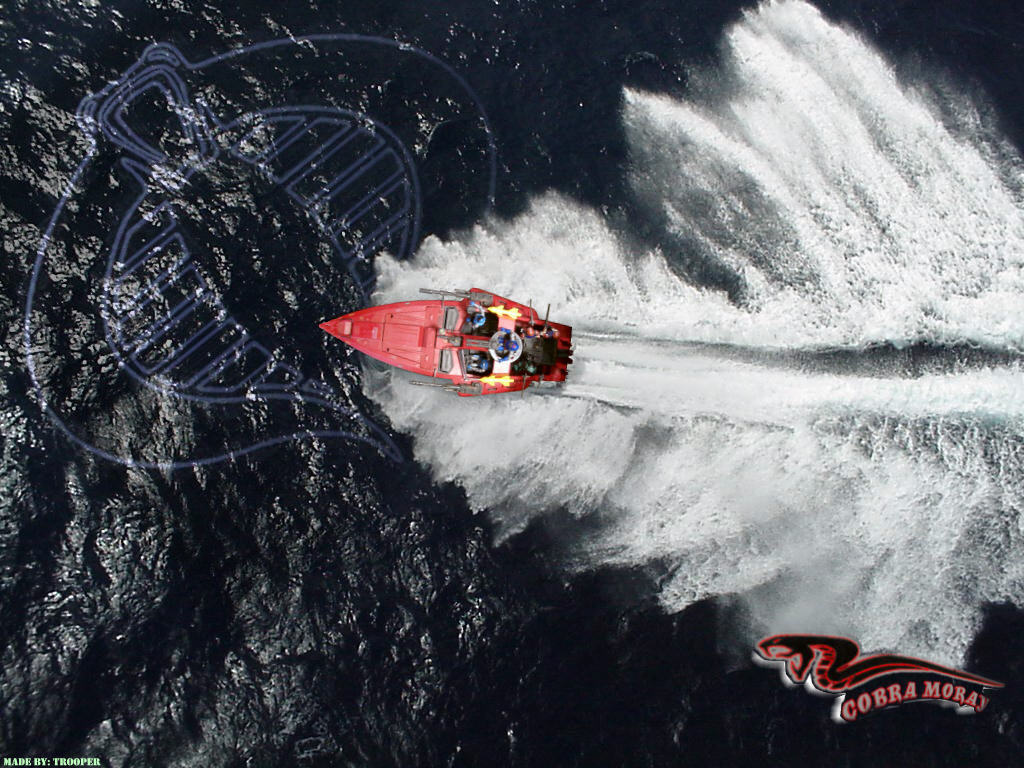
| - How to make toys fly - |
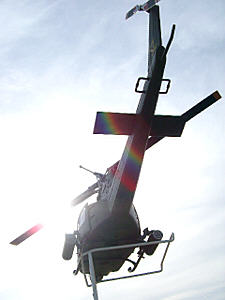
| - I have used two different methods to make my toys appear to be flying in mid-air. Both involve using photo editing software and have their advantages and disadvantages. - The first method I used was during the production of my very first Diostory, "Dust-Off." I took the 21st Century Toys' Huey and using only a white wire bookshelf turned on its side to hold it up, made it fly. I took the Huey to a location and took photos of it in the real world. Afterwords, I used my photo editing software to remove the white bookshelf from the pictures. This was a bit tedious and required clever use of the "clone" tool. The biggest positive to this method is that the lighting on the object blends flawlessly with the lighting in the background because the object (the Huey in this case) was there in the same time and space as the background when the photo was taken. The result is a photorealistic picture of a toy looking very much like the real thing. Scroll your mouse over the images below to see the final edited versions. |
 |
 |
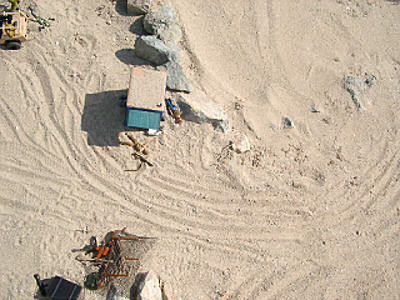
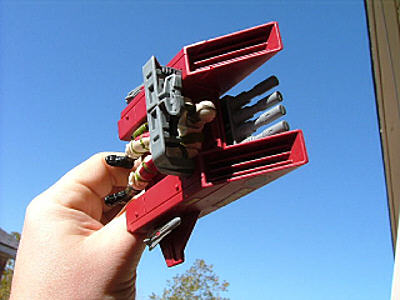
| - The second method I've used to make my toys fly is the oldie but goody "Cut-N-Paste" method. Essentially the easier of the two methods since you can take a photo of any object and place it on any other photo using the crop and paste tools of your photo editing software. The only down side is that is harder to get a photorealistic shot with this method. For "Danger Desert!" I didn't have the time to work on putting the finished shots together while I was deployed in S.W. Asia. So, I opted for the next best thing which was to shoot background shots during my location shoot and then add the flying vehicle in later on. The first step was to take the background shots using my imagination to figure out where the toy would be in each frame. Next, and much later on time wise, I took photos of the toy itself. I tried to match the lighting the best I could by taking photos of it outside on a bright sunny afternoon. Next, I cut the toy out from the rest its original photo using the crop and cut tools. This took a bit of time but, not nearly as long as the shelf removal required in the Huey shoot. Then I pasted the cutout of the toy onto the background shot I took in the desert. I rotated the toy's image to try and make the shadows match up as close as possible and I also used the "color correct" tool to try and match the lighting conditions. Finally, I painted in the jet exhaust and added text to the shots. You can scroll your mouse over the picutre on the left to see the finished photo. Good luck with your own projects!! - Trooper |
 |
 |
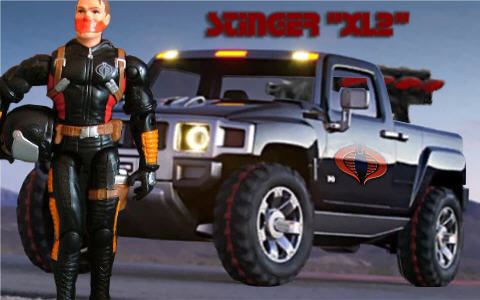 |
| - Some fun photos made using Microsoft Pictureit! |
 |
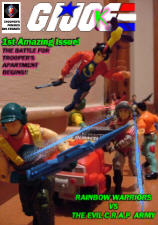 |
| - To help celebrate "Trooper's Figures" 3 year anniversary, I am producing a new dio-story!! The only catch is that this story is anything BUT serious! :) The first installment of "G.I. Joke: A Real Wanna-be Hero!!" is HERE and ready for viewing - Trooper |