Part 2: Cutting into the lines and cutting the holes under the seat.
1. Locate the return coolant line. It�s on the passenger side front bottom of engine. Locate the rubber section that runs from the hard lines from the fill tank (Clear plastic tank on left side of engine compartment) to the main coolant pump on the engine.
2. From under the car mark the center of the straight section of the return coolant line. It�s about 2 inches from the clamp on the hard line coming from the side compartment.
3. Cut the coolant line from underneath the car. See Return Coolant Hose picture below. I used a combination of razor and garden shears. I didn�t have much coolant come out but you�ll still want a bucket. Remove 1-2 inches of hose from the straight section to allow room for the fitting. You can cut a little and hold the fitting next to the gap to see if it will fit in the space. Make sure there is enough room for the barb to fit inside the hose.
4. Place a clamp on each side of the cut hose.
5. Insert the T with the 5/8� barb fitting horizontal and facing the front bumper of the car.
6. Tighten the hose clamps down.
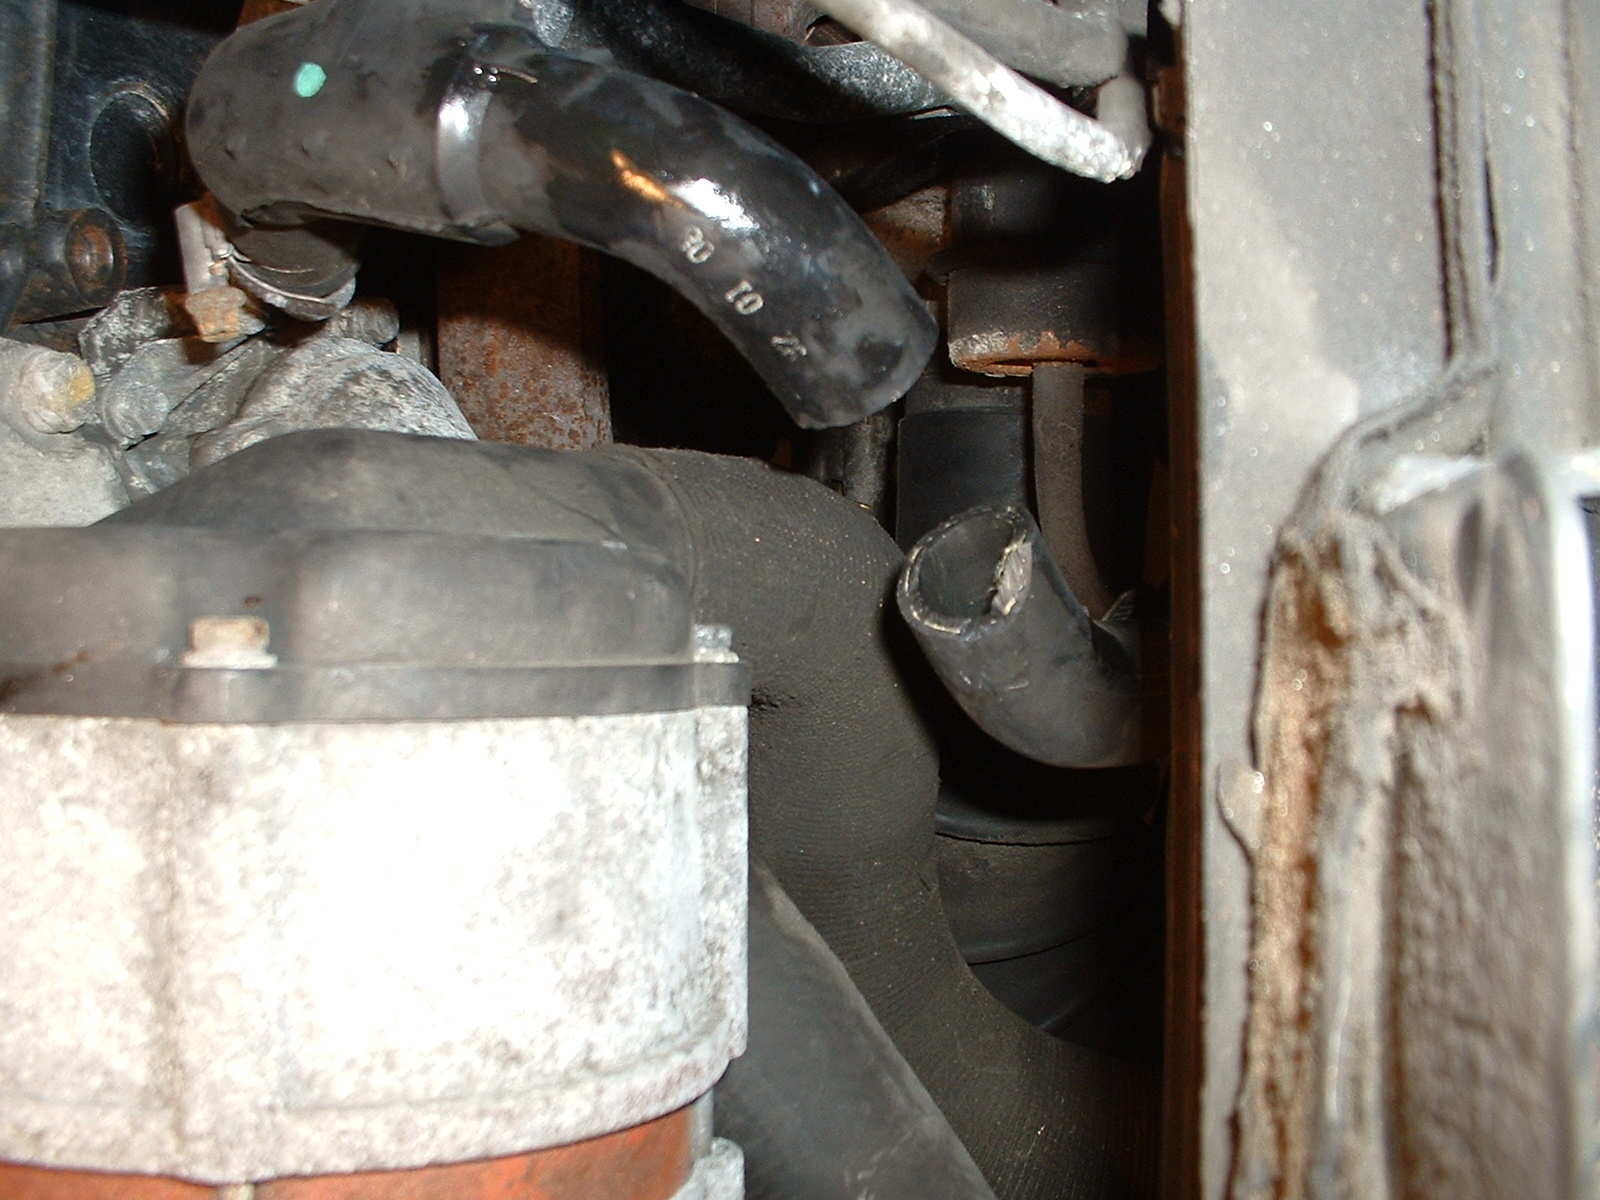
Cut Coolant for the Supply
This was the hardest part of the project. You will have to spend some time visualizing what you are trying to do so you have a good plan of attack. It�s hard to get good pictures of this part because it is tucked behind the engine. Refer to the Coolant Out picture in Part One of the Coolant Section.
Try to imagine the two �� barbs make a 90 degree turn and the 5/8� barb points straight forward horizontally towards the bottom fitting on the veggie filter heater copper coil (towards the front of the car).
It�s probably easier to remove the entire hose to do the modification but here is how I did it. Locate the coolant hose coming out of the back of the engine (driver side) behind oil filter. It travels down to the auxiliary pump.
Here's how I did it.
1. Mark the location of the cut which is the second to last bend before entering the auxiliary pump.
2. From under the car I used a garden shear and a knife to cut through. Someone had to push from the top to allow me to cut all the way through.
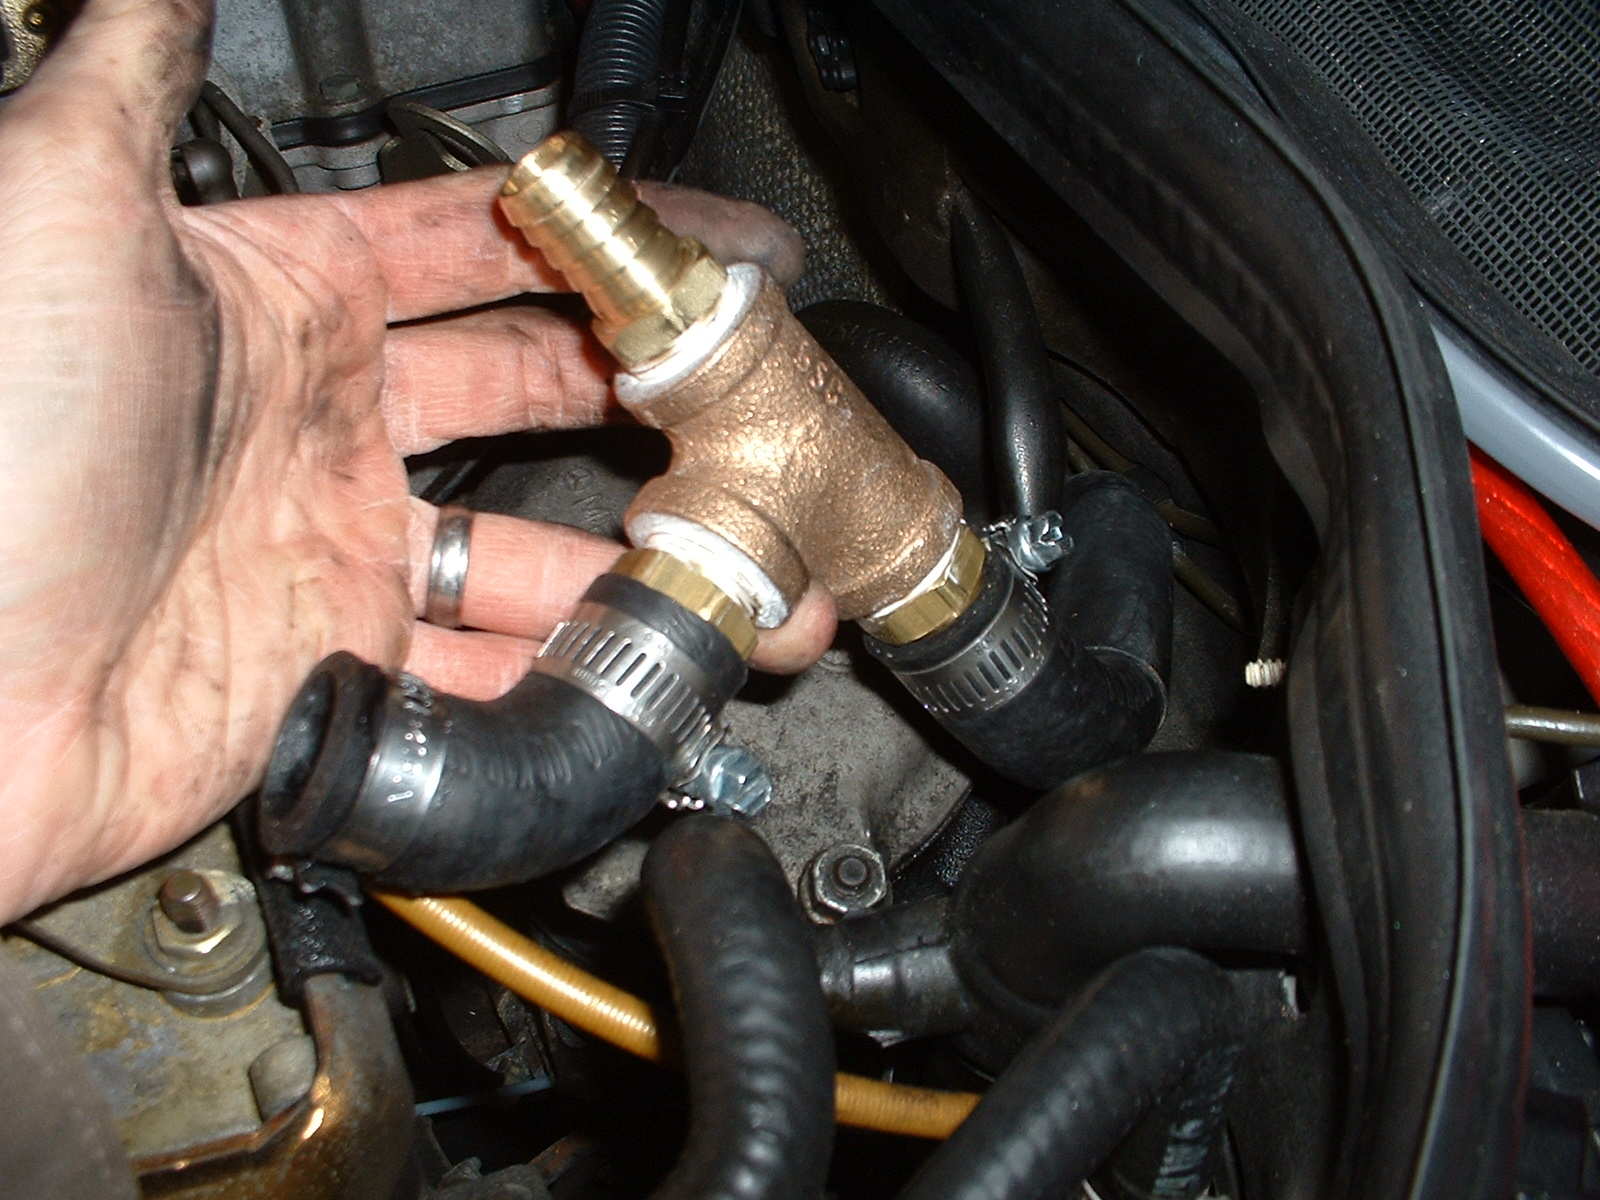
2. Remove bottom section going into the auxiliary pump.
3. Remove 1-2 inches of hose to allow room for the fitting. Bend up the remaining section of the �out of engine� piece of coolant hose. Refer to the Coolant Supply Hose picture below.
4. Put the hose clamps on before installing the tee fitting.
5. Install the tee with the 5/8� side pointing toward the front of the car.
6. Tighten the hose clamps.
7. Clamp the hose back on the auxiliary pump.
Cut Holes and Panel for Coolant Lines under the Seat
In order to avoid the exhaust lines and the suspension under the car, the coolant lines are routed under and behind the seat. This allows for easy routing to the trunk.
1. Remove rear seat by pressing in the two red tabs in the front of the seat. Push hard, lift up and slide forward.
2. Remove rear backrest. There are three screws at the bottom that hold the backrest on. One on each side and one in the center. Remove screws and lift the seat up.
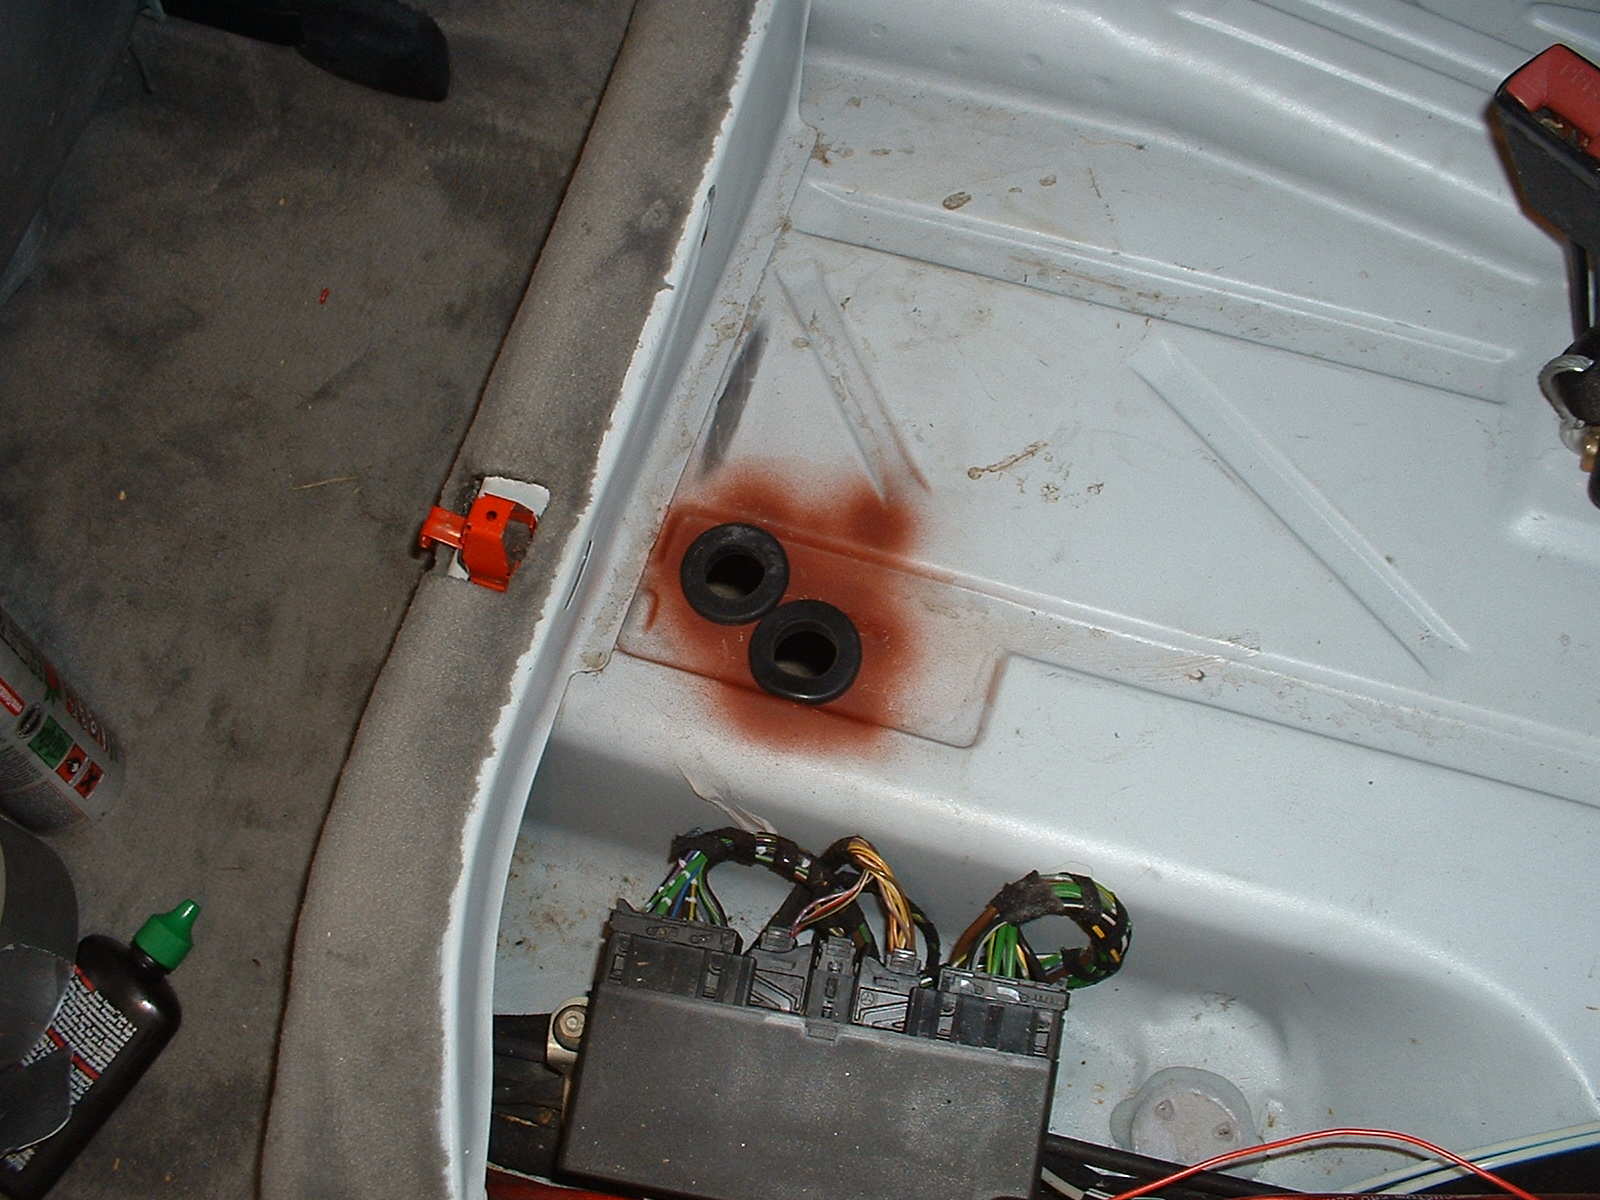
3. Remove insulation from under the seat.
4. Cut the holes for coolant line under the rear seat. See Coolant Seat Holes picture for locations. The front hole is about 1.5� from the back edge of the metal lip and the back hole is about 3.0�. Use the 1-1/4 hole saw.
Note: Use the forward hole for the hose-in-hose to allow for more room to bend. There is more room under the seat further forward but you can�t go all the way forward.
5. Use a file to remove the metal burrs after cutting the holes. Sand area around hole on the inside and the underneath of the car to roughen it up.
6. Clean both sides with degreaser.
7. Spray paint with rust primer.
8. Install grommets supplied by Greasecar.
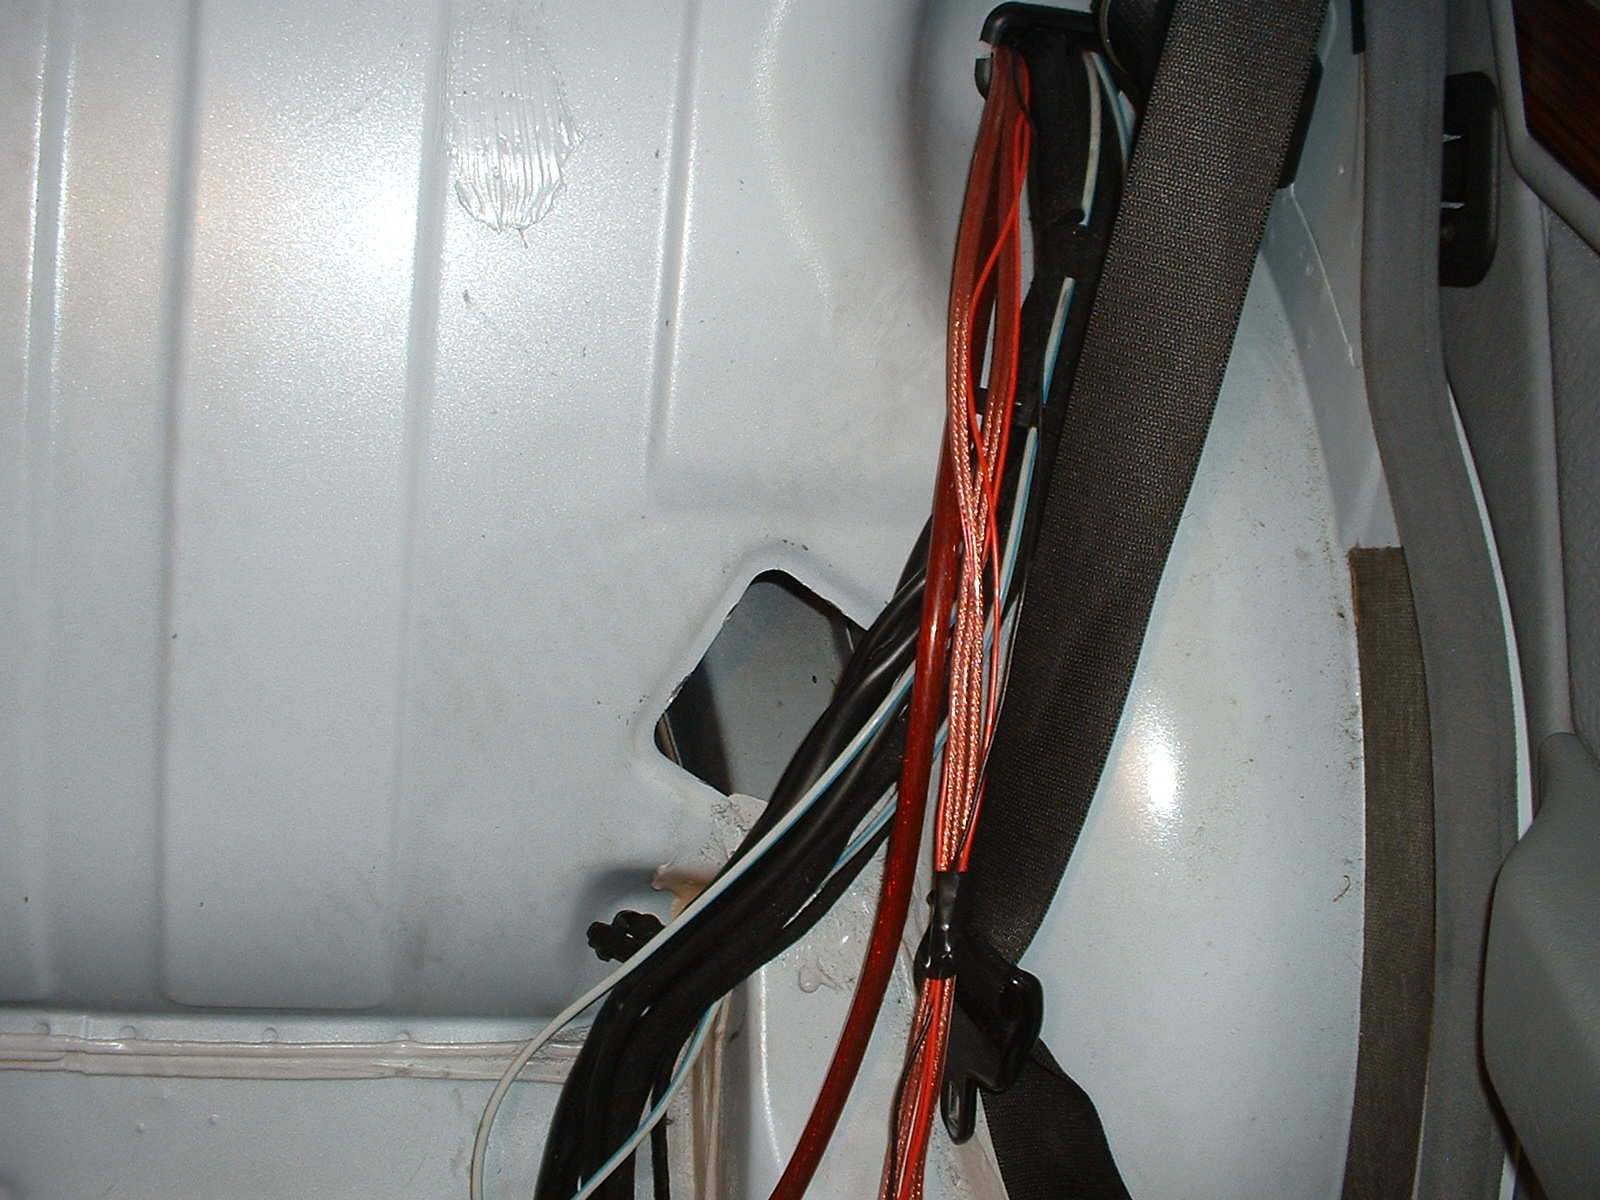
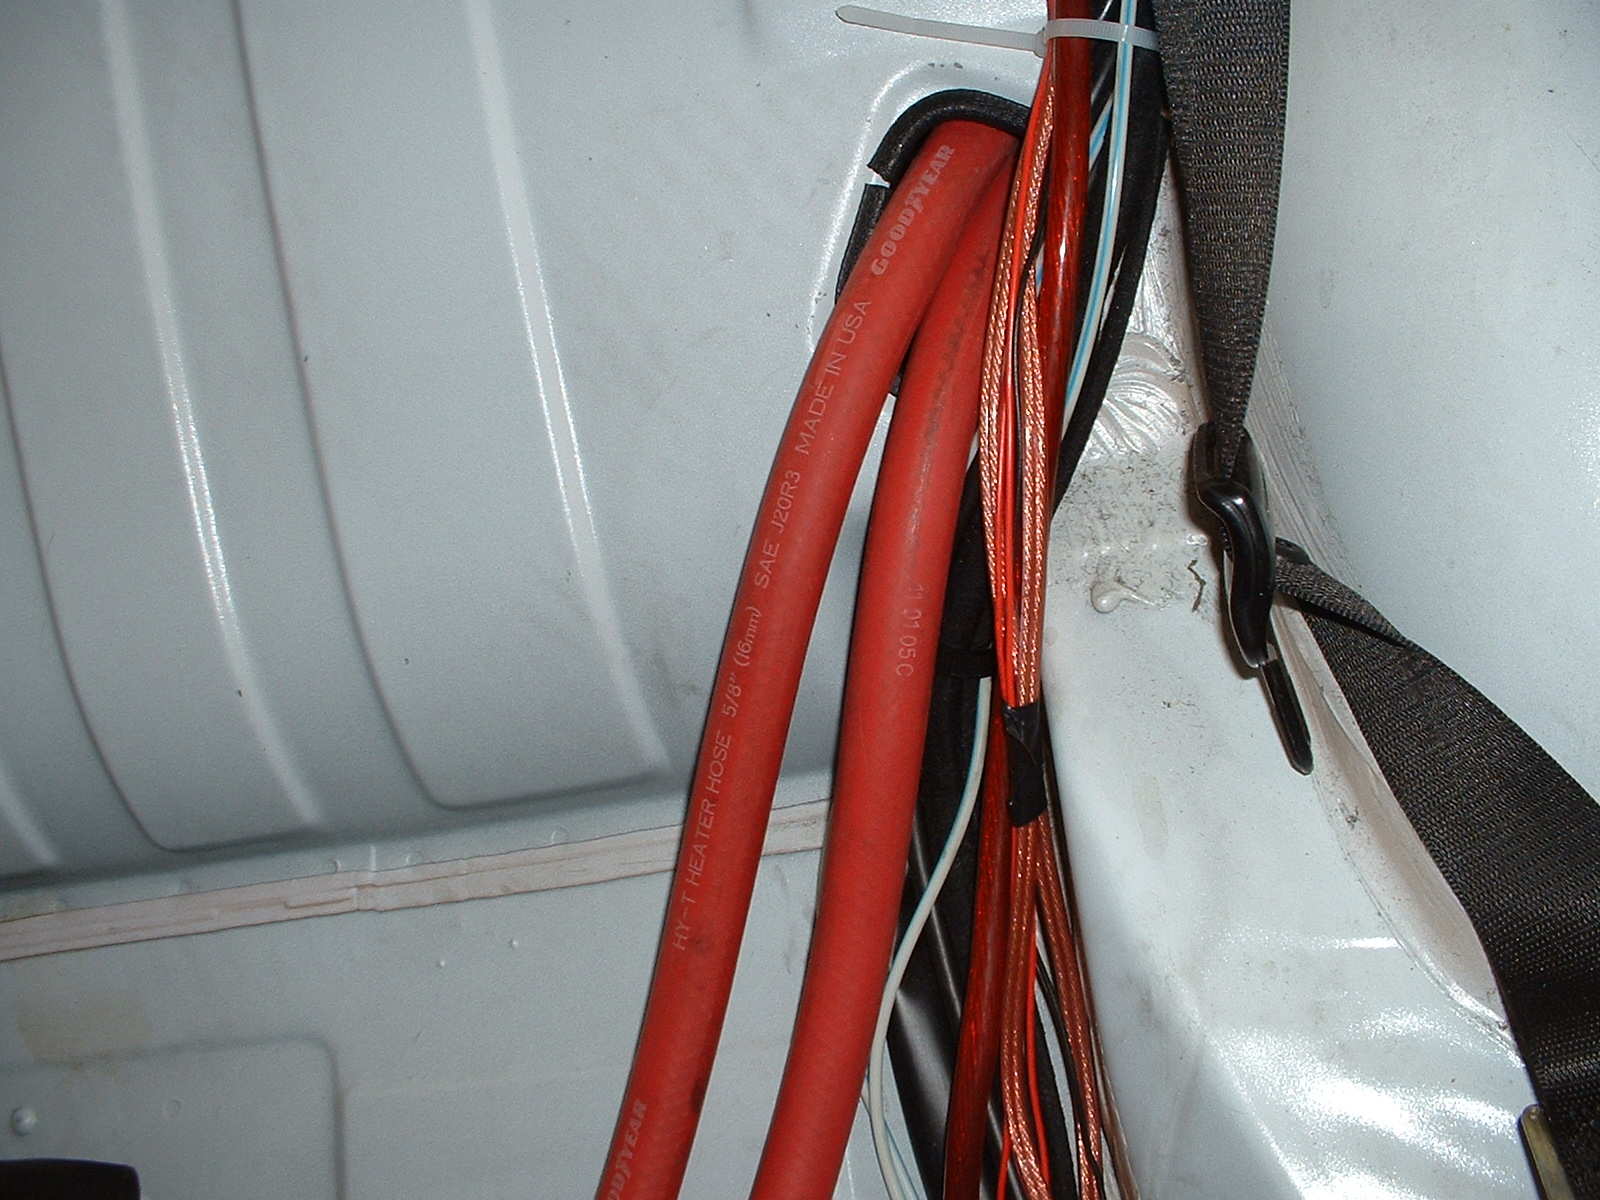
9. Locate the square knock out panel just under the electrical cable routing on the vertical part of the seatback.
10. Use Dremmel to cut the 4 tabs holding in the plate.
11. Remove plate and install the metal edge protection. See Panel pictures below.