Photoshop
Colourising with Photoshop
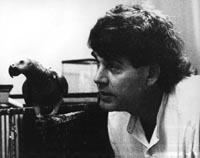
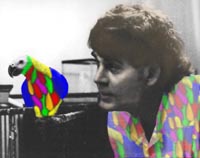
Converted to RGB and began to use the 'noise' filters to clean up the image. Median to 1 pixel, dust and scratches a couple of times and despeckle. Brightness was set +15 and contrast to -20.
I outlined the bird using the polygonal lasso and the mans shirt (he looks like Paul MacArtney) then made a new layer via copy. I used paint tools to colour the bird (20% opacity). The rubber stamp was used to copy the birds colours to the mans shirt and another copy of the mans shirt was placed on top of the colour layer at 53% opacity to remove the flatness of colour.
A flesh tone of R222, G200 and B173 was used to lightly wash the mans skin and a slightly darker tone for his hair.
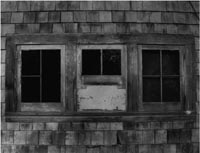
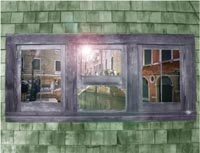
Converted to RGB and began to use the 'noise' filters to clean up the image. Brightness set to +25 and contrast to +12. Inserted a picture from a Venice back street and placed it behind a copy of the background, deleting the original background layer.
Adjusted the colour balance of the background to show green. Selected the window frames and created a new layer via copy. The window frame layer was coloured grey (R-5, G-42, B+26)
To brighten the image further, filter>render>lens flare, brightness at 92%, 35mm prime was used.
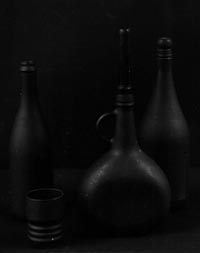
Converted to RGB and began to use the 'noise' filters to clean up the image. Adjusted the brightness and contrast.
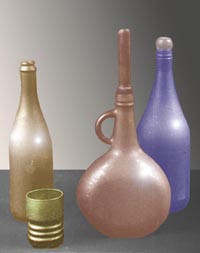
The 4 objects where separated from each other and the background by the polygonal lasso tool. Each layer was adjusted to a different colour by using, Image>adjust>colour balance.
Lens flare was added to the three bottles and tried to make the cup look metallic through the render>lighting effects menu.
The smudge tool was used to further remove the scratch and dust marks on the bottles.
New layer was created with a soft gradient applied.
Rectangle marquee was used to select the top two thirds of the background and this was filled with the white paint bucket