6 Stevens Court
Patio
Over the summer of 2001 I terraced the area off the east end of the carport, to build a
patio that would serve as the home for our grill. (We both love grilled food.)
After considerable debate and discussion, we (mostly Linda) decided that the
retaining walls would be dry-laid stone, and the floor would be flagstone pavers.
Since neither of us had the slightest idea of what was involved, this whole project was
something of an experiment. Check back in five years' time to see whether I absorbed
the lessons from the "how to" book well or not. I was fortunate to be able
to consult with our next door neighbor, who (judging by the state of their back yard) has
had considerable experience in that area. He even loaned me some tools, and
periodically came by to check on my progress.
Unfortunately, I didn't think to take any "before" pictures, so opted to also
skip the "during" series and go straight to the results.
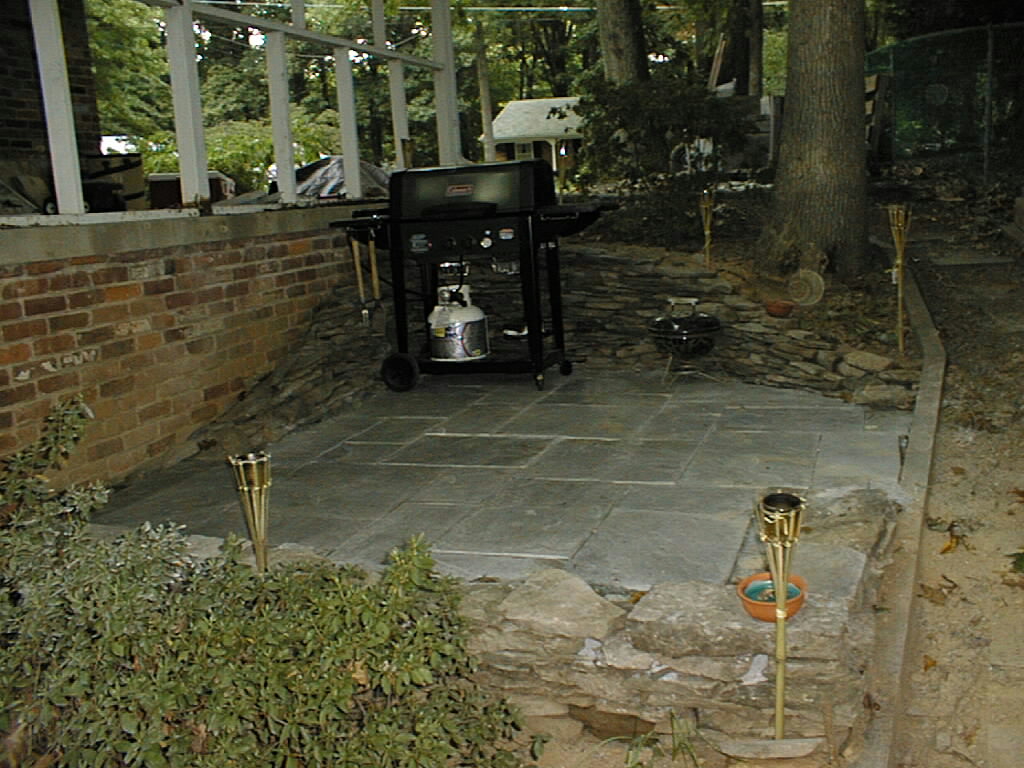
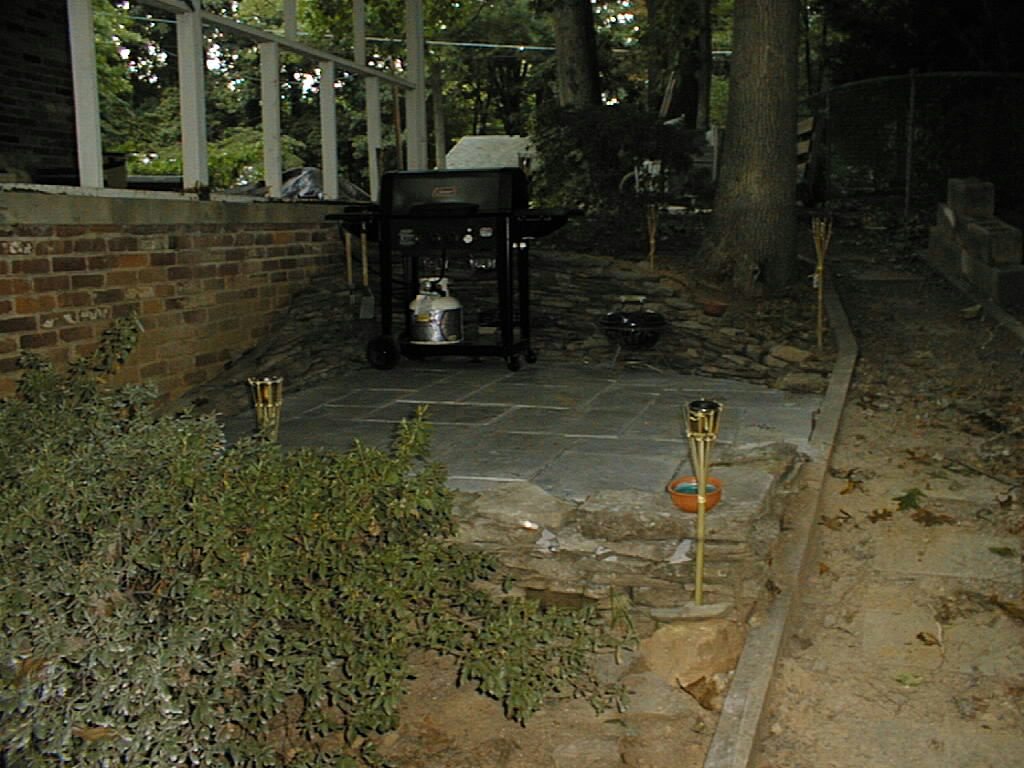
Taken with my back
more-or-less to the deck, looking back toward the driveway and
street. If you were standing in the cul-de-sac facing the front
of the house, this area would be to the left of the carport. |
|
|
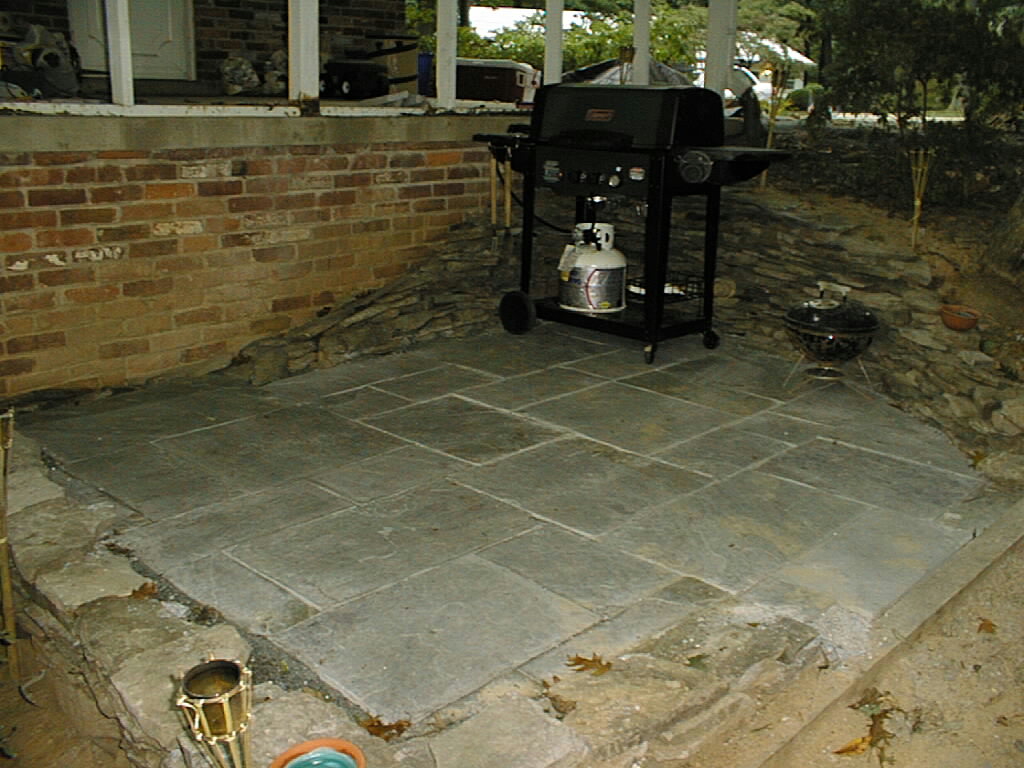
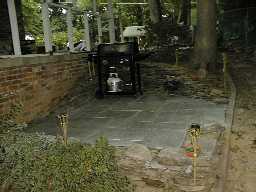
Another shot from almost the same vantage
point. The tiki torches (flled with citronella candles) add a very pleasant
atmosphere, and also do a pretty good job of discouraging the mosquitos. The floor
is sloped to drain (I hope!) right towards the corner in the lower right of the picture. |
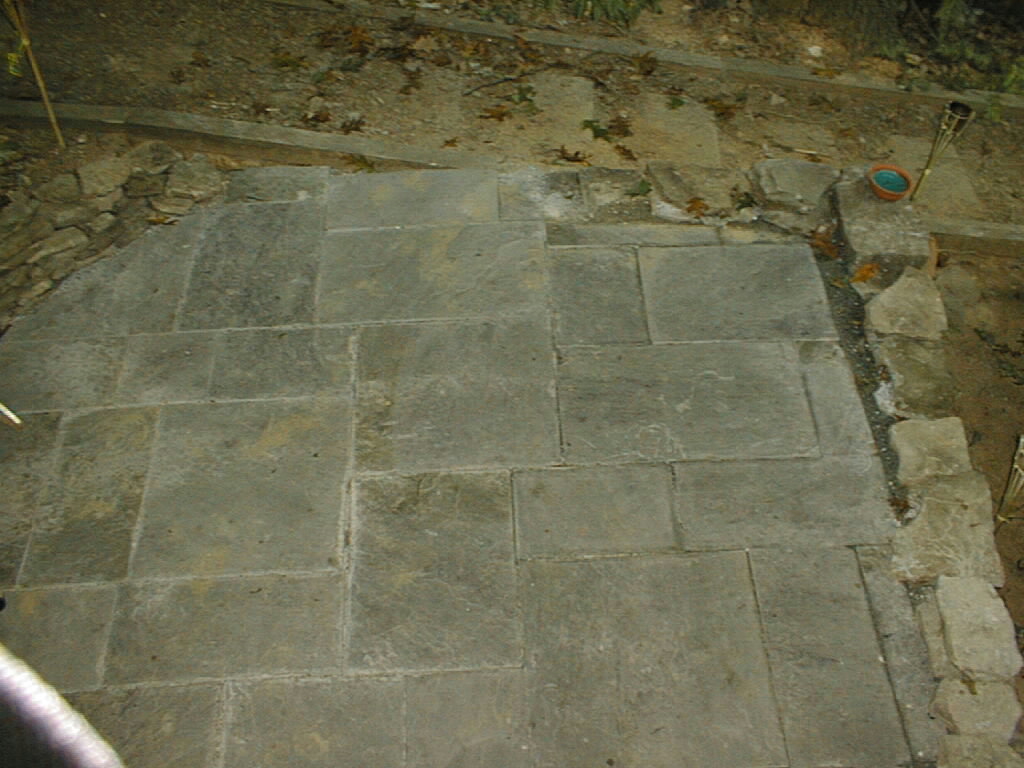
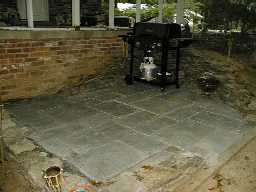
This is the view looking out
from the side of the carport. You can see the gravel underlayer (on the right) where
I expect the runoff will drain away and disappear. On the left of the picture you
can see the end of the higher retaining wall where it curls around next to the walkway
down to the deck. |
|
|
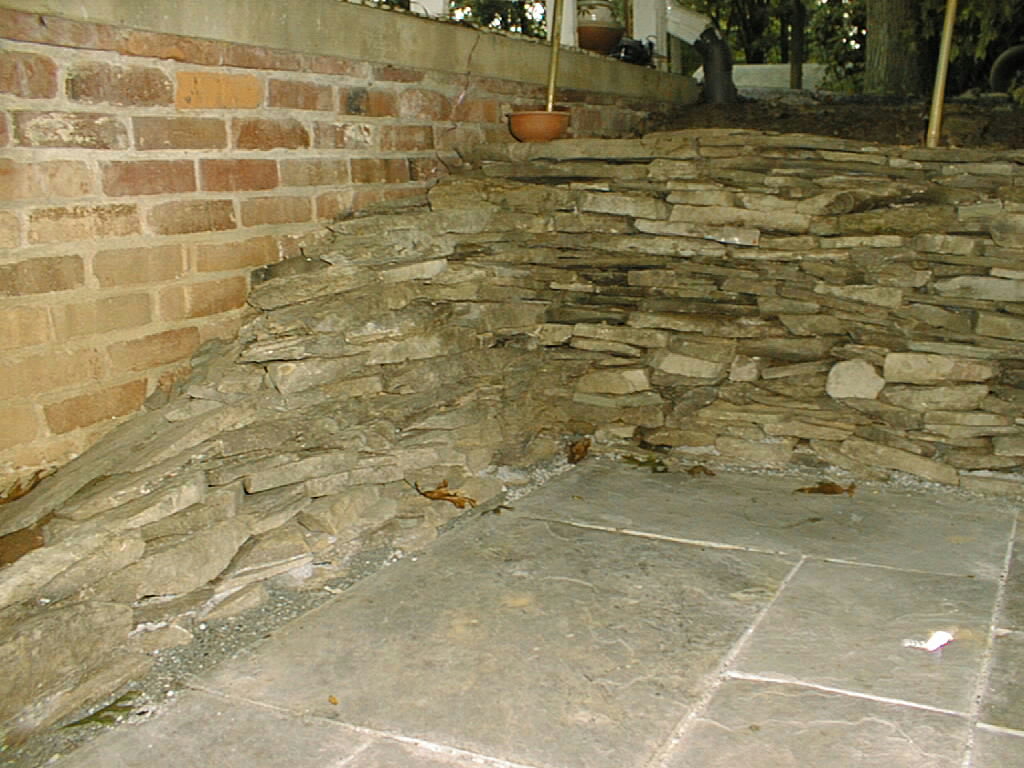
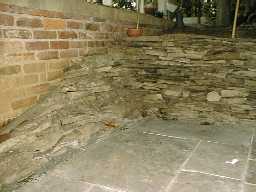
My original plan was to excavate right back to the carport
wall. Unfortunately, however, I soon discovered that the drain line from the
downspout at the corner of the carport was buried in that place, so I had to leave a
six-inch-wide wedge of dirt in place. That necessitated building a wrap-around wall
that slopes down more-or-less along the line of the original grade level, and of course an
inside corner. All in all, I'm please with the end result. The wall height at
the corner is about three feet; I filled in the area on the back of the wall to raise it
by about six inches and level it off a trifle. |
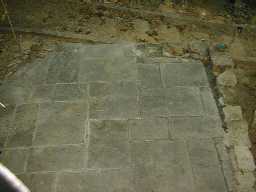
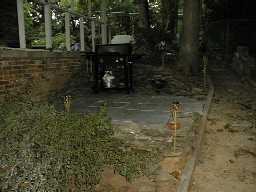
| One final shot, just for good measure. |
|