 |
|
|
|
|
|
|
|
|
|
|
|
|
|
|
|
|
|
|
|
|
|
|
|
|
|
|
|
|
|
|
|
|
|
|
|
|
Painting the Cheetah ... (page 3) |
|
|
|
 |
|
|
|
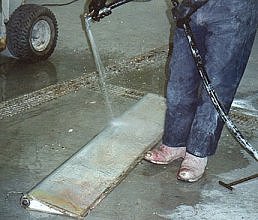
Meanwhile, the control surfaces were stripped. The stripper bubbles the paint off the metal; the paint is then dislodged by light brushing, and rinsed off with water. |
|
|
|
|
|
 |
|
|
|
|
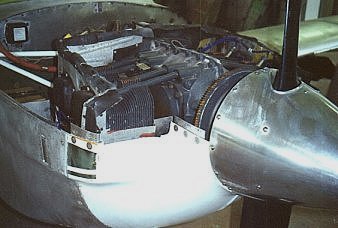
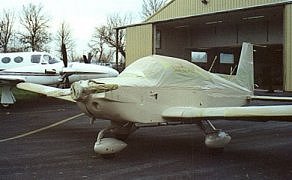
Just before taking the airplane to the paint shop we had the BRC Aviation split-nosebowl STC done. This was the ideal time to do it, because left unpainted, the fresh cut and fasteners would be prominent and unsightly. |
|
|
|
|
|
|
 |
|
|
|
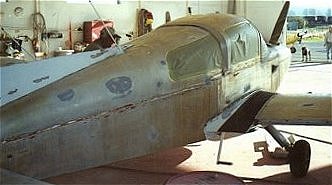
The bare metal was treated with alodine and an etching chemical to promote adhesion of the paint to the surface. These chemicals leave a slight champagne-color cast to the metal. Minor dings and surface irregularities, some dating back to the original manufacture, were filled and sanded. |
|
|
|
|
|
Now came the fun part. Steve and I spent a few minutes positioning and repositioning a strip of masking tape on the fuselage, seeking the ideal alignment for the dividing line between the white and tan base colors. We decided on a straight line extending from the cowl intake, running between the assist handle and canopy rail, and terminating on the tail stinger a couple of inches above the nav light. This was to be the reference from which the other stripes would be measured. |
|
|
|
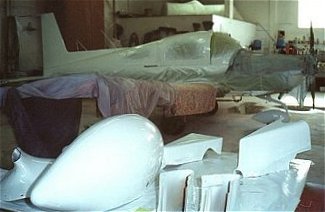
The portion of the fuselage below the reference line was masked off and the upper fuselage, wings and fiberglass components were sprayed with white Imron. |
|
|
|
 |
|
|
|
|
 |
|
|
|
|
|
|
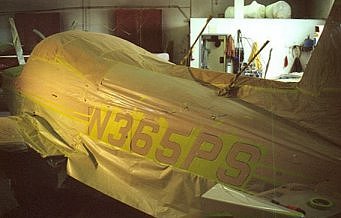
After the white paint dried, the masking was reversed and the bottom half of the fuselage received the tan base color. |
|
|
|
|
|
 |
|
|
Then the stripes and registration numbers were laid out. Looking again at the printed rendering of our proposed scheme, Steve suggested that the fuselage stripes be given a slight taper, widening from nose to tail. We agreed, and the final result proves the wisdom of his suggestion. |
|
|
|
|
|
|
[previous page] |
|
|
|
[next page] |
|
|
|
[home] |
|
|
|
|