 |
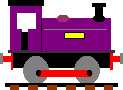
| GALT LOCOMOTIVES The Home of the Little Purple Engine |
| Preparing the Metalwork |
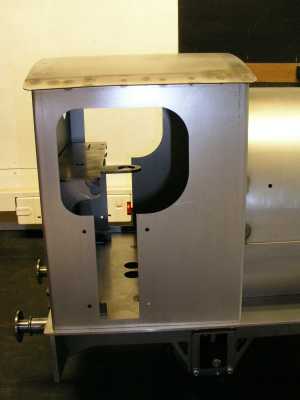
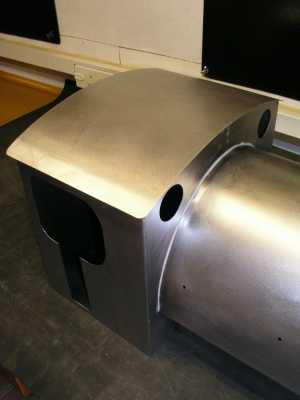
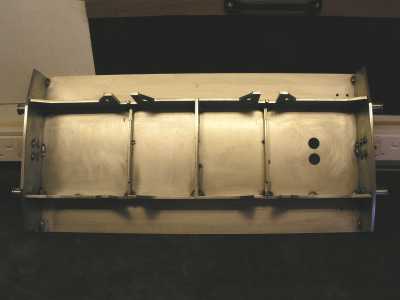
| After checking out the Trojan kit the next stage was preparing the metal surfaces and painting, neither of which I had any experience in, so this was my first challenge. Despite looking extensively on the Internet without success, as luck would have it I knew a man that did have extensive experience in this field who sprays cars for a hobby, so I twisted his arm for some advice and help. To get a good finish, preparing the all of the metal surfaces including the ones that would not readily be seen is important. Without a good surface, on which the paint will bond, the required final result would not be achieved. The first stage was to tidy up the welds on the body that had come through on to the outer surface, some of which would ultimately require car body filler to finish them off. This was achieved using a medium and smoothing hand files. A similar process had to be used on the cab roof, which was covered in dimples on the outside due to the spot welds on the inside. The left hand picture of the cab roof, shown below, is a typical example of metal deformation, the dark patches, as a result of the heat from the welding. The right hand picture shows the finished result after using a smoothing file and a 180 grit-sanding disc used on a random orbiting sander. The white line between the front of the cab body and the boiler is car filler. This was used to provide a good clean join between the cab and the body. |
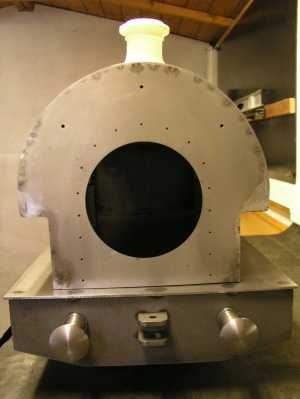
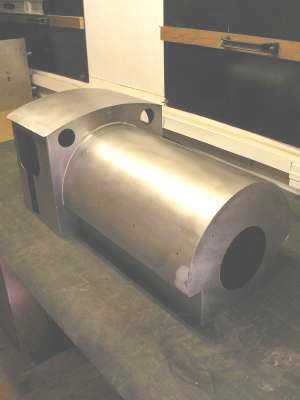
| Again the left hand picture shows a typical example of metal deformation from the welding on the boiler. This picture also shows three additional customisation holes that I placed in the end of the boiler to allow the handrails along the side of the boiler to be extended across the front of the boiler. The right hand picture shows the finished body ready for priming. |
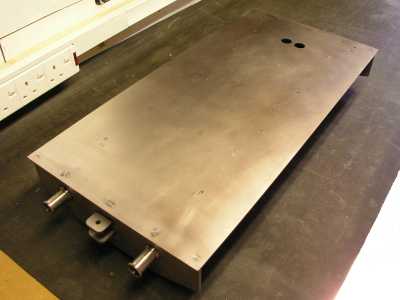
| Below is shown the chassis after it has been prepared using 240 grit wet and dry. When preparing any items of thick metalwork, such as the chassis, I had particular difficulty cleaning off the remnants of the laser cutting. The edges were black and had a rippled effect where the metal had been cut with the laser. Some of the edges cleaned up very easily with just a gentle rub over with a smoothing file, while others, especially those with curved edges took quite a bit more preparing. Perhaps its just me, but I want the edges of the exposed metalwork to look just as good as the rest of it. |
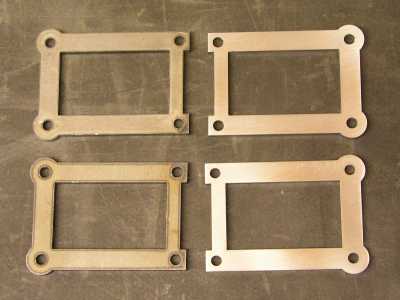
| The picture shown on the right are of the support brackets for the wheels. The two brackets shown on the left are �As delivered� and the two shown on the right are post preparation, which has been achieved using 240 grit wet and dry. |
| Suggestions When using wet and dry I find the best results can be achieved using a small garden spray to keep the paper wet combined with a tiny drop of shampoo, which helps prevent the grit on the paper from clogging. |
 |
 |
 |
 |
 |
 |
 |
| Page last updated on : |
| 29/01/2006 |
| Copyright (c) GALT Locomotives 2006, all rights reserved |
| Warning Be careful when rubbing down with wet and dry any flat items such, as the wheel support brackets, when the wet and dry is fixed and you are moving the item over the wet and dry. I found it was very easy, without realising until several hours after the event, to wet and dry the tips of your fingers. Believe me when I say it can be very sore !!! |