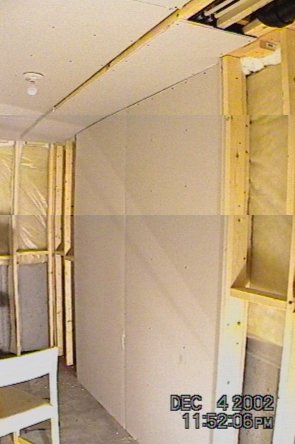
Figure 5 Plasterboard nailed in place
(photograph courtesy of http://emrl.byu.edu/darren)
Installing the plasterboard is probably the quickest part of this
project. It is also most of what will be visible after completion.
The walls should already be framed, with wiring and insulation in place.
1. Measure opening from floor to ceiling.
2. Transfer measurement to the plasterboard. Mark measurement
on the front of the board with a pencil. Draw a line across the board
using the square to make a straight line.
3. Cut paper on the front side of the board. Use a utility knife
to score against the line.
4. Break the board along the cut. Once the board has been broken
cut the remaining paper off the back of the board.
5. Cut openings for electric boxes or other obstructions. Make
these cuts using a hole saw.
6. Nail boards to the stud wall with drywall nails, using a drywall
hammer.
7. Ceilings require a device or help to lift boards. Injury can
occur if one person tries to lift and hold boards by themselves.
Figure 5 Plasterboard nailed in place
(photograph courtesy of http://emrl.byu.edu/darren)
The walls have been covered with plasterboard and are ready for taping and mudding.
DID YOU KNOW:
Plasterboard has many names; drywall, sheetrock, and gypsum are common.
Gypsum is the white, powdery mineral from which plasterboard is made.
Sheetrock is a trade name. Plasterboard has replaced plaster over
lath in new construction