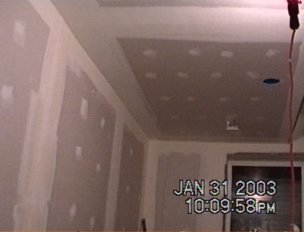
Figure 6 Finished wall ready for paint
(photograph courtesy of http://emrl.byu.edu/darren)
Taping and mudding fills in plasterboard joints and other imperfections.
When finished and painted, the wall appears to be one uniform structure.
The walls should already be covered by plasterboard.
1. Stir the premixed mud until uniform in texture. This can be
mixed by hand or with the aid of an electric drill with a stirring attachment.
2. Apply a thin coat of mud to the plasterboard joint with a putty
knife.
3. Press the drywall tape into the mud. Smooth the tape into
the mud with a putty knife. Be sure to get out all the air bubbles.
4. Cover the tape with a thick coat of mud.
5. Use a larger putty knife to smooth the mud. Leave the mud
slightly higher than flush with the board. When the mud dries, it
will shrink.
6. Fill in nail indentions with mud. When the plasterboard is
nailed into place it leaves dimples in the board that need to be filled.
7. Let the mud dry. This is important. If the initial coat
is not dry when the second coat is applied, the mud will crack.
8. Apply a skim coat of mud to remaining low areas.
9. Sand until smooth. This is the most time consuming step.
Sand only in one direction if possible. Use rough sandpaper or screen
first, then step down to fine sandpaper.
Figure 6 Finished wall ready for paint
(photograph courtesy of http://emrl.byu.edu/darren)
The walls have been taped and mudded. The whole basement will need to be cleaned to remove the dust created by sanding the drywall mud. The walls are then ready for priming.
DID YOU KNOW:
Drywall mud is like the plaster used to finish wall decades ago.
It fills in the voids created by plasterboard joints and nail indentations.
The mud can also be used to repair mistakes such as holes and cuts in the
plasterboard. The tape keeps the mud from cracking in the joint as
the mud dries.