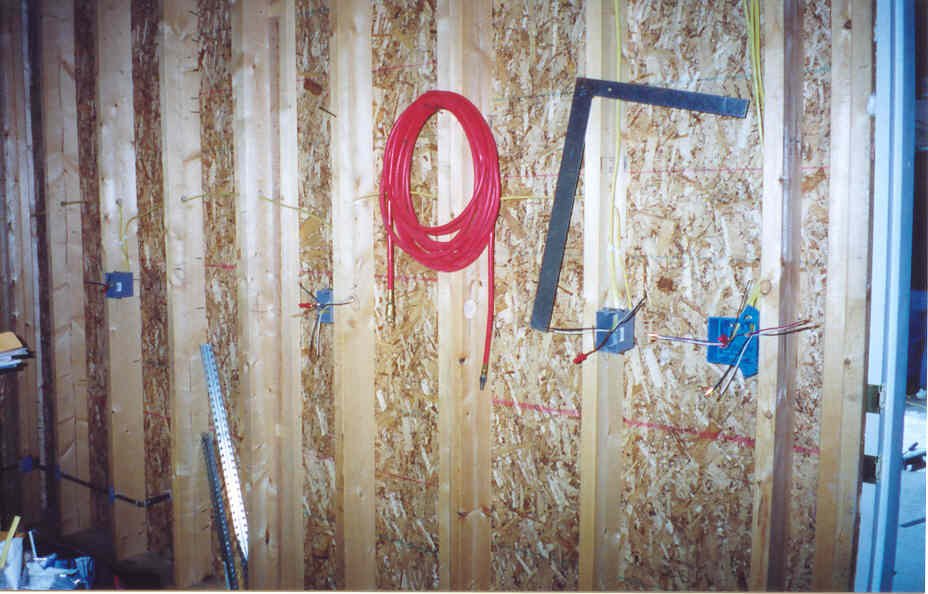
Figure 3 Boxes are installed and wire is snaked
(photograph courtesy of http://www.ryanandjoellen.com/house)
Wiring is necessary for finished rooms. Plan
room layouts so fixtures will be in convenient places.
1. Nail junction, switch, outlet, and fixture boxes to the stud walls.
Metal boxes are sturdier. Plastic boxes are less expensive.
2. Drill holes through the studs for the wiring. A ½ inch
drill should allow adequate clearance for the electrical wires.
3. Snake the wire from the junction box to each switch, outlet, and
fixture box.
Figure 3 Boxes are installed and wire is snaked
(photograph courtesy of http://www.ryanandjoellen.com/house)
4. Leave extra wire for ease of connection. Wires that are too
short will require extra connection time because of lack of movement.
5. Turn off electric power at the main breaker. Make sure power
is turned off. Do not make assumptions. Electricity can kill.
6. Add a breaker to the existing breaker box. Use an electricians
manual to size the breaker.
7. Snake a wire from the new breaker to the junction box.
8. Connect the wires at the junction box with wire nuts. Wire
nuts are a fast way to connect wires. They can be removed quickly
as well.
9. Install switches, outlets, and fixtures.
10. Turn power on and test the new hardware. Get the wiring inspected
before applying electrical power.
11. Fiberglass insulation should be added to decrease utility costs.
Read the installation directions that come with the insulation. Foam
board insulation could be substituted for the fiberglass insulation.
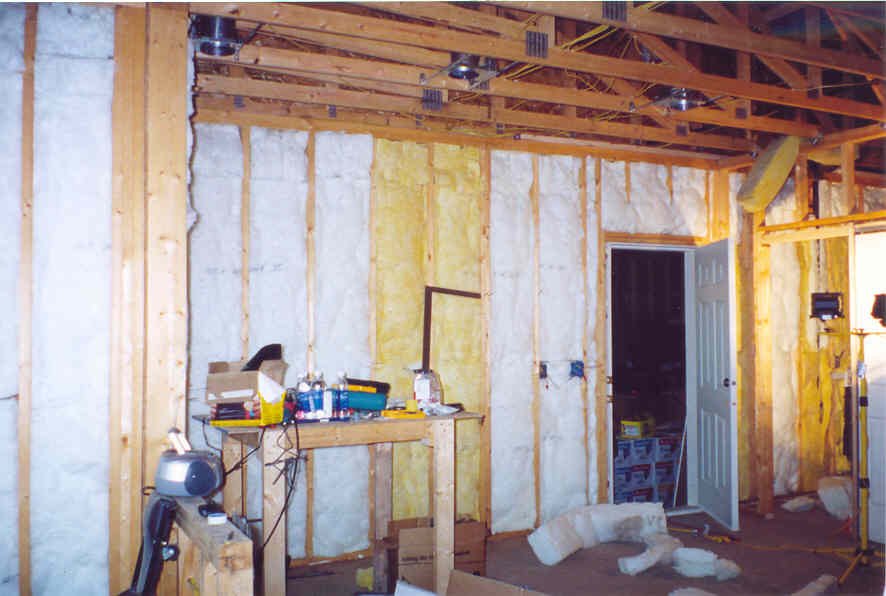
Figure 4 Insulation in place between studs
(photograph courtesy of http://www.ryanandjoellen.com/house)
TIP: An electric code manual or electricians manual is necessary to determine circuit loads and wiring sizes. This manual should be acquired by anyone attempting to design his own circuitry.
Warning: Electricity can kill. Turn off all power prior to connecting the new circuit.